
In this easy celery experiment students can observe how water moves through a plant. Ultimately, this demonstration will help students to understand how a plant’s roots and stem help a plant grow. It’s the perfect additon to any plant needs unit!

Plant Needs Experiment: The Celery Experiment Details
Okay, let’s dive in to everything you need to know to make this demonstration a success in your classroom! Your students will love to watch the water move through the celery right before their eyes.

Objective:
During this celery experiment, students will observe a demonstration to understand how a plant’s roots and stem help a plant grow.
Materials Needed:
- clear jar or vase
- fresh celery stalks with leaves
- red or blue food coloring
- water
- spoon
TEACHER NOTE: Due to time constraints, I did this lab as a demonstration for my students. Over a three day period, students took about 10 minutes to observe the changes and record observations.
You could easily do this as a lab experiment by dividing students into group and having one group be the control group. Each group could use a different color of food coloring. the control group would use no food coloring. After three days, students can compare results with other groups.
The Celery Experiment Procedure:
Step 1: Remind students, “Each part of a plant has a function. All of the parts do a specific job, that together, help the plant grow. But how can we see the parts of a plant work?” We know that plants need water to grow, but how does water get to all parts of the plant?” “How do the roots and stem work together?”.
Step 2: Show students the Lesson 2 The Celery Experiment video.
Step 3: Tell students, “Today I’m going to do a demonstration that shows how the stem moves water throughout a plant. I will give each of you a lab sheet for you to record observations and collect data. We will check on changes each day for three days.”
Trim the bottom off of celery stalks. Place the celery in a clear jar of water. Add 20 drops of food coloring to the jar. Stir with a spoon.

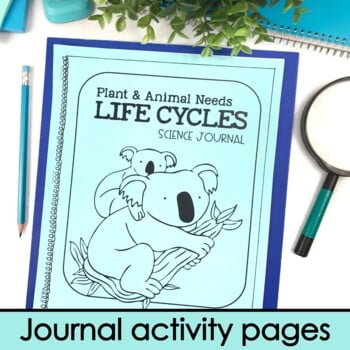
Step 4: Have students draw and record what they observe at the start of the demonstration and
again on day 2 and day 3 (using the included observation journal).
Step 5: On the third day, students use a hand lens to look at the bottom of the celery stalk and
answer the questions on their lab sheet.
By observing the bottom of the stalk, students can see the holes by which water is absorbed up into the plant from the stem.

Complete Plant Needs Unit
This celery experiment is part of a complete 2nd Grade Plant and Animal Needs unit. It carefully aligns to NGSS Interdependent Relationships in Ecosystems standards for 2nd grade science (2-LS2-1, 2-LS2-2, 2-LS4-1, K-2-ETS1-2, K-2-ETS1-3).
The resource includes 17 days of high engagement, hands-on science lessons that are guaranteed to keep your students’ interests heightened!
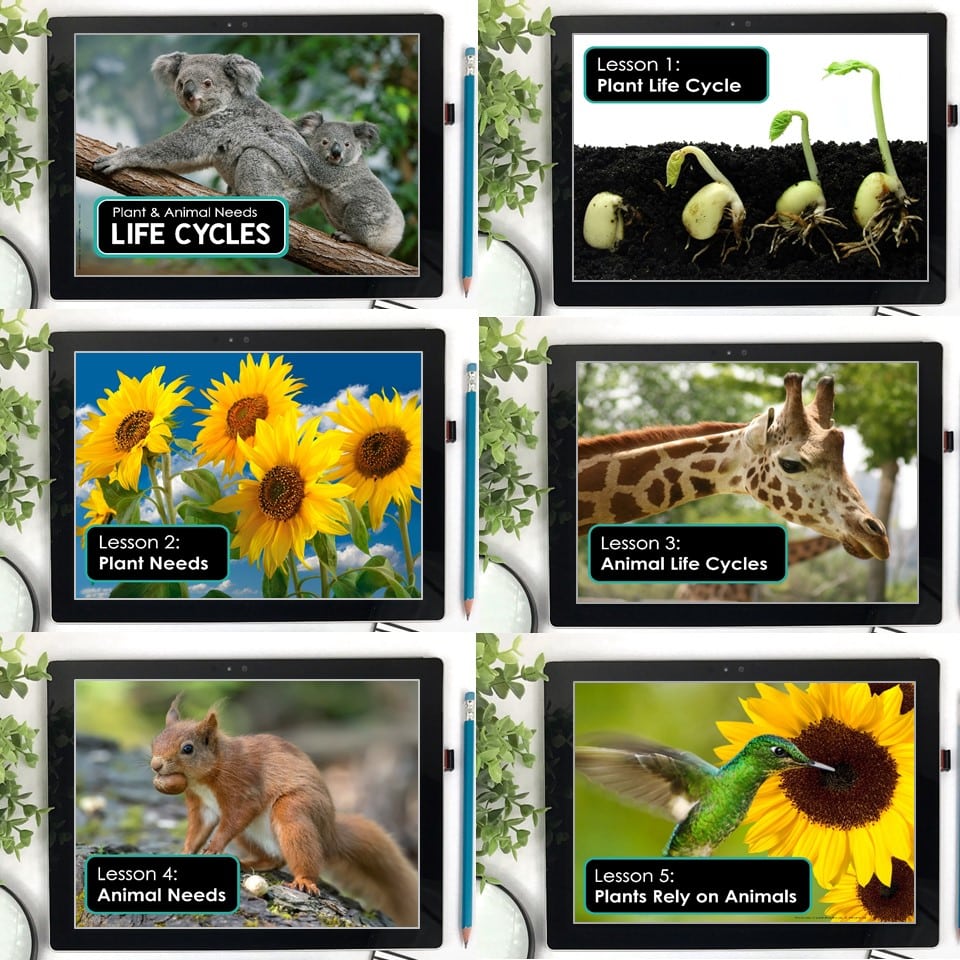


Lesson topics:
- Plant and animal interdependence
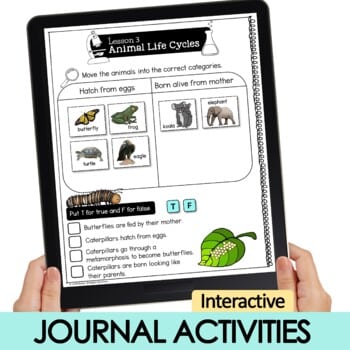
- Plant needs and their lifecycles
- Animal needs and their life cycles
- Seed dispersal
- Pollination and pollinators
- Parts of a seed, plant, and flower
This unit is also available bundled with a digital version of the student activities and narrated audio lessons HERE or click the pictures below.


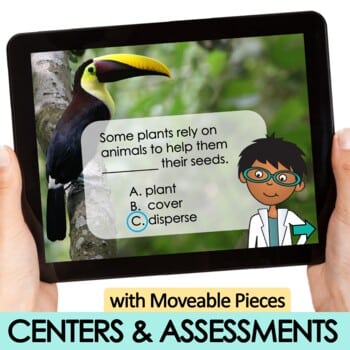
Each ready to teach lesson comes with an in-depth instructional PowerPoint, detailed, scripted lesson plans, response journal activities, differentiated quizzes, hands-on investigations and simple lab activities that are actually do-able in your classroom.

Visit these posts for more science experiments and STEM activities!
20 Second Grade Science Experiments That Build Essential Skills


Leave a Comment