When we discuss the importance of plants in nature in second grade, it can be hard for students to fully grasp plants’ ability to create oxygen for us to breathe. This simple photosynthesis experiment is a great opportunity for hands-on learning in any Plants, Animals, & Life Cycles science unit.
How do plants create oxygen?
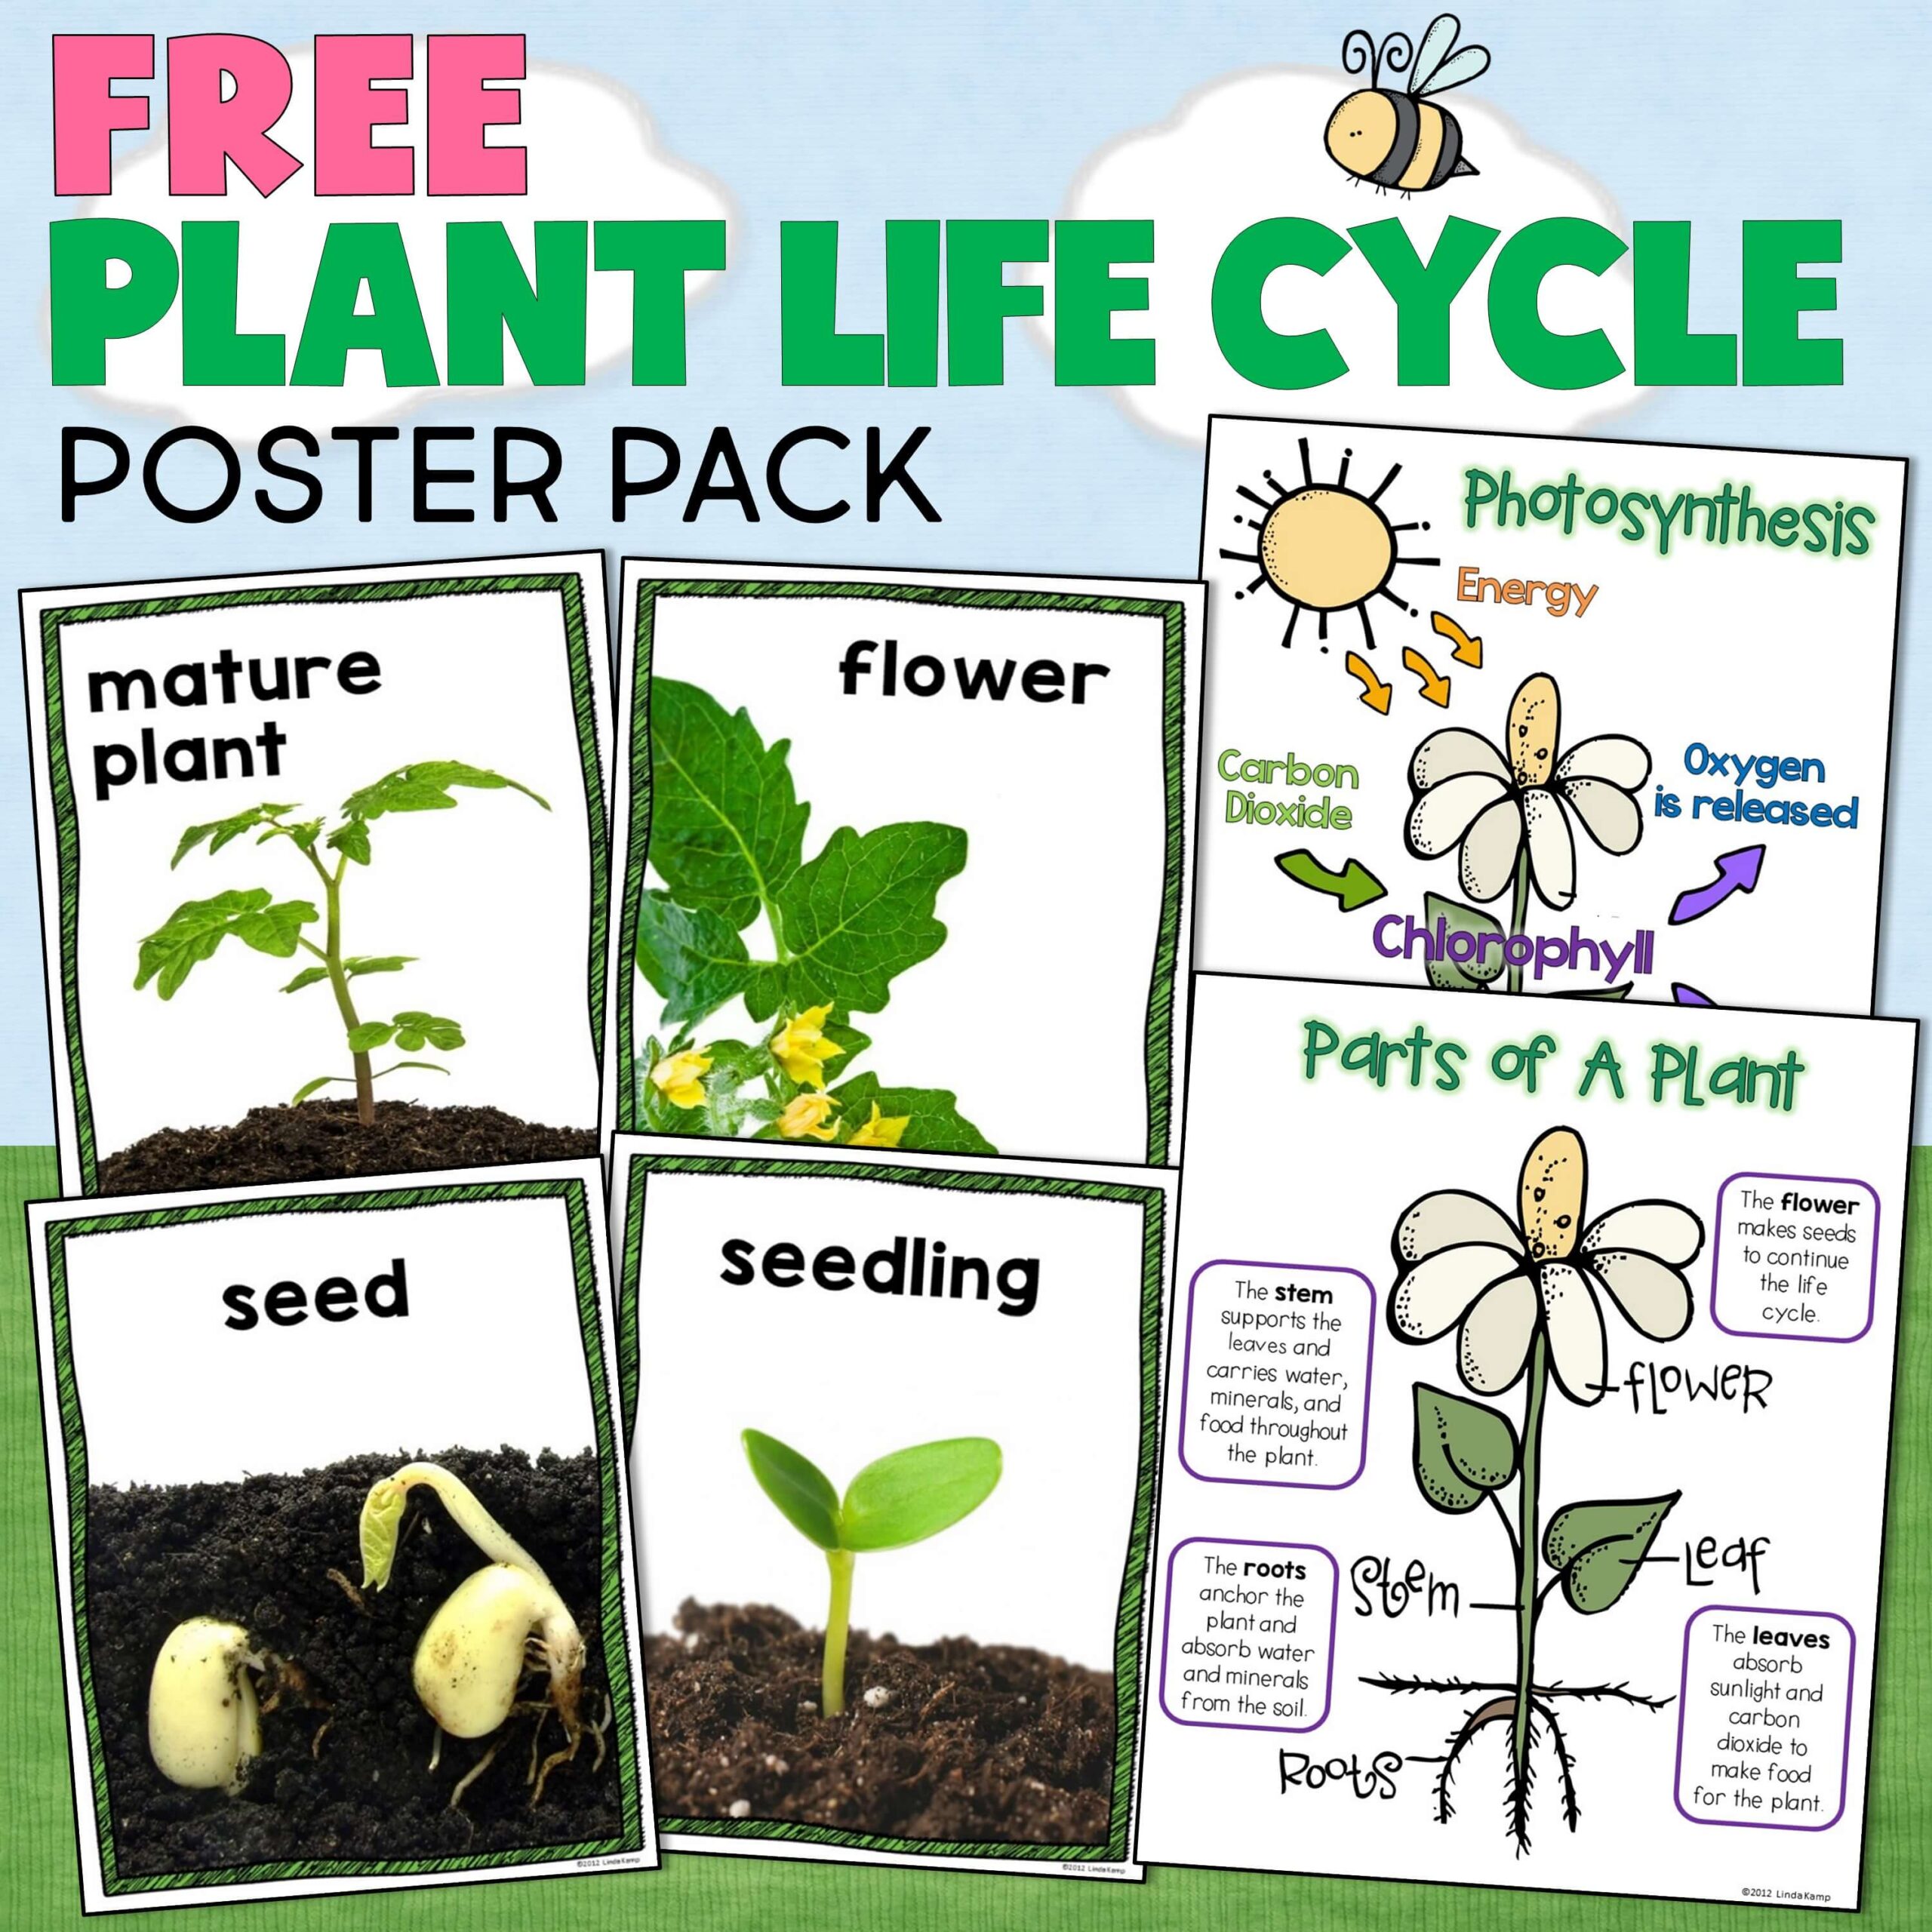
Plants release oxygen that all living things need. Plants also clean out air and absorb harmful pollutants through their leaves. This makes plants extremely important for other living things to survive on Earth.
As we breathe, the air we inhale is 21% oxygen. After we breathe in oxygen, we exhale carbon dioxide. Carbon dioxide is needed by plants for them to survive. Plants use carbon dioxide and sunlight to help them make oxygen. Leaves convert sunlight into energy as part of a process called photosynthesis. As the leaf takes in sunlight to create that energy, it expels, or breathes out, oxygen. But how can we see oxygen? Can plants produce oxygen without sunlight?
Think about when you are underwater holding your breath. If you release a little bit of air, you see bubbles. In this activity, students will observe a leaf using sunlight to create oxygen. Students will do a demonstration using leaves in water to help them see the oxygen a leaf expels, or breathes out.
Pose this question to students to help introduce the lab: How can you see a plant creating oxygen?
The changes that take place in this lab activity occur over a 1-2 hour period, so make sure to plan for that ahead of time. I have found that it works for me to set up the lab in the morning and check it after lunch.
Easy photosynthesis experiment
Materials:
- clear plastic cup or bowl
- fresh leaves
- sunlight
- water
- hand lens
- small rocks
- lab sheet
Procedure:
Place students in groups and pass out two cups of water, two fresh leaves, 2 small rocks, a hand lens, and a lab sheet.
Students place a leaf in a clear cup of water. Then, they place the other leaf in the other cup of water. Put one of the cups in a sunny spot and one in a dark spot.
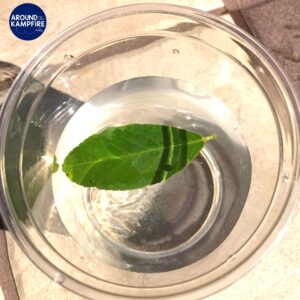
Place a small rock on the leaf to keep it completely submerged in water.
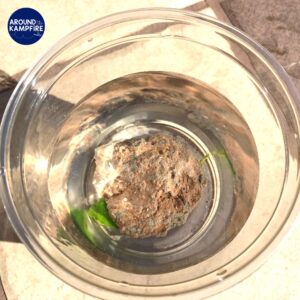
After about 20 minutes, you will see tiny bubbles begin to form on the edges of the leaf. Many float upwards and stick to the side of the cup.
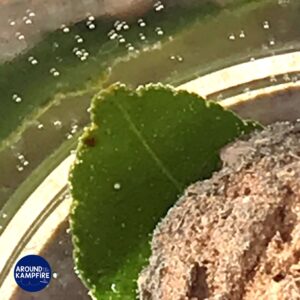
For a better look, students should use a hand lens to observe the bubbles. Explain to students that the small air bubbles are oxygen released by the leaf. The leaf remains active for a couple of hours. The process of photosynthesis will continue for a while if the cup is placed in the sun. During this process, the leaf expels oxygen into the water, which caused bubbles to form.
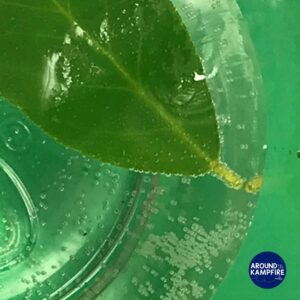
Students should check the cups every 30 minutes and record changes to both cups on their lab sheets. Ask students: “Which leaf produced the most oxygen? How can you tell?” Students should notice that the leaf that produced more oxygen has more bubbles.
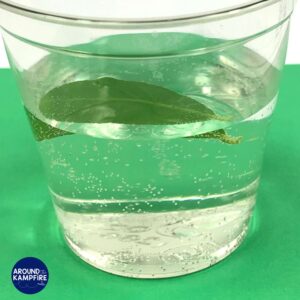
Next, ask: “Why did one leaf produce more oxygen than the other leaf?” Guide students to notice that the leaf in the dark did not have sunlight, so it did not produce as much oxygen. A fresh leaf will remain “active” and still convert sunlight to energy and release oxygen for several hours.
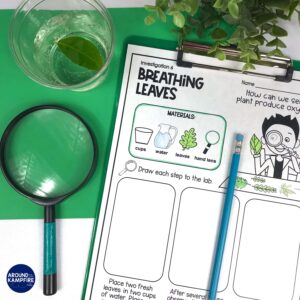
Have students complete the questions on their lab sheets to consolidate their knowledge and make interpretations about the lab’s outcome.
Finally, discuss how this lab shows the importance of plants to animals. Besides food, what do plants provide for animals?
More Plants, Animals, & Life Cycles experiments and lesson plans
This photosynthesis experiment is perfect for helping students better understand the process of leaves producing oxygen. It’s an amazing way for students to really see the process of photosynthesis at work!

This fun photosynthesis experiment is part of a complete Plant and Animal Needs, & Life Cycles unit for 2nd grade that is also available in a digital format with narrated lesson slides.

Click here to see the yearlong 2nd grade science series.
Pin this photosynthesis experiment for later so you have it when you teach about plants!
Click on these these pictures for more hands-on science activities:
Happy teaching!


Hi , is this lab sheet available for purchase on its own?
Hi Sarah,
Thanks for reaching out! Unfortunately, I don’t have any of the labs available separately.