How do plants disperse their seeds? One way is through an adaptation called exploding seed pods. It’s not quite as dramatic as it sounds, but some plants have the ability to launch their seeds a good distance away from the parent plant. This helps ensure the young plant’s survival and increases its chances of getting the water, soil, and sunlight it needs to grow. In this seed dispersal activity and STEM project, second graders were challenged to build a model of an exploding seed pod.
First, students were tasked with building a model that showed 1. How some plants have adapted to disperse their seeds, and 2. How tension builds in a seed pod before it bursts.
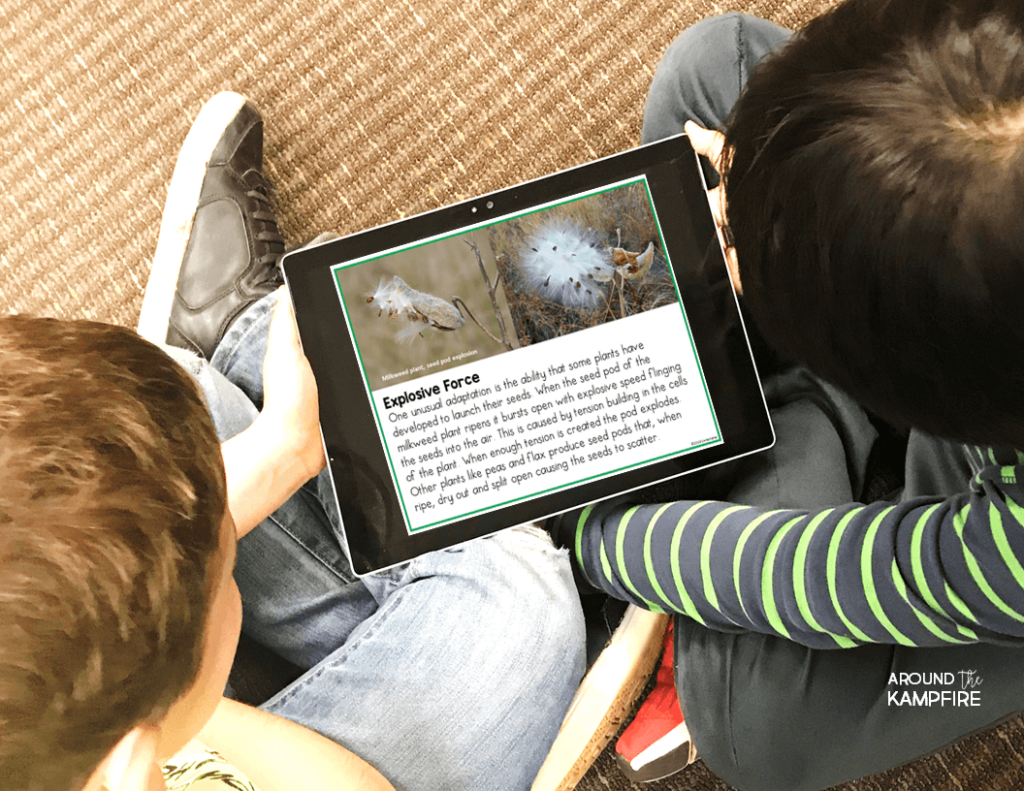
If you teach with NGSS, this seed dispersal activity addresses LS 1&2: Plant Growth, Needs, Pollination & Seed Dispersal.
How Can I Simulate Seed Dispersal?
Each pair of students were given the following materials:
- a balloon
- parakeet bird seed
- small paper or plastic cup
- funnel
- sharp pencil
- butcher paper or plastic table cloth
- a lab recording sheet
Tip: Walmart carries small boxes of parakeet seed in the pet department for under $2.00. One box is plenty for 13 pairs of students. We found that parakeet seed works better than wild bird seed because it doesn’t contain sunflower seeds that can clog the funnel. I purchased all other supplies at the dollar store.
Designing an Exploding Seed Pod
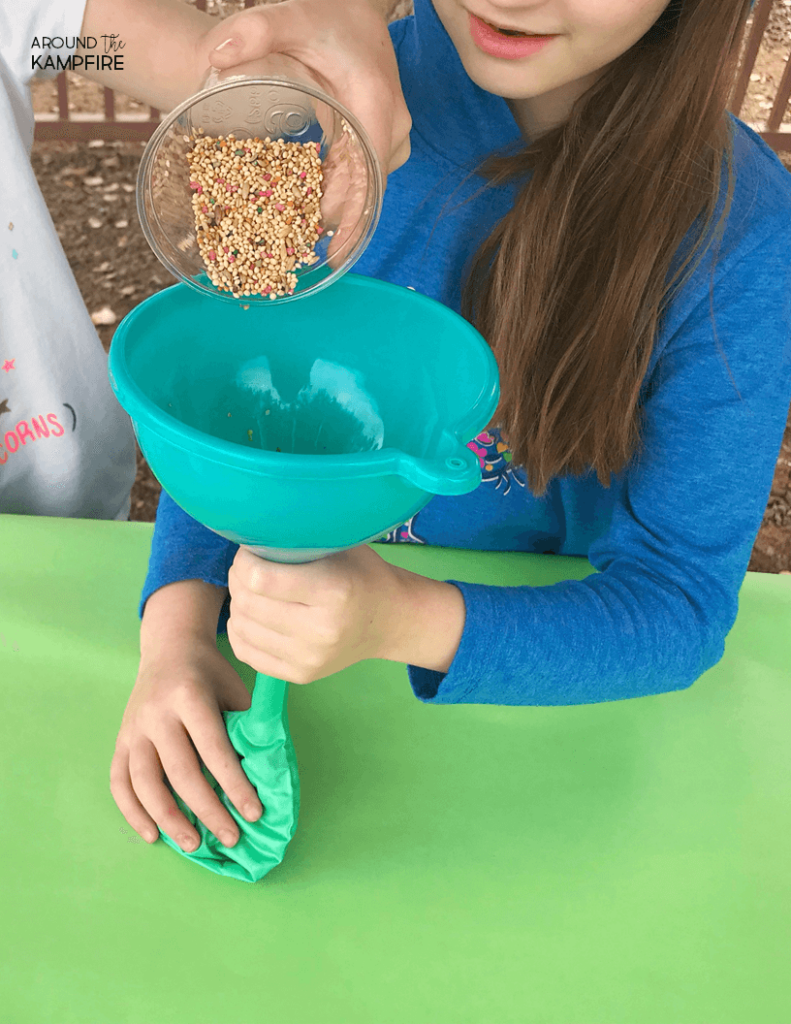
Although seemingly simple, this experiment required critical thinking and problem solving. Working in pairs, students quickly realized they could make a seed pod by pouring the seeds into the balloon. One problem they encountered was: Once the balloons were placed on the end of the funnel, some of the balloons didn’t open all the way and the seeds couldn’t drop into them. To solve this problem, students blew up the empty balloons then gently released the air to stretch them out first. They also realized they could stretch the necks of the balloons to create a larger opening that would allow the seeds to flow in more easily.
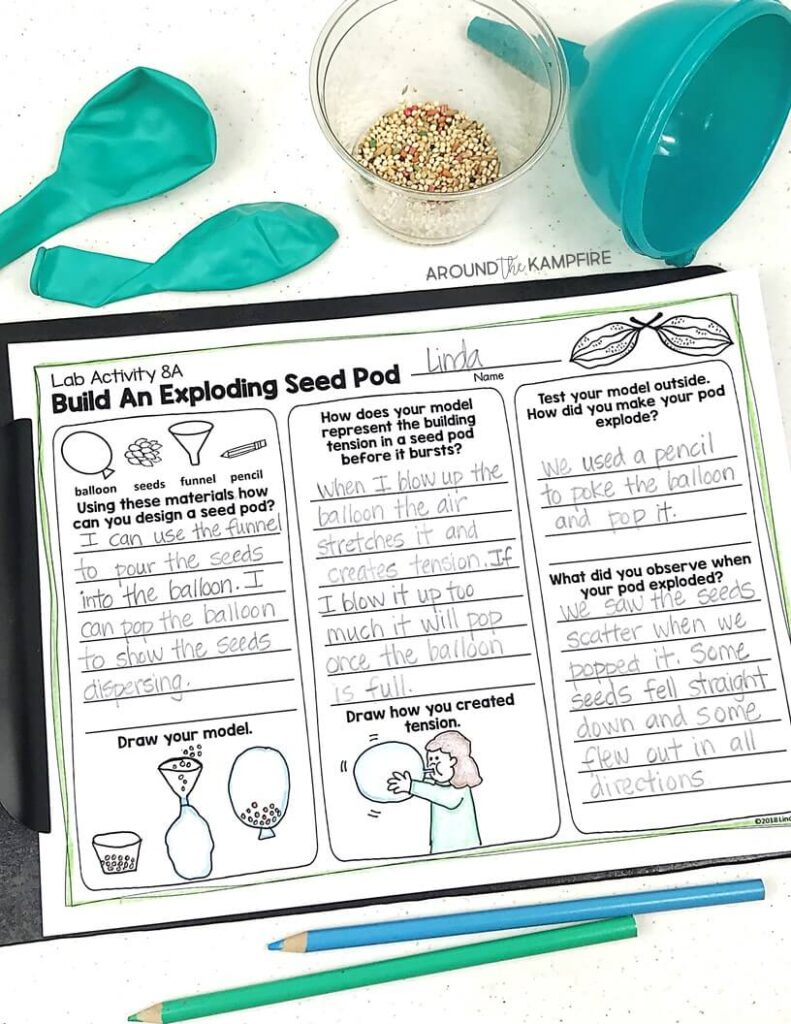
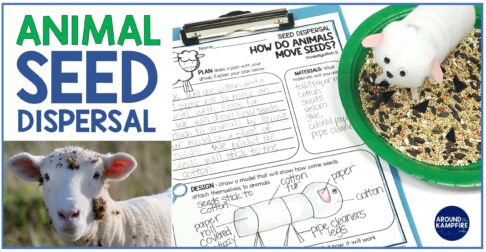
Students used their lab sheets to make drawings explaining how they would represent the building of tension in a seed pod before it bursts.
Head Outdoors to Get Started!
Before getting started, you will definitely want to head outside! Place a long sheet of butcher paper (or a plastic table cloth from the dollar store) on the ground. This enables students to see where their seeds fall as they disperse. Stand at one end of the paper holding the balloon outward. Finally, pop the balloon and watch what happens!
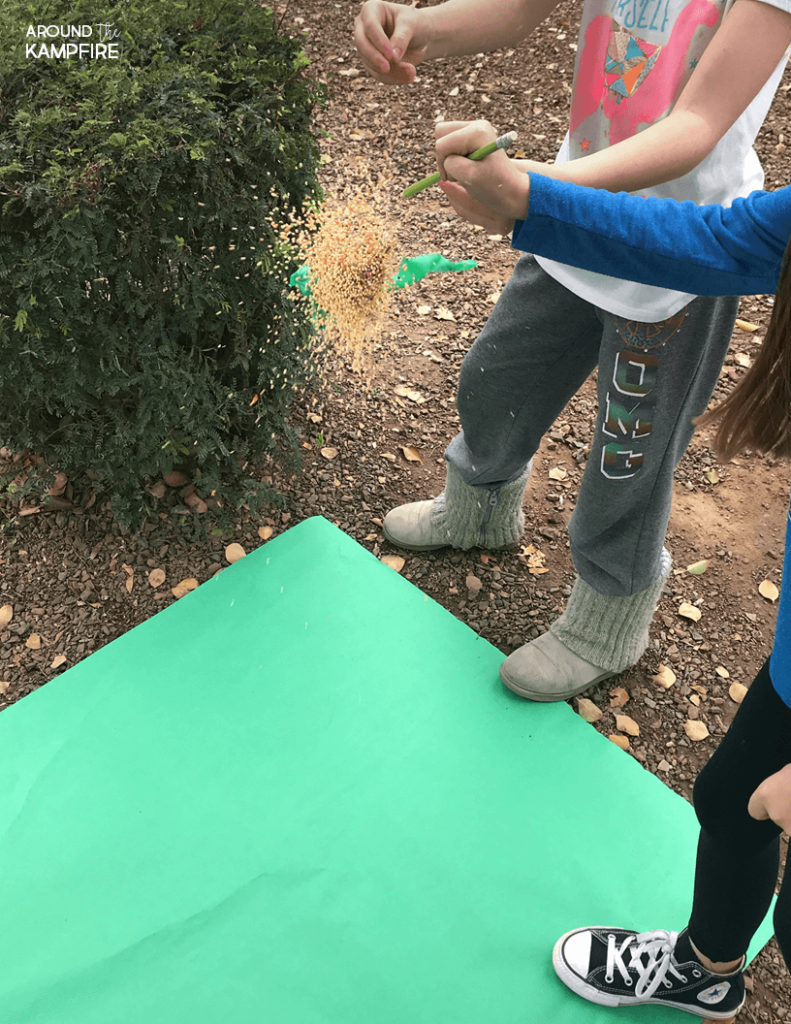
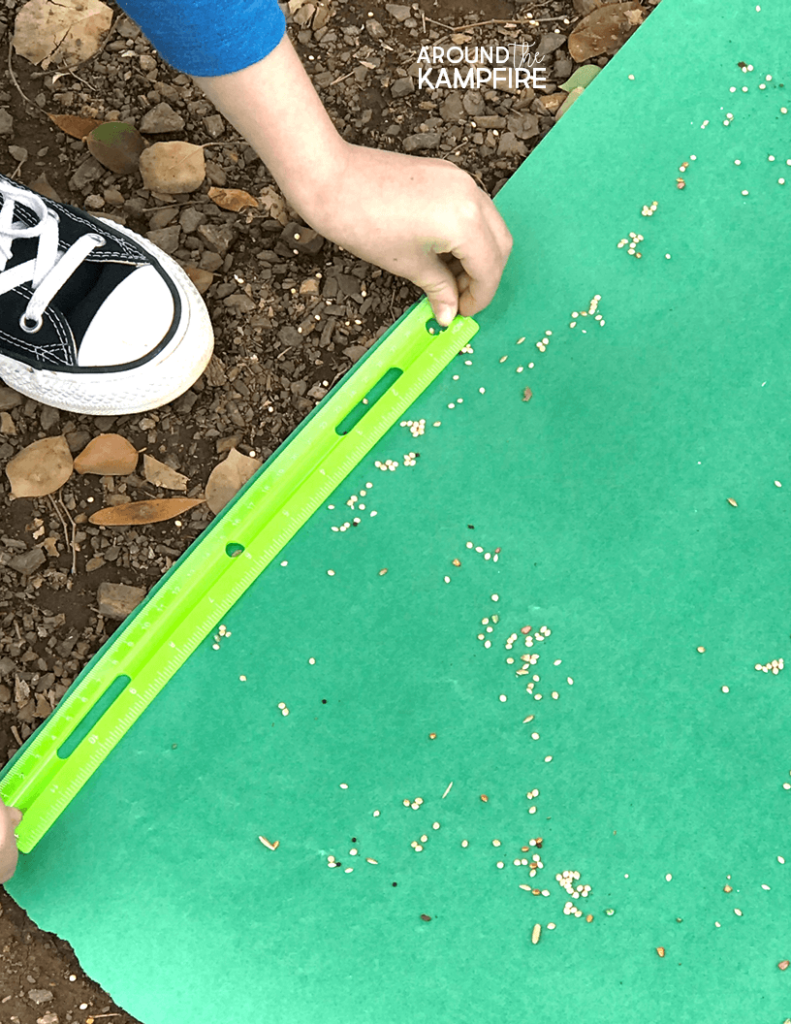
Once our “pods” had burst, students measured the distance their seeds traveled.
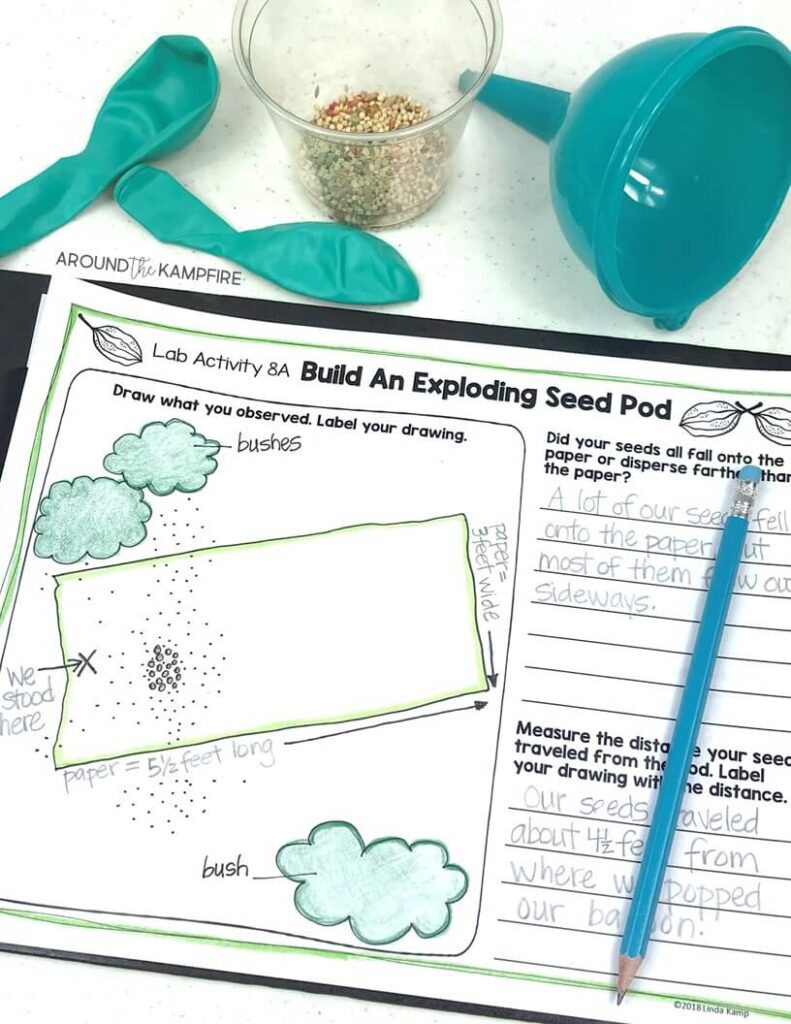
Next, they made drawings of what they observed that included their measurements. (Have third graders determine the area and perimeter the dispersed seeds covered.)
This simple seed dispersal activity is a lot of fun and an engaging way to incorporate critical thinking, problem solving, and math as your students learn about seed dispersal and the life cycle of plants.
Click here to see the complete plant science unit I use that includes this experiment and lab sheets.
Be sure to pin this for later so you’ll have it when you plan!
Where can I get the lab sheets you used in the seed dispersal activity?
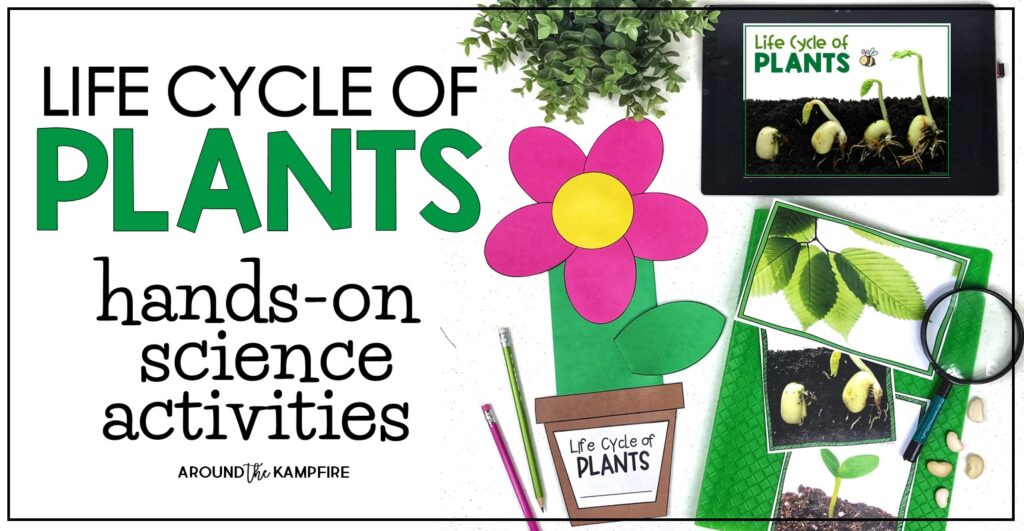
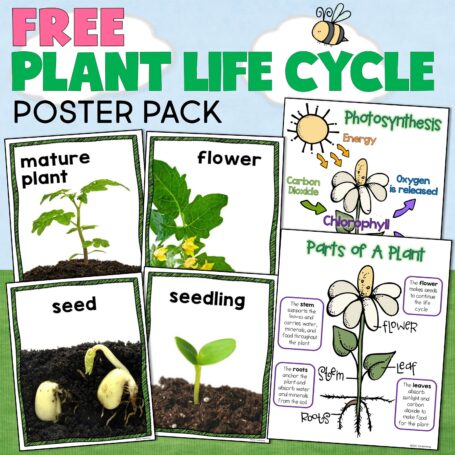
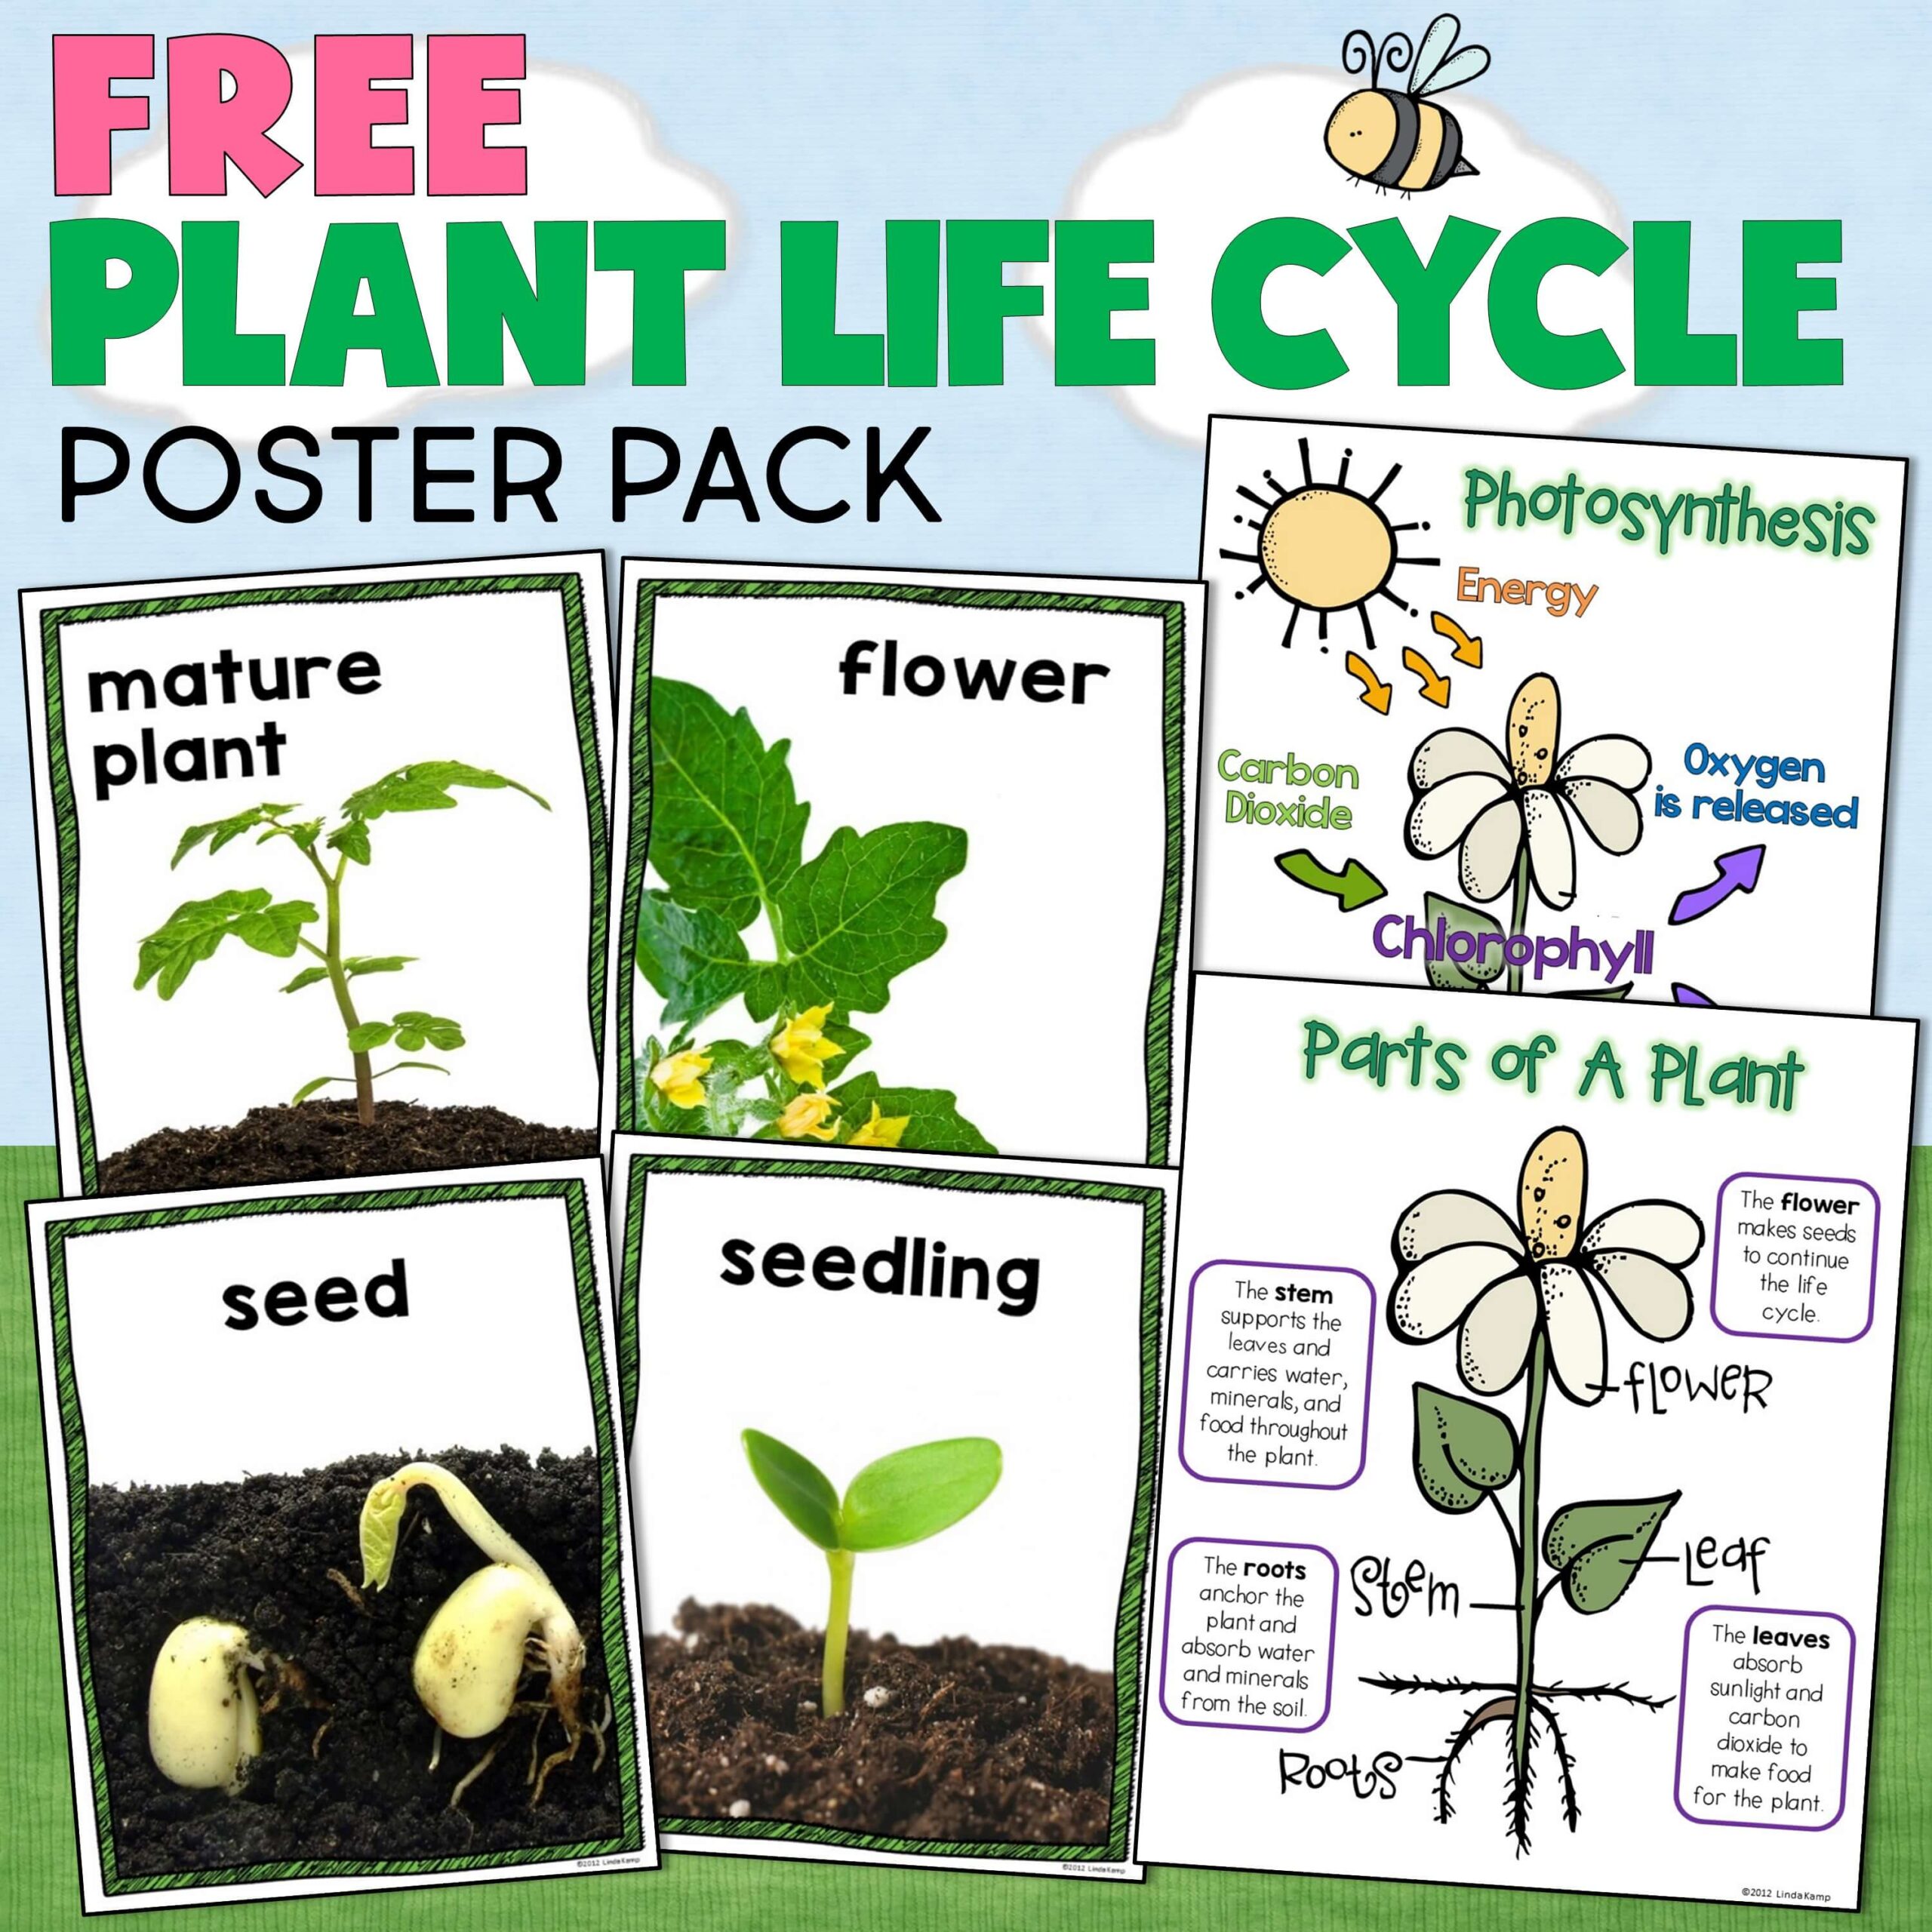
This seed dispersal experiment and lab worksheets are part of a complete plant life cycle science unit I designed for grades 1-3. The unit includes over 25 plant science activities, experiments, and a 9-lesson Teaching PowerPoint.
See how I use this science unit in my classroom and find lots of hands-on activities for teaching the life cycle of plants.
What other seed experiments can I do with my class?
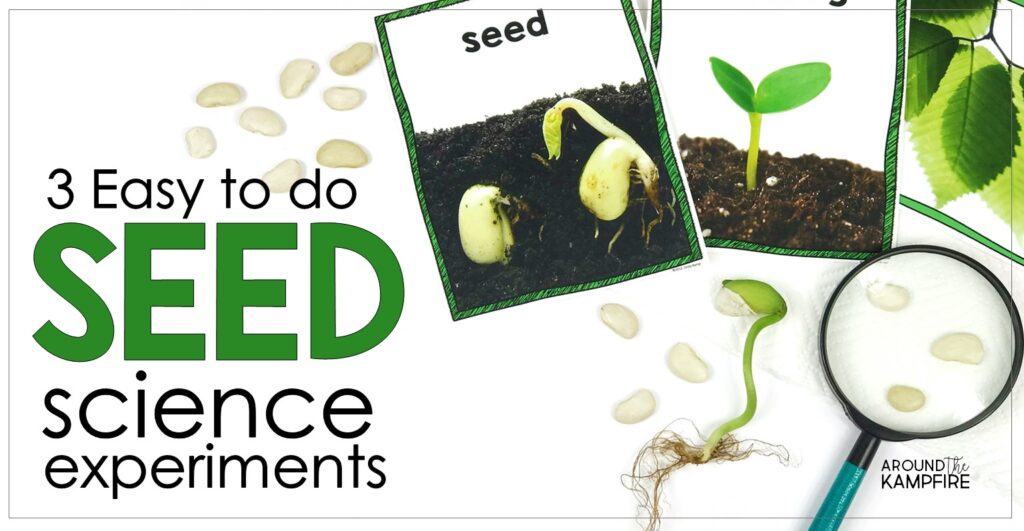
These 3 easy seed science experiments guide students in dissecting a seed, learning the parts of a seed and germination.
How can I integrate art while teaching about plants?
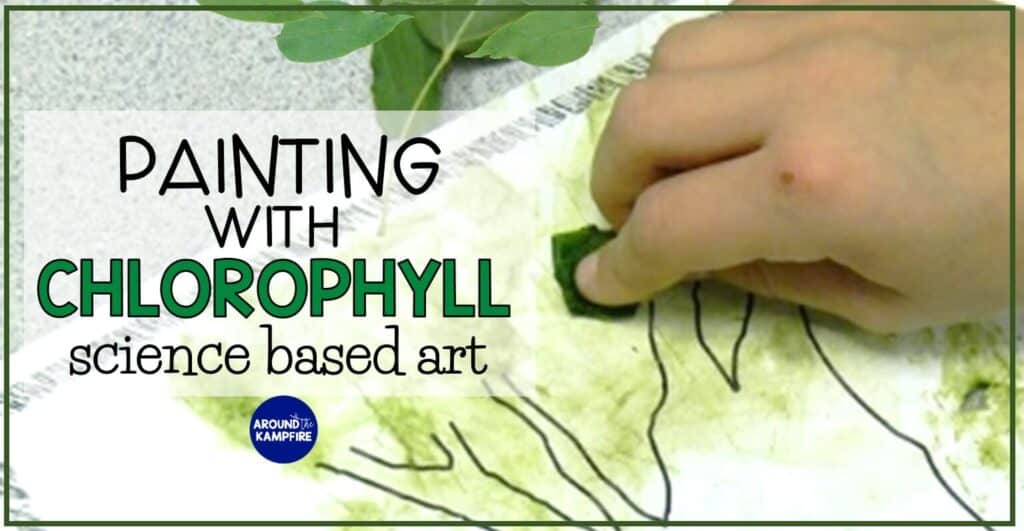
Chlorophyll paintings are a fun and creative way to integrate art and science as your students learn about photosynthesis and how a plant makes its own food.
I need ways to have my students write more about science. Any ideas?
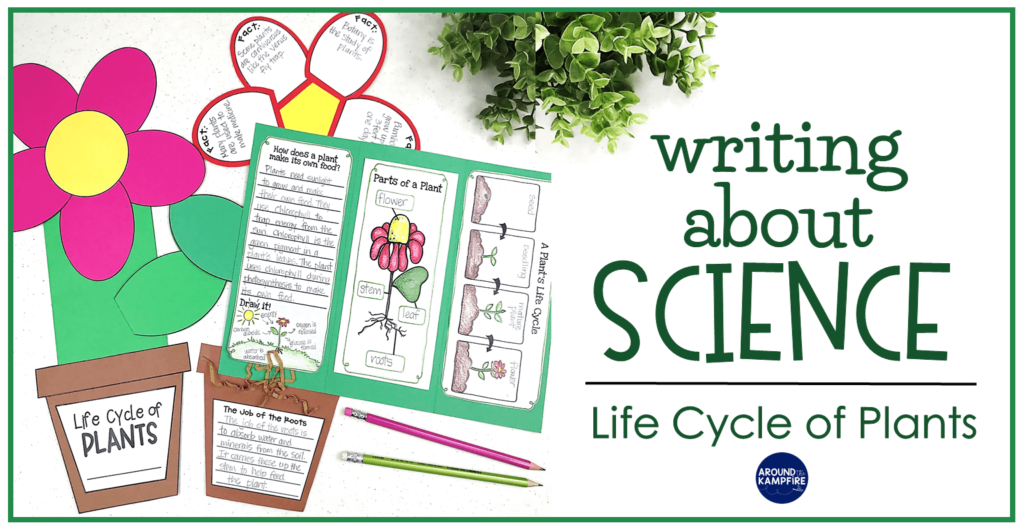
Make it fun with these unique ideas for students to write about pollination, photosynthesis, and germination.
Find butterfly life cycle activities , science experiments, and FREEBIES in this post.
How can I begin building a strong science foundation in my students?
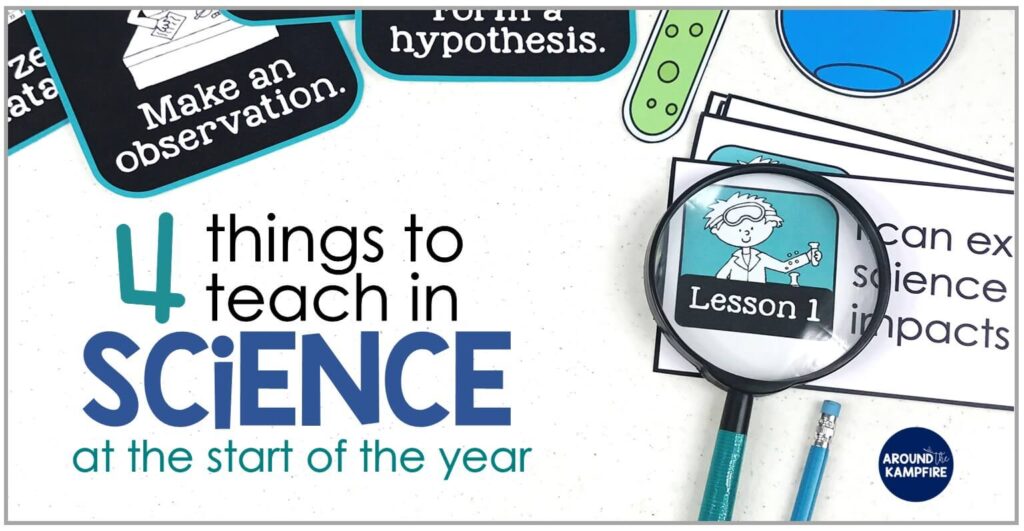
Check out this post for ways to build a science foundation by teaching students about scientists and types of science, science safety, and the scientific method. Here are 4 Things to teach in science at the start of the year- or any time!
Do you have more science experiments for 2nd and 3rd graders?
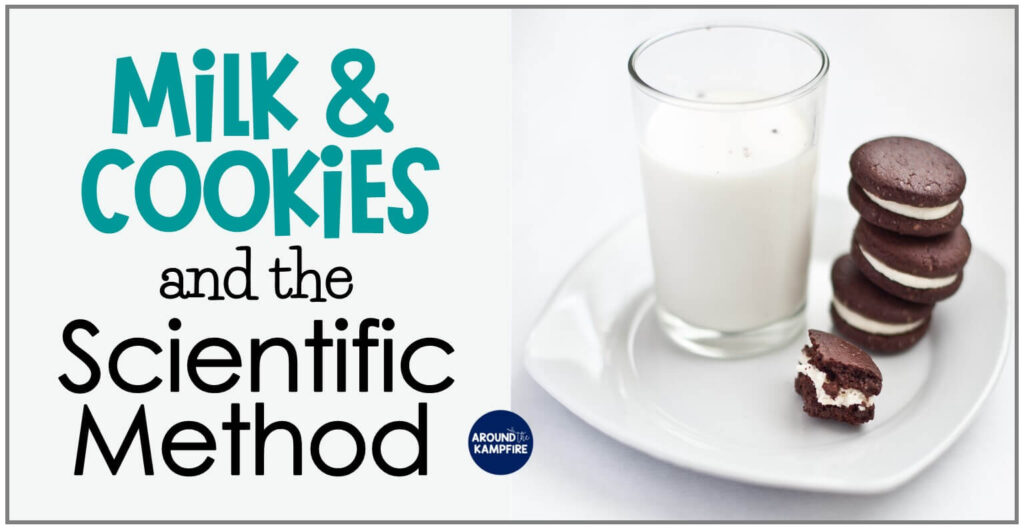
Your students will love this one! Try using milk and cookies to explore buoyancy and practice using the steps to the scientific method.
Happy teaching!


Can you make the lab sheets for this activity available for purchase by themselves? I don’t need a whole plant unit but would love to do this for STEM one day.
These are great! Do you have ideas such as these for the 4th grade curriculum?
https://www.science-sparks.com/exploding-seeds/
I like to make my seed dispenser with a toilet roll (cardboard cylinder) and a ballon – this way the materials can be re-used. Also, if you want some cheap seeds, just use soup mix from the supermarket.
Kind regards, LR
These are great ideas, Laura! Thanks for sharing them!
Hi, I love this Life Cycle of a plant unit. I am planning on moving through the seed portion with a special needs class. Although when you list the parts of the seed, the cotyledon is defined as the food source for the baby plant, and it is actually the baby plant leaves. The endosperm is the food source, could this be corrected so I can reprint those forms correctly? Thanks in advance, Tanya Lamo
Very good ideas
Very innovative ideas
Your material is well done and easy to adapt to any classroom. I appreciate it. Thank you!
Great ideas. I found this very helpful
I’m wondering if you think this would be appropriate for 1st grade students?