In this post, I’ll show you a simple and fun blubber science experiment for kids as they learn about arctic animal adaptations. It’s easy to do in the classroom and demonstrates how arctic animals adapt to their environment.
Arctic Animal Adaptations
When teaching second graders about habitats and ecosystems, we spend a bit of time learning about adaptations; ways plants and animals adapt to their habitats to survive. This simple blubber experiment demonstrates how arctic animals stay warm in their icy water habitats.
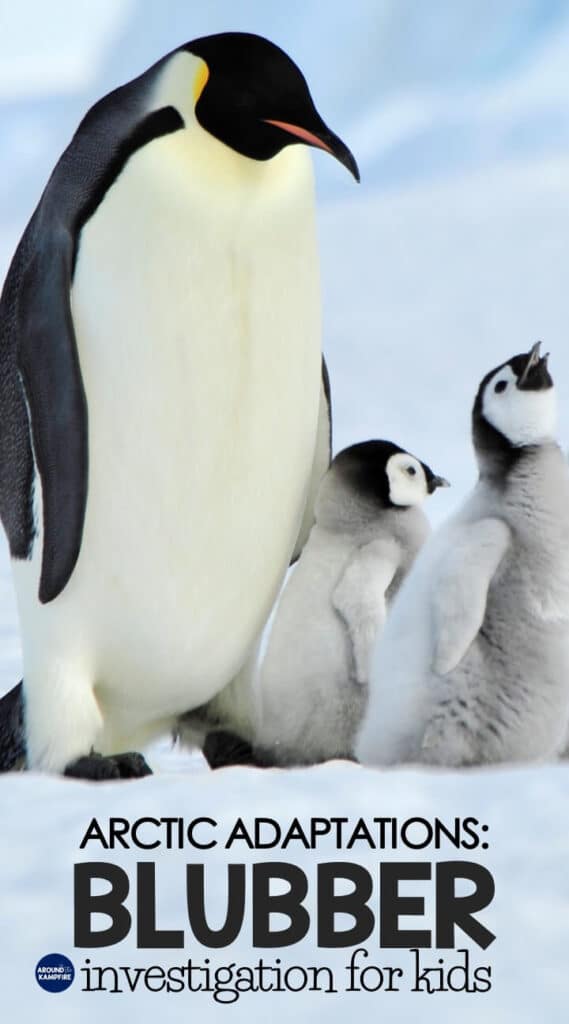
Blubber is a thick layer of fat just under the skin of all marine mammals. It covers the entire bodies of animals like polar bears and penguins, whales, seals, and walruses. These mammals have adapted to live in cold waters. They survive because their blubber acts like insulation, trapping their body heat in.
The science behind it is pretty simple: The further the blood is from the skin’s surface, the less body heat is lost. Blubber creates a thick, protective layer, much like a blanket, that provides a barrier between the animals’ blood and the surface of its skin.
Blubber Science Experiment for Kids
This activity is really a demonstration. It recreates the layer of fat that keeps an animal warm. During the demonstration, students compare the cold they can feel with and without wearing a “blubber glove”.
To get started, you will need a few inexpensive items that are readily available at any grocery store.
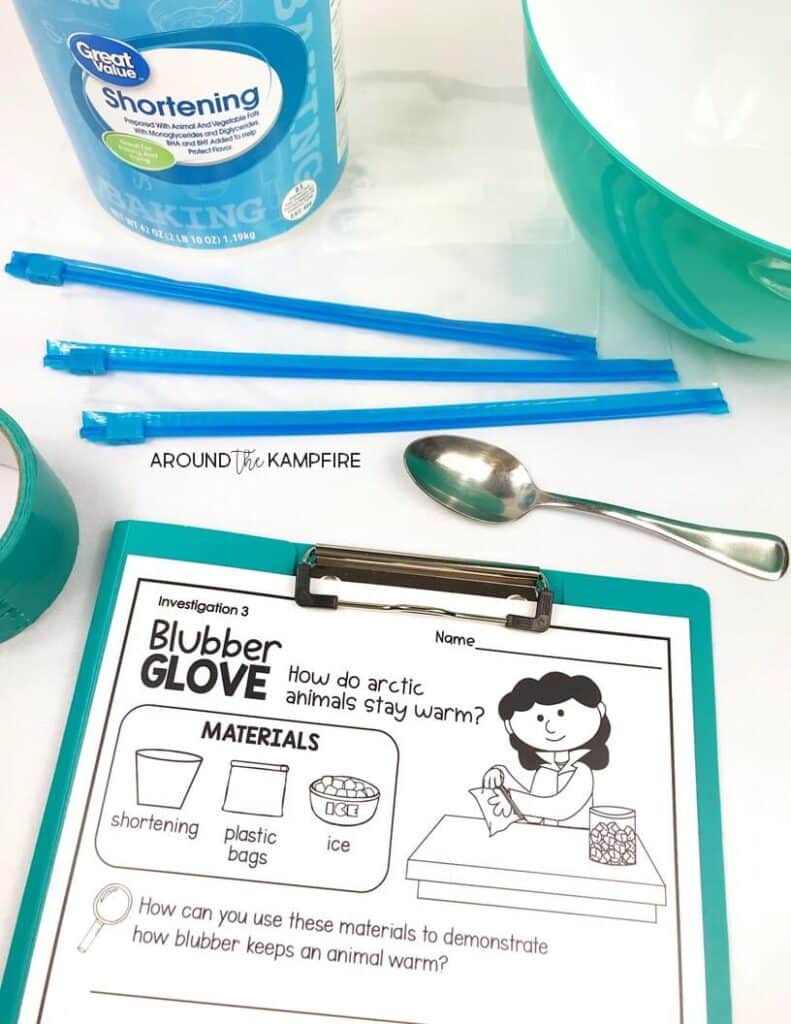
Blubber science experiment & lab sheet source: Habitats Science Unit
Materials per small group of students:
- 3 gallon size Ziploc bags
- 1 can of shortening
- duct tape
- large cup of ice
- large bowl or bin
- metal spoon for scooping shortening
- student lab sheet
Prepping the glove:
I recommend preparing the blubber glove ahead of time using the following steps.
1. Fill a gallon zipper bag about 2/3 full of shortening.
2. Place your had inside a second, empty zipper bag and carefully push it into the bag with the shortening.
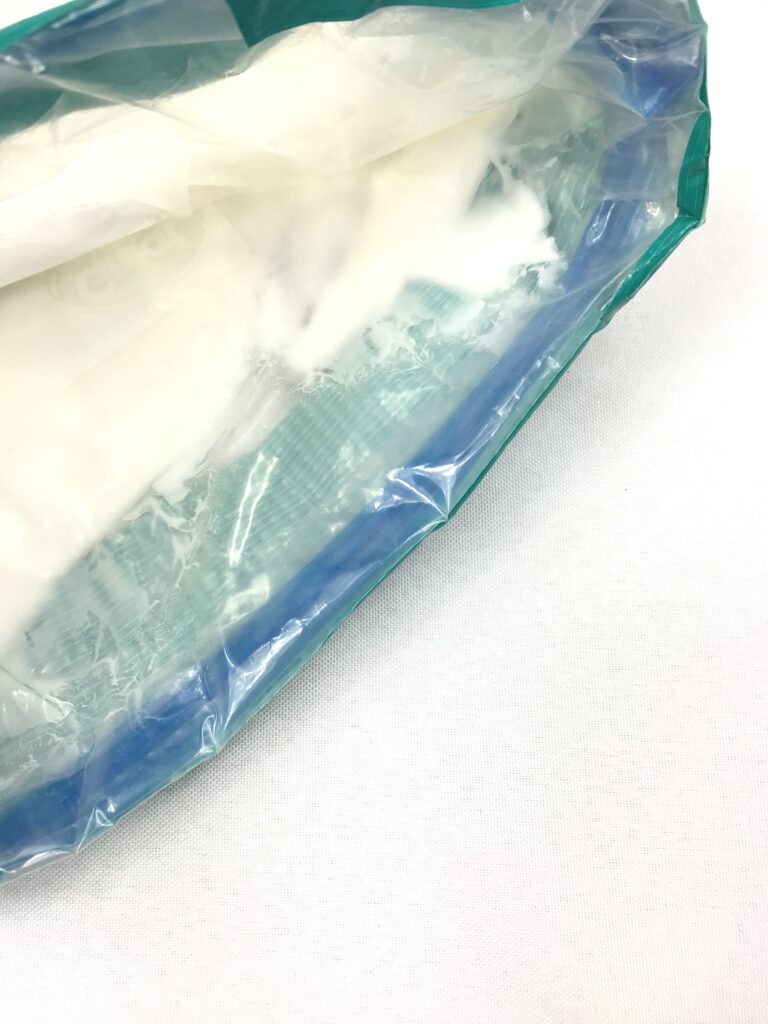
3. Holding the top edges of both bags, roll the top edges of both bags over about an inch.
4. Tape down the fold with duct tape to seal the shortening inside between the two bags forming a “glove”.
5. With your hand inside the glove, press and smooth the shortening to distribute it as evenly as possible around the center bag. The inner bag should be surrounded by shortening.
Demonstrating the Adaptation
Conduct the test by first having students describe on their lab sheet how the materials are used to replicate blubber. Once students finish, they start by placing their hand inside the bowl of ice water.
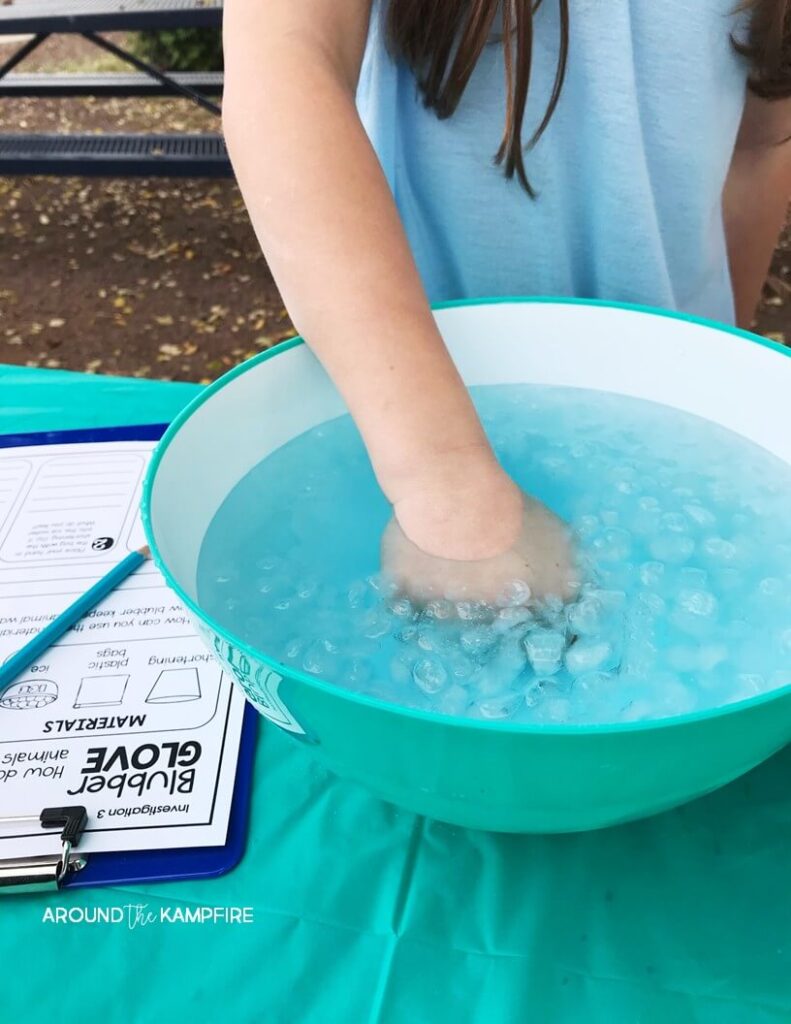
Next, students place their hand inside the blubber glove and into the ice water again.
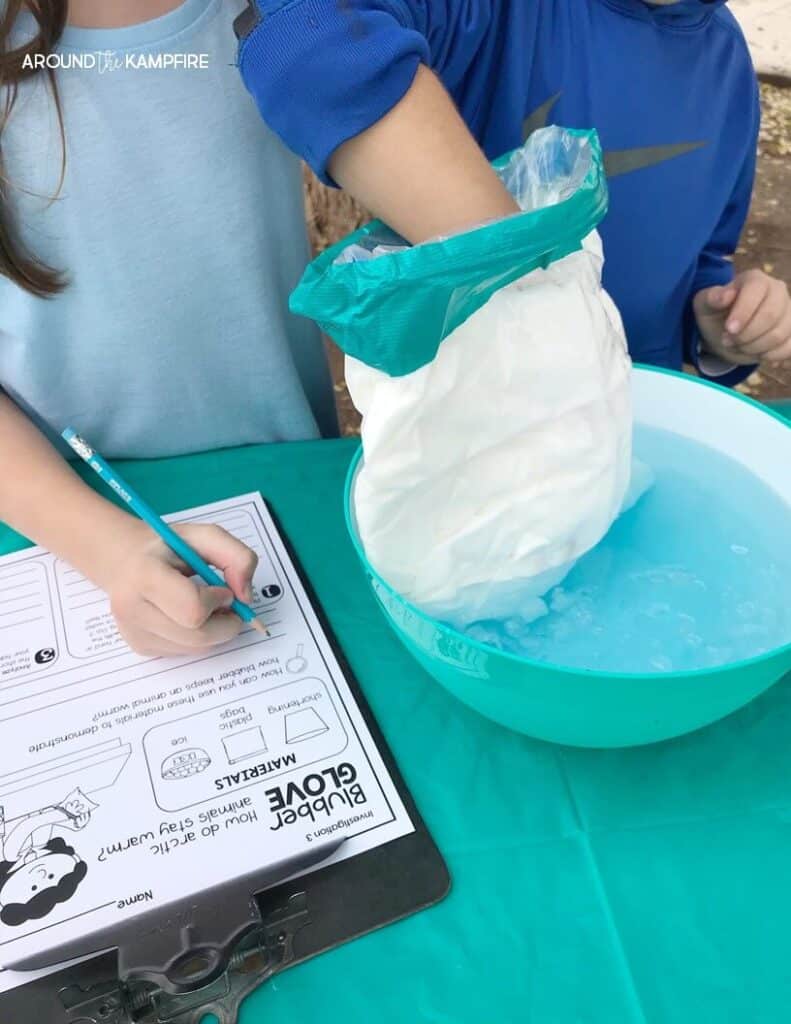
Students compare what they feel and document it on their lab sheet. Lastly, students explain in writing on their lab sheets how the shortening insulated their hand from the cold temperature of the water comparing it to the way blubber keeps an arctic animal warm.
This blubber science experiment video by Steve Spangler science gives a visual on how to prep your glove.
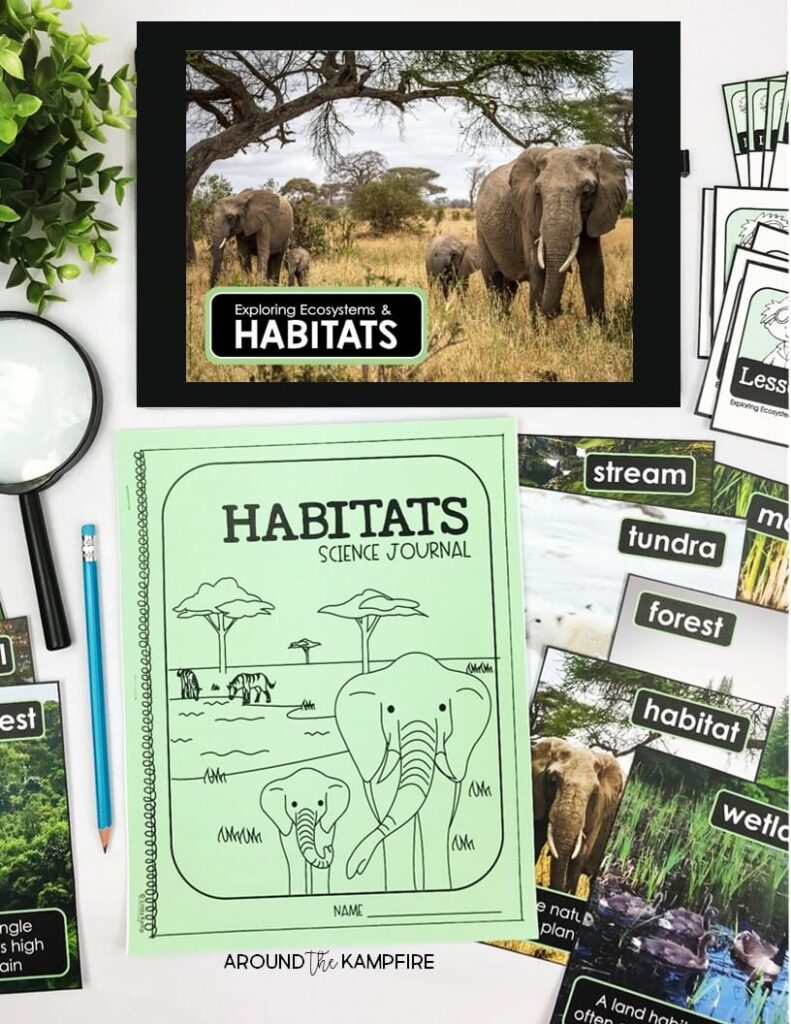
CLICK HERE for an in-depth, ready to use unit on Habitats and Ecosystems for second grade.
This comprehensive, 3-week unit includes a 7-lesson teaching PowerPoint, experiments, science journal, and much more.
Click here to see the entire 2nd grade series.
I hope you’ll try this simple blubber science experiment for kids as your students learn about habitats and arctic animal adaptations. Be sure to pin this post for later so you have it when you plan!
Find more high engagement science activities for kids in these posts:
Hands-On Properties of Matter Activities & Experiments
Habitats Activities for Second Grade Scientists
Milk & Cookies and the Scientific Method
Happy teaching!



Great ideas! Keep it coming please! Thank you!