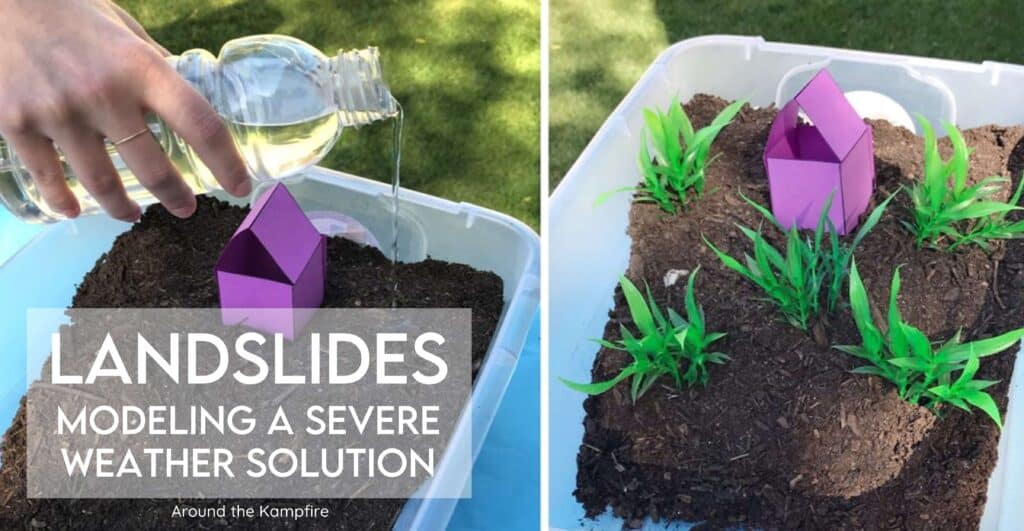
In this post I’ll share a landslide science experiment to do with your students when teaching a unit on landforms and Earth changes. It’s an opportunity for students to build models and think critically about ways to solve problems caused by severe weather events. Try this science activity with your students to embed science and engineering practices into your lesson.
What is a landslide?
The surface of Earth is always changing. Some events, like volcanoes, earthquakes, and landslides, can change the Earth’s surface quickly.
Landslides happen when a large amount of dirt, rocks, and mud all move together down big slopes, like mountainsides. It’s kind of like an avalanche of earth materials, and they can really wreak havoc on the areas they impact.
Why do landslides happen?
Landslides are caused by rain, earthquakes, or volcanic eruptions. Heavy rainfall makes the soil loose. Then, the sides become unstable and slide downward.
Although people can’t change the causes of landslides, there are still some ways that we can help prevent landslides from happening, or at least lessen their impact.
In this landslide science experiment, students will complete a simulation of a landslide to design and test ways to help protect towns from landslides.
First, help students understand a little more about landslides before starting this landslide science experiment. This landslide video explains a bit of the science behind the rapid, sudden changes to Earth’s land and surface that occur during a landslide.
After watching the video, guide a discussion about the causes of landslides and how landslides can impact communities.
Pose this question to students to introduce the investigation: How can you help protect a town from a landslide?
Landslide science experiment
Materials:
- Potting soil or dirt
- 2 wide plastic bins
- Pitcher or water bottle
- Newspaper
- Plastic aquarium plants
- Ruler
- House template (2 per group of students)
- Lab sheets
Procedure:
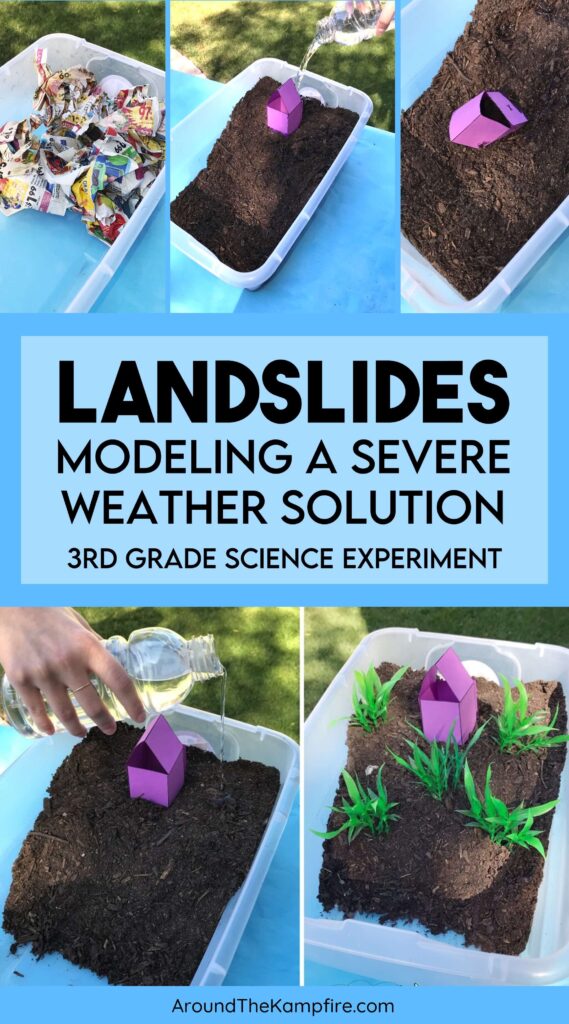
1. Gather materials for each group of 4 students to use to make two models.
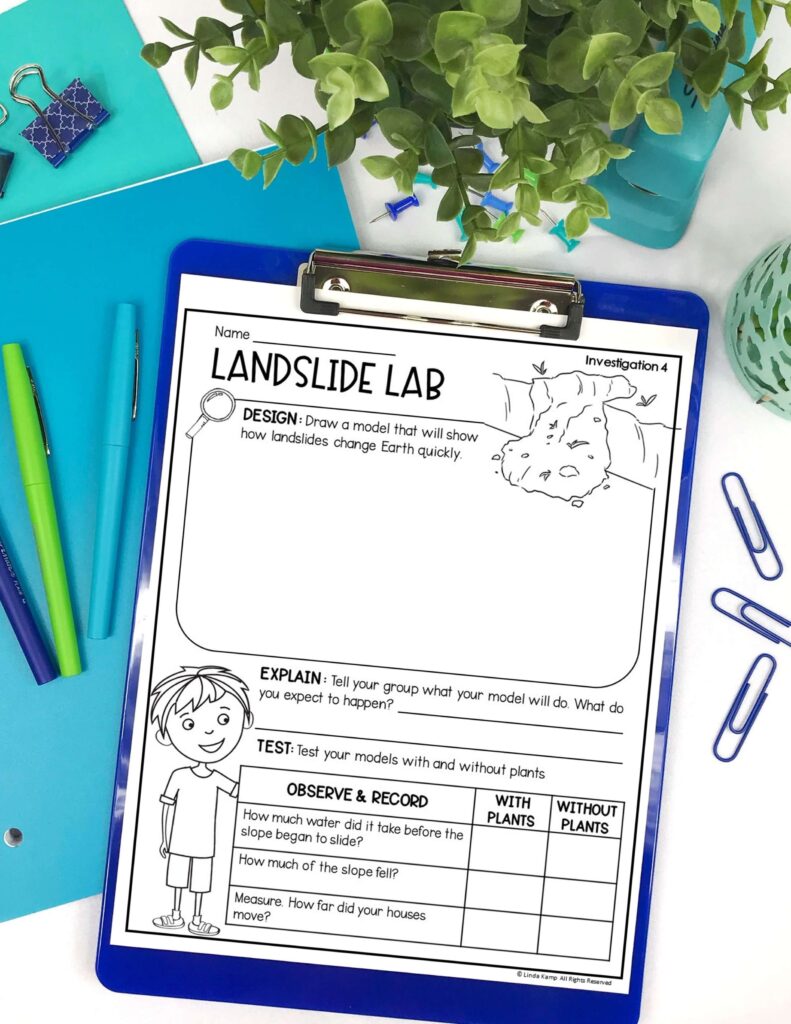
2. Have students complete the Design and Explain parts of the lab sheet. They’ll draw a quick model to show how landslides change Earth quickly based on what they already know about these fast Earth changes. In the Explain portion of the lab sheet, students will tell what the model landslide will do and what they expect to happen in this landslide science experiment.
3. Stack wadded newspaper in half of the bin to form a slope.

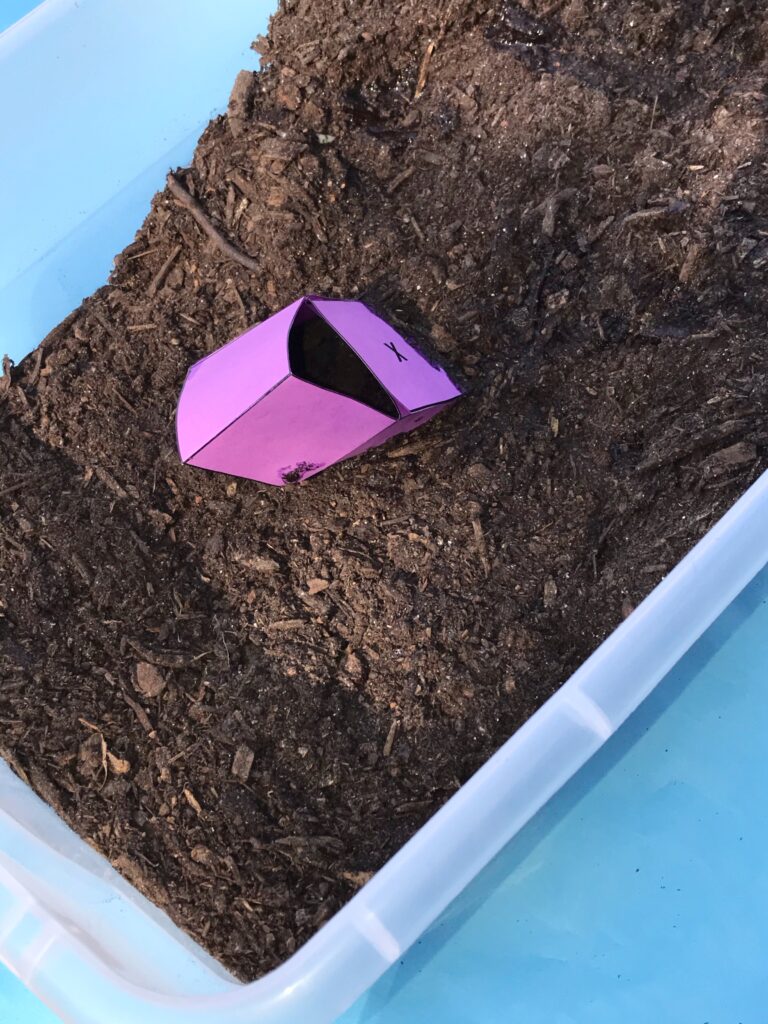
4. Cover the newspaper with dirt or potting soil. I have found that dirt usually works best because it is more absorbant than potting soil. Press firmly to flatten the top area and form a slope. Then, place the house on the flat area at the top of the slope.
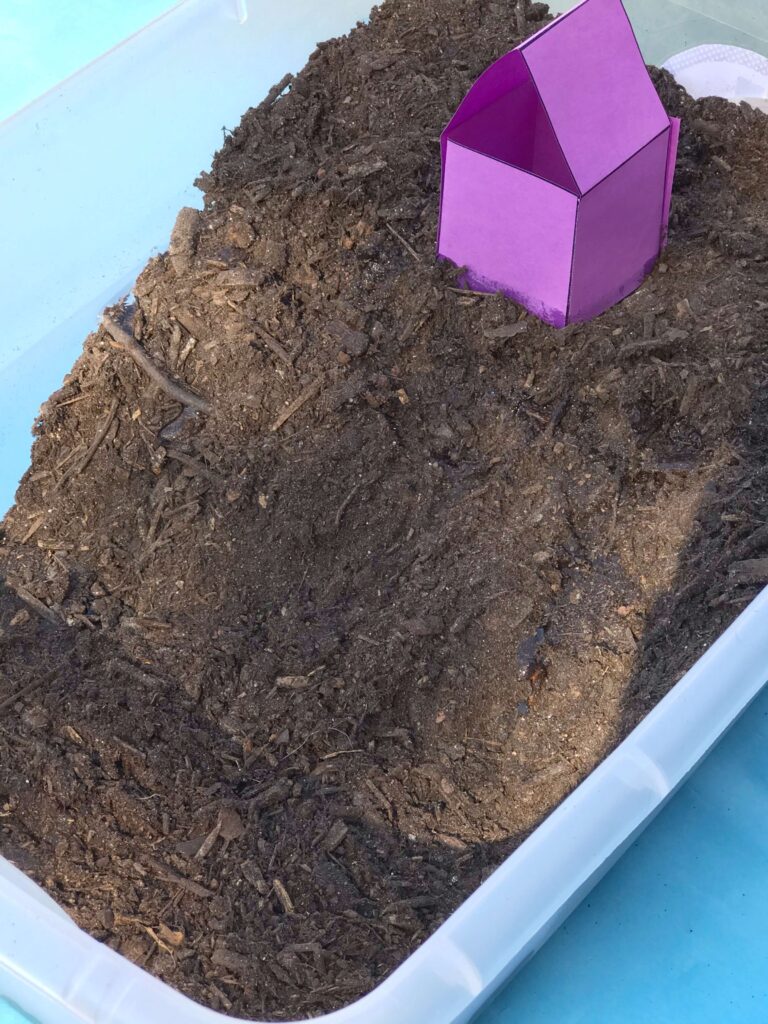
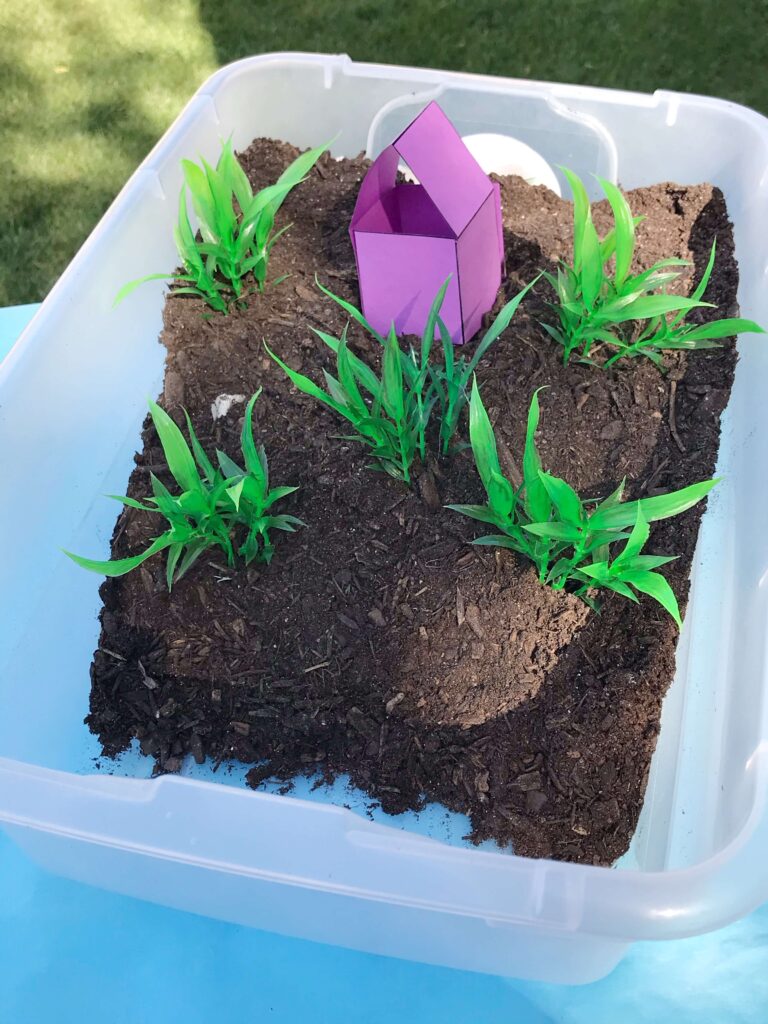
5. Repeat the previous steps in the second bin. This time, add plants on the sloped area. Students will test both to see if plants slow or prevent a landslide.
6. Pour water all around the house and slope to simulate heavy rain. You may need to refill your water bottle or pitcher.
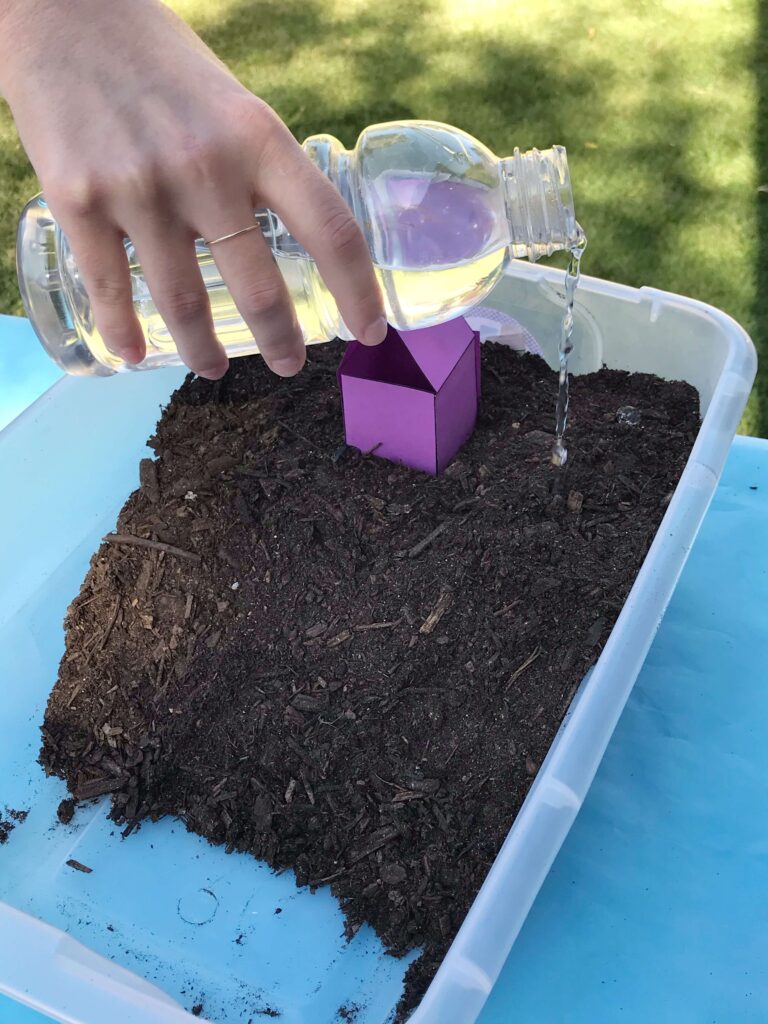
7. Observe the soil as the rain begins to wash it away. Dirt will absorb the water better and it will be easier to see than if you are using potting soil.
8. After the land slides, students record their observations on their lab sheets. They will measure how far the house moved from its starting point to its end point and record these measurements on their lab sheets.
9. Finally, students will complete their lab sheets.
Landslide lab sheet (source)
10. Wrap up the experiment by leading a discussion about how the model works. Help students to compare the two models and determine the real world implications and if their idea could be a solution to lesson the impoact of a landslide.
By the end of this lab, students should be able to see that plants can reduce the impact or prevent the occurrence of landslides. In the real world, plant roots can help to stabilize soil and plants absorb some of the water that can cause landslides.
More landforms & earth changes experiments and lesson plans
Our landslide science experiment really gets students thinking about how to potentially solve some of the problems that landslides cause. It’s great for giving a visual representation that students can get involved with!
This landslide science experiment is part of a complete Landforms & Earth Changes unit for 2nd grade that is also available in a digital format with audio lessons.
Click here to see the yearlong 2nd grade science series.
Don’t forget to pin this post to refer back to during your planning time!
Visit these posts for more high-engagement and hands-on landforms and earth changes activities:
Water Erosion Science Experiment: Save the Lighthouse!

10 Hands-On Activities for Teaching Earth Changes & Landforms








Leave a Comment