Kids are natural engineers. They are makers, designers, and problem solvers at heart. Who else has these qualities and creates things to solve problems? Engineers! In this post I’ll share some foundational activities to do with your 2nd grade and 3rd grade students to teach engineering design and the engineering design process.
These activities will give your students opportunities to draw diagrams, make models, and evaluate the designs of everyday objects so they can use these skills to think like engineers.
Learn About Engineers
What is an engineer? An engineer is a person who designs and builds products, machines, systems, or structures to solve a specific problem. Engineers have scientific training. They study how and why things work. Engineers use a specific, step by step method to approach problem solving called the engineering design process.

This fun NASA video for kids explains what engineers do.
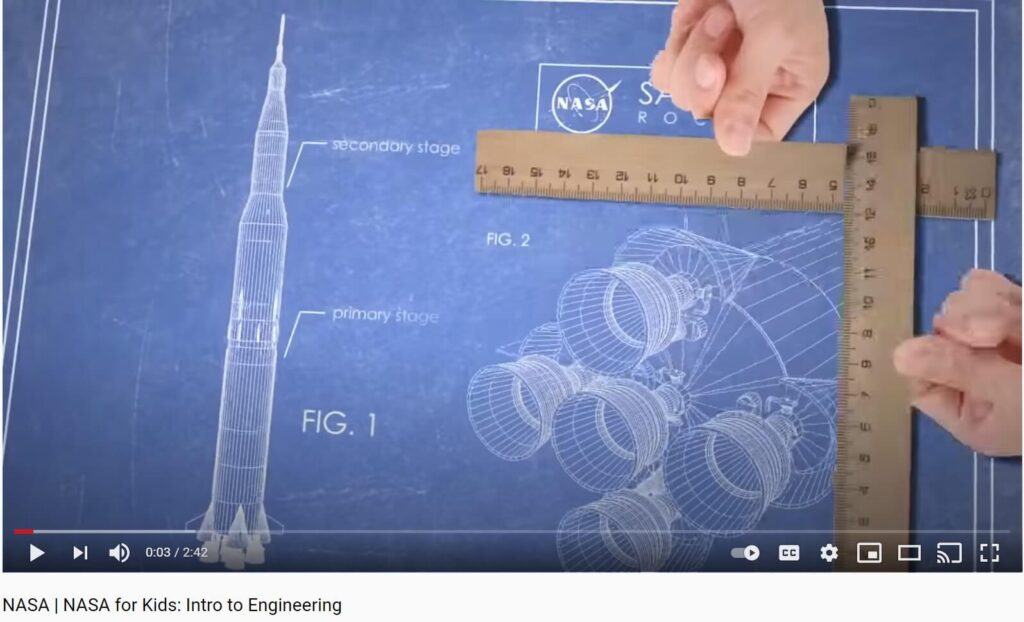
NASA for Kids: Intro to Engineering
Draw & Label A Diagram
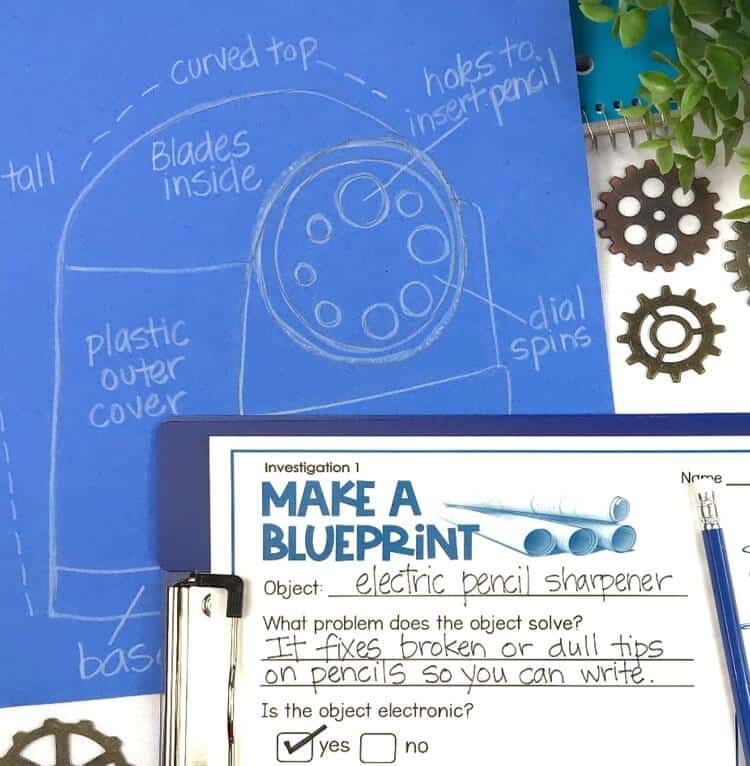
Engineers and architects use detailed drawings to explain their ideas and what they intend to build. Engineers also make detailed design plans for how something will be built. These plans provide precise measurements of all parts of the design so builders and factories know how to assemble a product or structure.
This simple, no prep activity requires a sheet of construction paper and a pencil or white crayon. Have students choose a classroom object to carefully observe and diagram. Ask them to think about the function of the object, the materials it is made of, and the problem it solves. Students then draw and label the object complete with measurements of its parts.
Evaluate a Design
Some engineers create technology to meet needs and solve problems. But not all technology is electronic. Objects as simple as an alarm clock and a toothbrush involve kinds of technology.
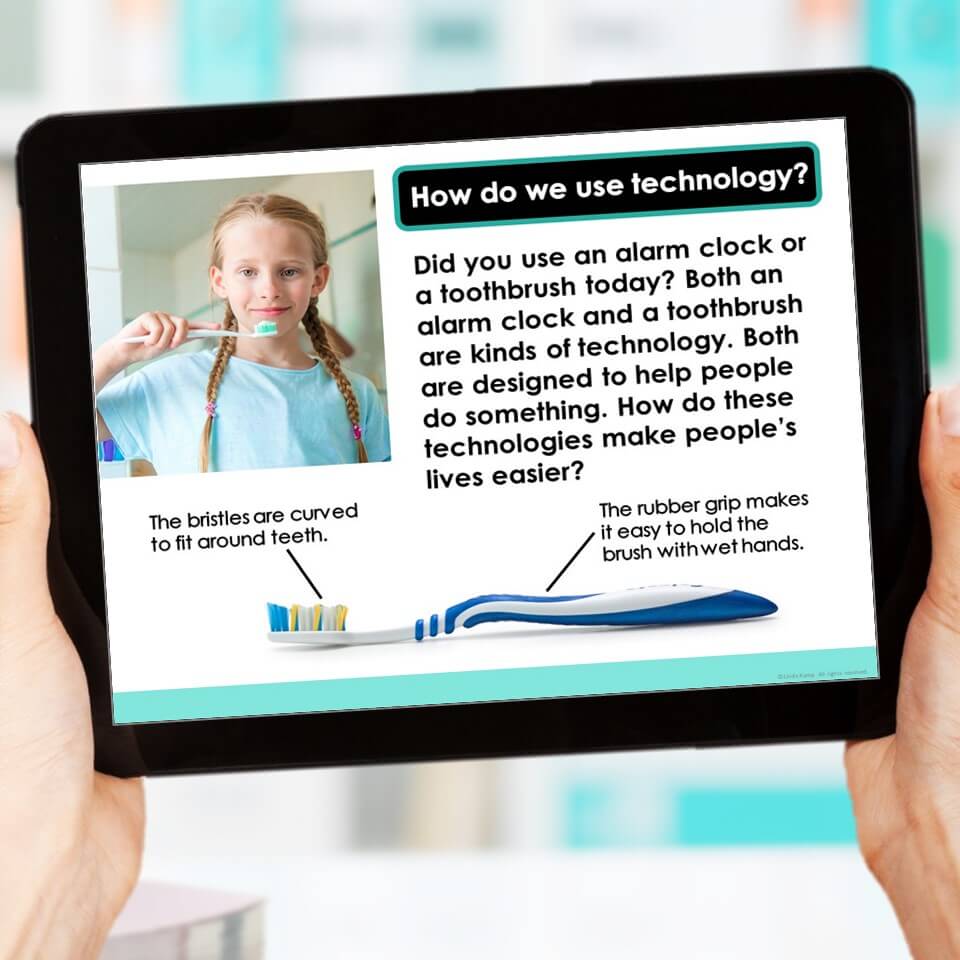
Before students begin designing their own projects have them evaluate the designs of everyday objects. Ask students to choose an object and ask themselves:
- What is the purpose of this object? What does it do?
- How does the shape of the object help it work?
- What materials are used?
- Are they natural or man-made materials?
- How are specific parts of the object designed to make it easy to use?
- What problem does this object solve for people?
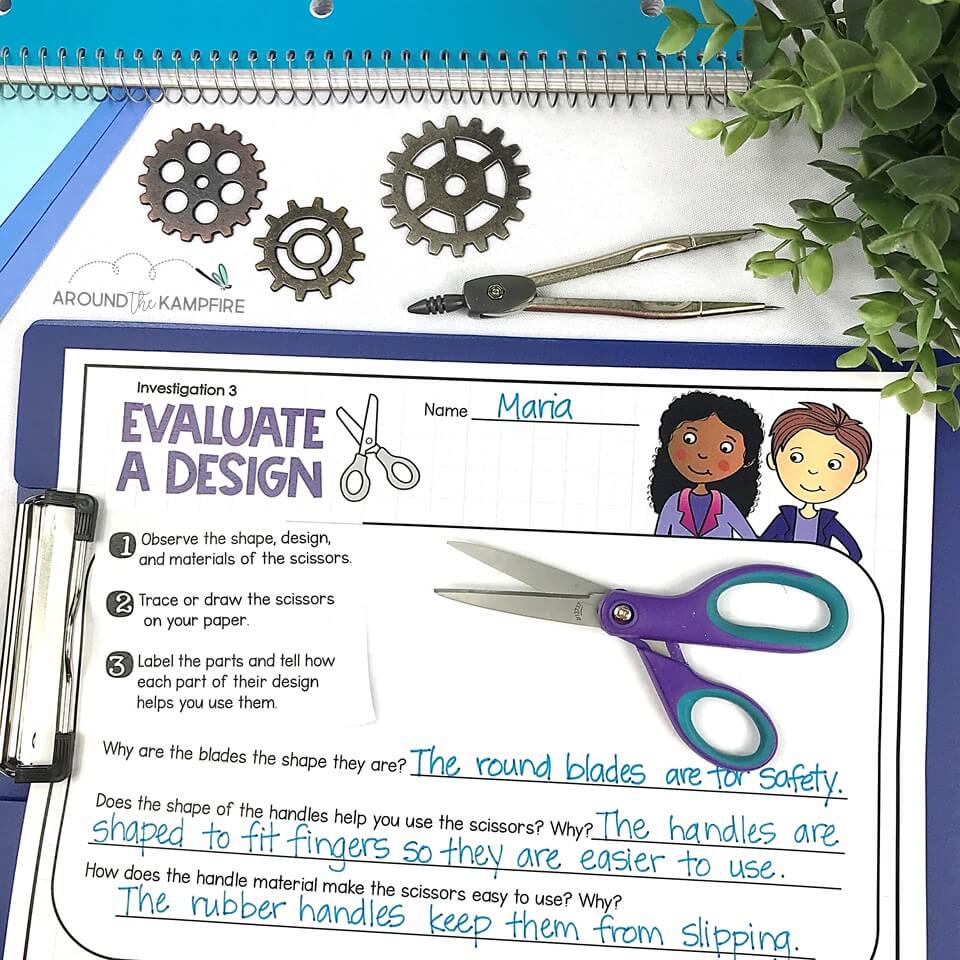
To answer these questions, my students evaluated the design of a pair of school scissors.
Explore Biomimicry
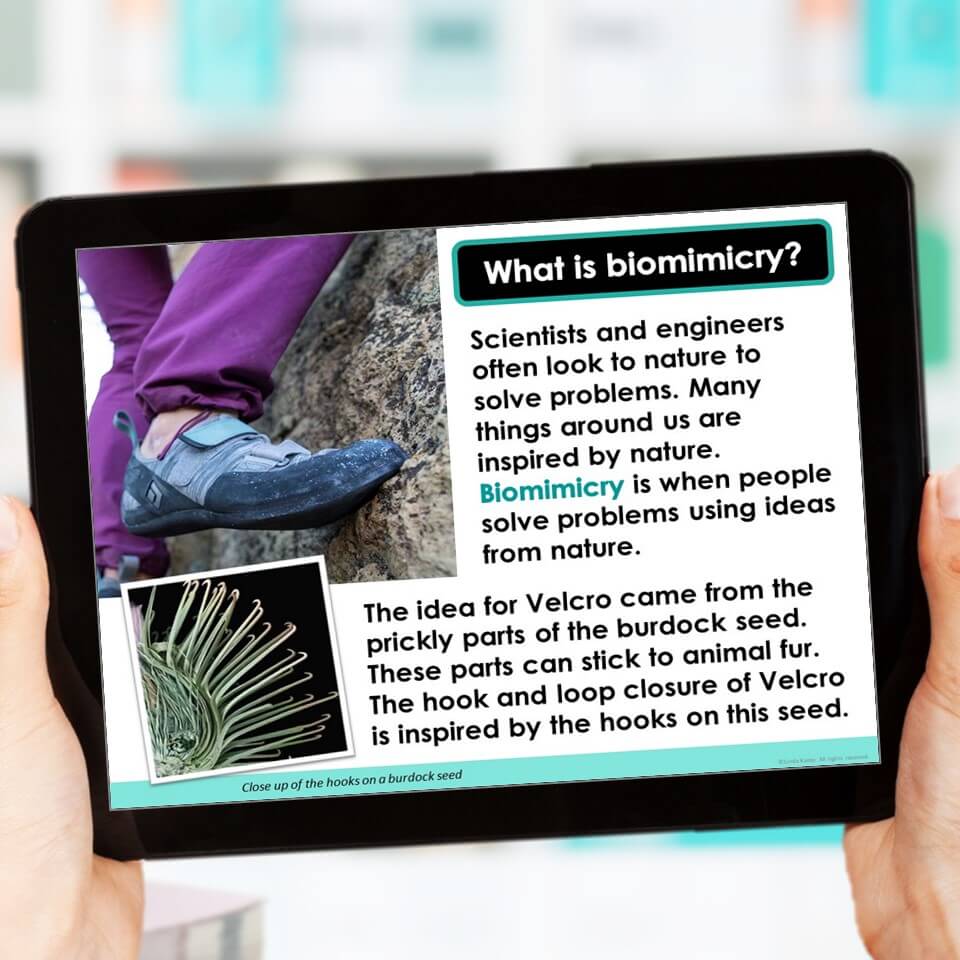
Scientists and engineers often look to nature to solve problems. Many common inventions were inspired by nature and use biomimicry in their designs. Biomimicry is when people solve problems using ideas from nature.
These videos offer great examples of biomimicry for kids:
Biomimicry 101: How We Copied Nature (6:42)

8 Useful Technologies Inspired by Nature (8:47)
Make a Biomimicry Model
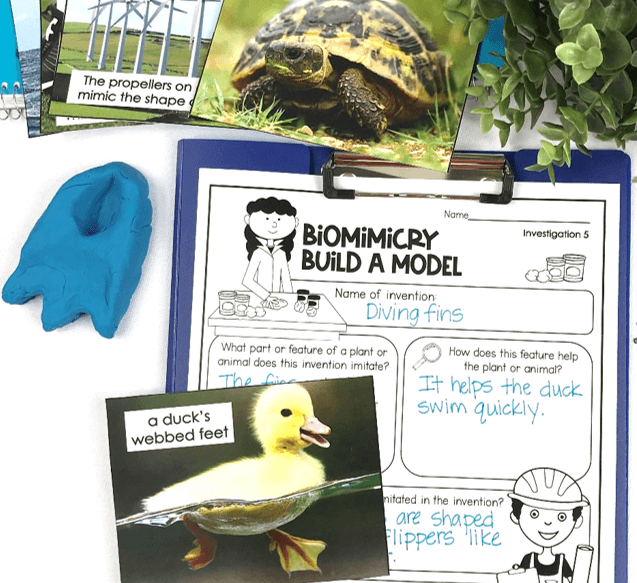
After watching the videos, have students choose an invention they saw in the video or think of additional man-made inventions inspired by nature. Make Playdoh models with features showing how nature is mimicked in the design. This model depicts a swimming fin based on the webbed feet of a duck.
The Engineering Design Process
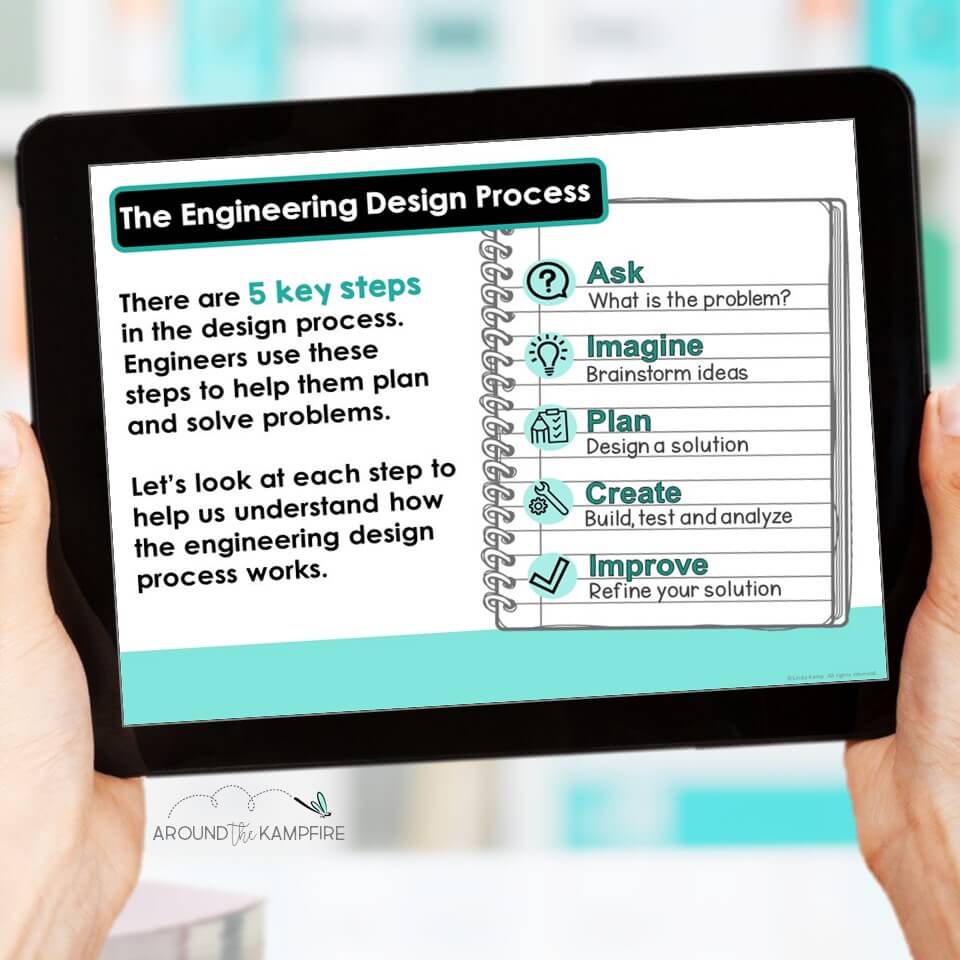
The engineering design process is a series of steps that guide engineers when solving problems. These steps are often repeated as many times as are needed to make improvements and learn from failures.
“The engineering design process emphasizes open-ended problem solving and encourages students to learn from failure.” –Teach Engineering
In the primary grades, the engineering design process is sometimes taught with different labels and number of steps, perhaps depending on grade level. In second grade, we introduce the steps of the process as:
- Ask
- Imagine
- Plan
- Create
- Improve
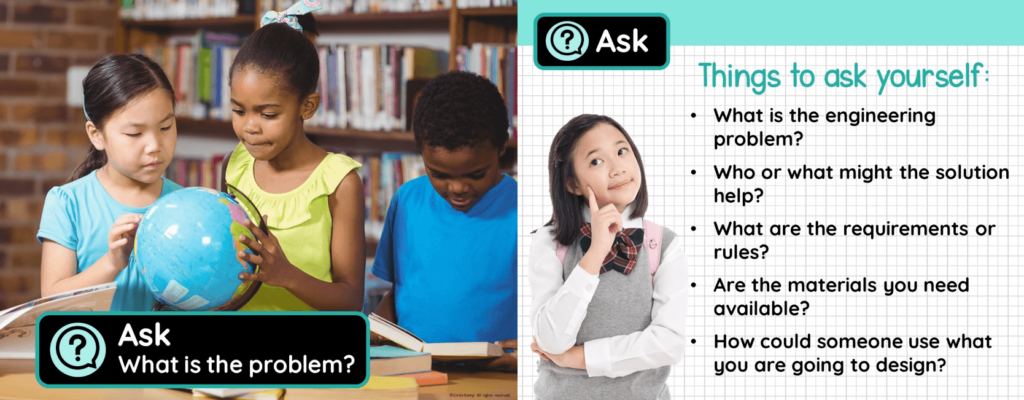
Ask: Identify the Problem
Engineers ask questions to identify the problem they want to solve. They think about what they want to design, who will benefit and how. In addition, engineers consider the requirements and limitations. They consider materials available and determine what they want to accomplish.
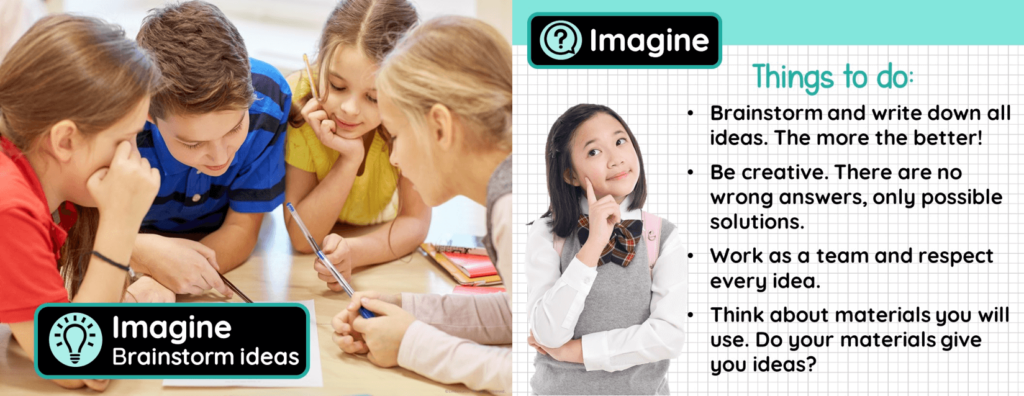
Imagine: Brainstorm Ideas
This step includes researching possible solutions. Engineers talk to specialists from different backgrounds to identify what solutions, products, and technologies already exist. Engineering teams brainstorm new ideas and creative ways to adapt existing technology, systems, or products.
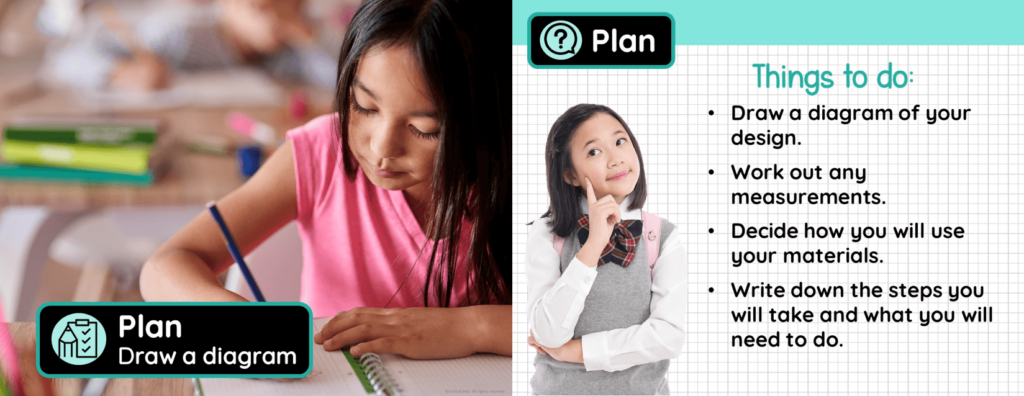
Plan: Choose a Solution
In this step engineers compare their best ideas and select a solution. They devise a plan and begin making decisions on designs. They choose materials and plan the steps they will take to accomplish their goal.
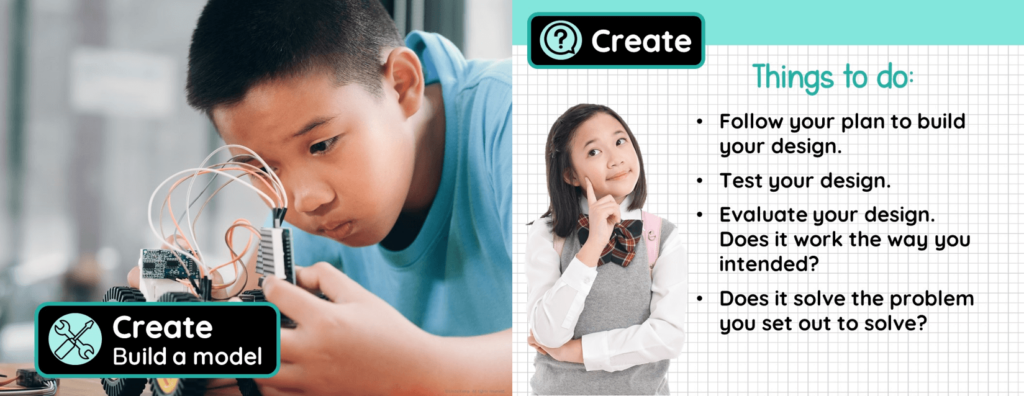
Create: Build a Model
Engineers follow their design plan to create models or prototypes. These are early versions of the design to test to see if they meet the objective and work as intended. Imagination and creativity are key ingredients in creating the best designs possible.
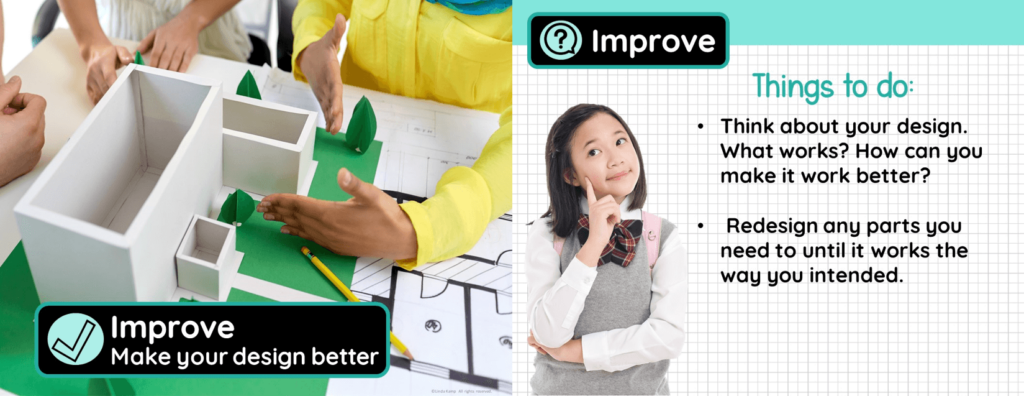
Improve: Make your Design Better
As engineers test their prototypes they ask themselves, “ Does it work?” “ Does it solve the problem?” and “How can it be improved?”. At this time, engineers evaluate their designs and analyze results. As a result, they may make revisions, draw new designs, and test them again. Learning from failure is key.
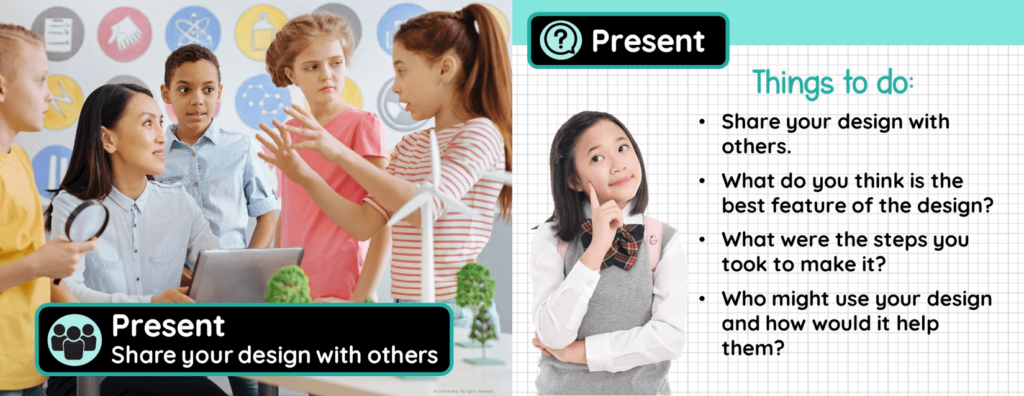
Present: Share Your Design With Others
Engineers communicate their results and share their findings with others. They get feedback on their designs and discuss what works and what doesn’t. Engineers often revise their design again based on feedback they receive.
Plan a Design Project
Our engineering unit culminates in a final project. Students design a solution that will help red crabs safely cross busy inland roads as they migrate to the ocean to lay their eggs.

Choose a natural event or real-world issue for students to dive deeper into and solve. I’ve found that projects related to animals excite my students the most!
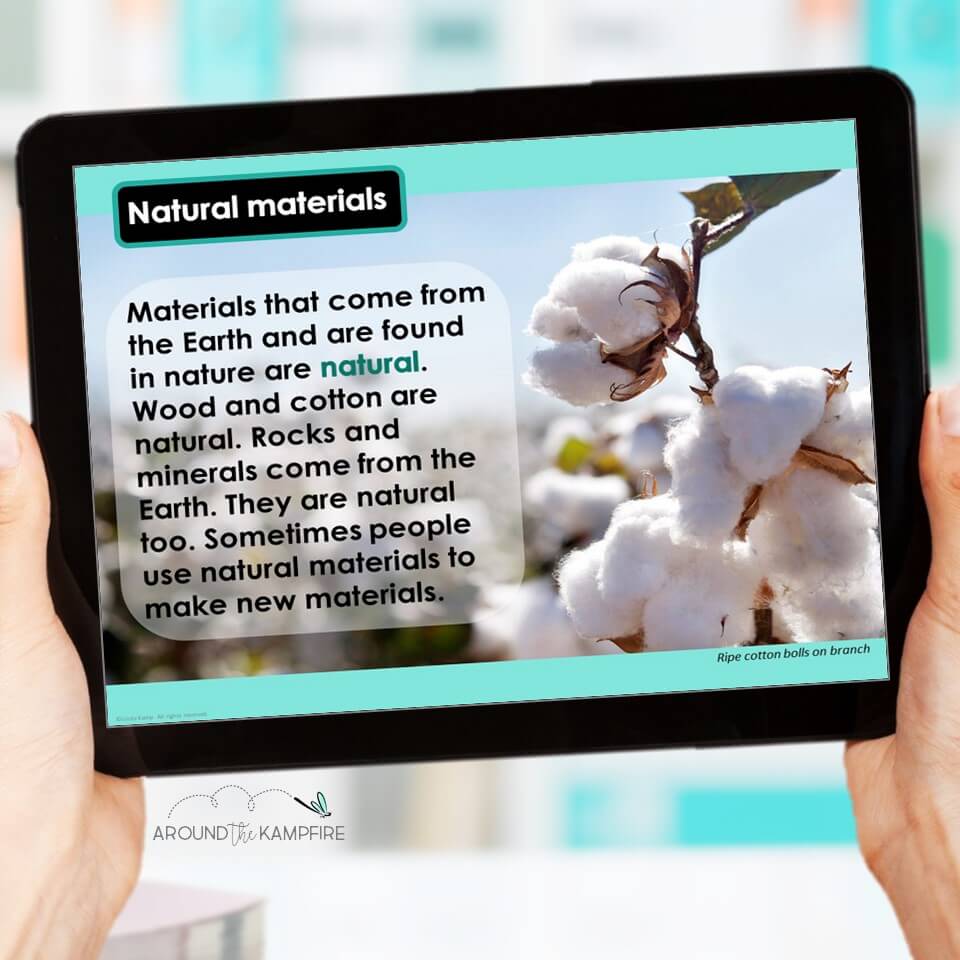
Explore Types of Materials
Students may have learned about materials and their properties in a previous properties of matter unit. I like to review types of materials with students because choosing the right materials is important part of the design process.
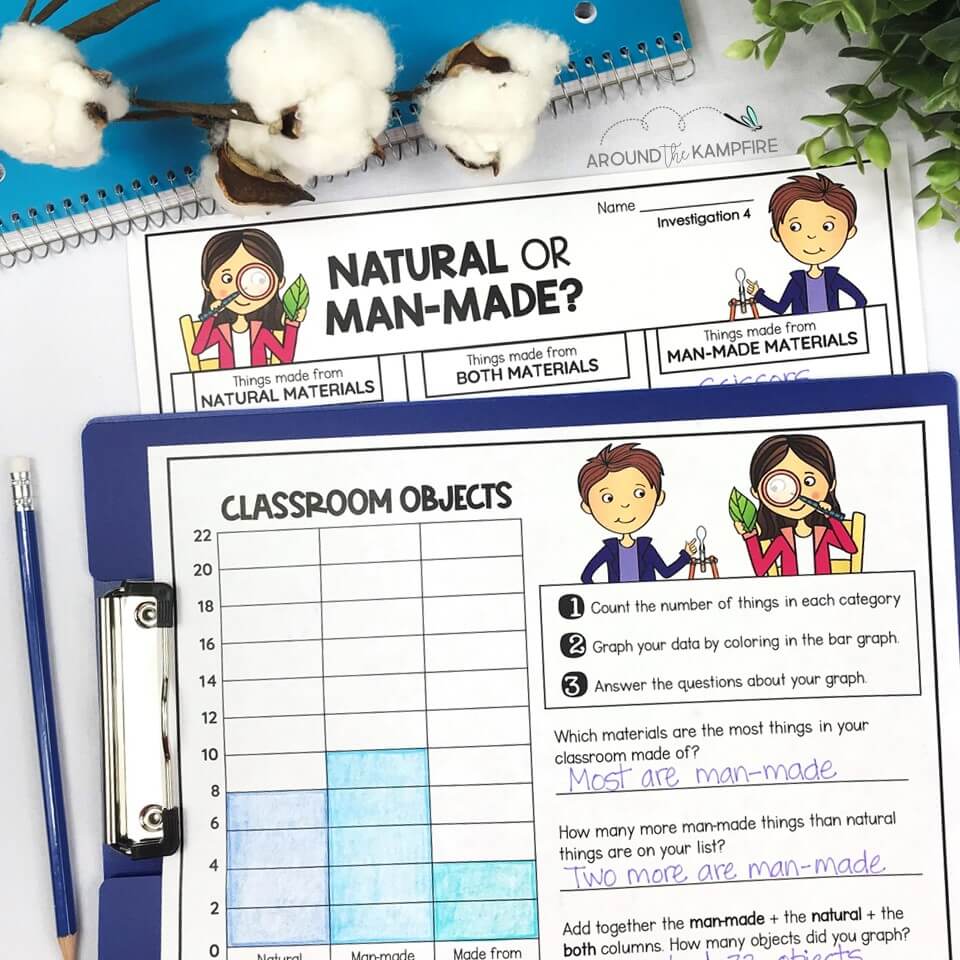
In this activity students make a list of classroom objects. Afterwards they classify and graph them as natural, man-made or a combination of both.
Material scientists and engineers can make materials with whatever properties they want. As a result, they often make materials with properties that solve a specific problem. This video gives a great example of that and explains how materials can be altered and improved for a specific purpose.

Material World: Crash Course Kids (4:35)
Engineering Design Resources
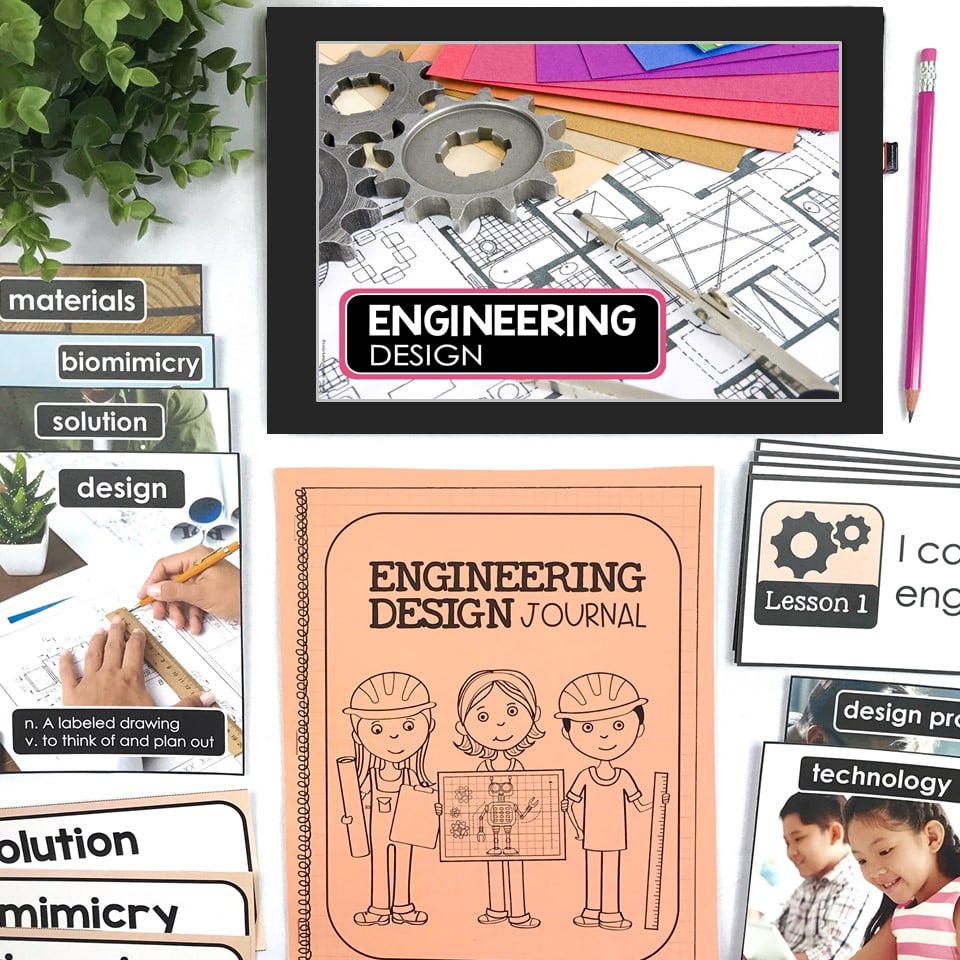
If all of this sounds like a lot of planning, I have an easier solution. I’ve created everything you need to teach engineering design in a complete science unit for 2nd and 3rd grade students. All of the activities featured in this post are included in the printable unit.
Students create diagrams, blueprints, and a prototype. The explore biomimicry, build models, evaluate designs and gather data. Students learn the steps of the engineering design process and apply them in a culminating design project.
The printable unit is completely pre-planned and includes:
- Detailed, scripted lesson plans
- Teacher binder with 20-day pacing guide
- 6-lesson teaching PowerPoint
- Hands-on engineering labs
- Focus wall posters with learning targets and guiding questions
- Student journal activities
- Extension center activities
- Assessments
- Video links for each lesson
- Bonus bulletin board set
The digital version is a companion to the print unit and includes narrated audio lessons and each student activity and assessment on Google Slides.
Shop this post:

Digital Engineering Design Unit
Engineering Design Print & Digital Mini Bundle
See the entire second grade science series here.
Build a science foundation in your classroom! Visit these posts for more hands-on science ideas:

Happy teaching!


Leave a Comment