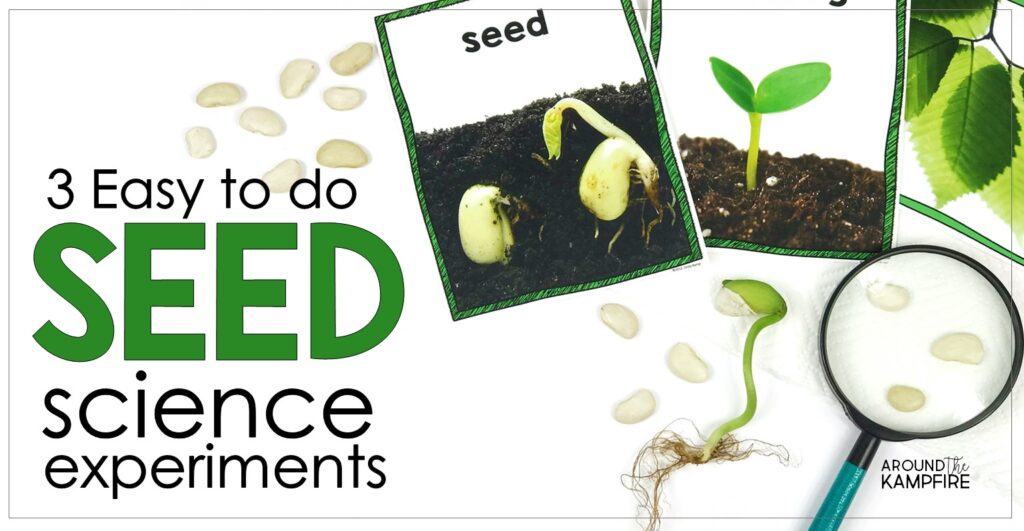
Germinating seeds and growing plants is a must-do activity for elementary students learning about the plant life cycle. But have you ever wondered what the inside of a seed looks like? These easy seed science experiments are a great way for 1st, 2nd, and 3rd grade students to explore the parts of a seed and learn their functions as they dissect and label the inside of a seed.
Seed Science Experiments
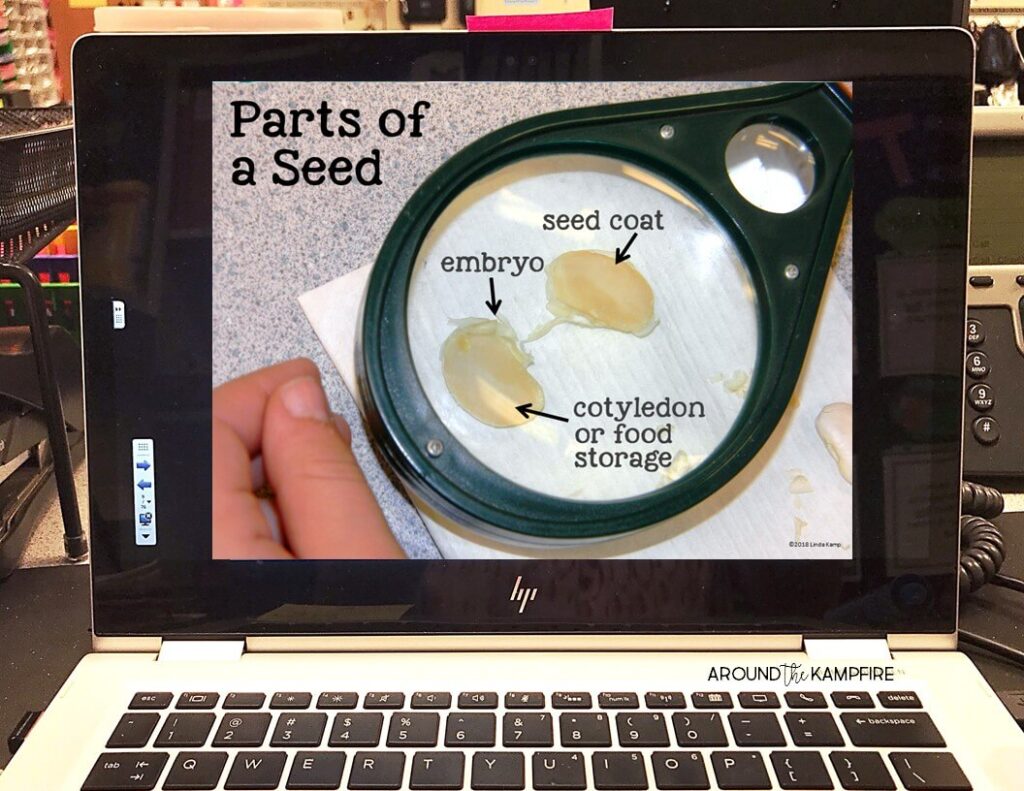
Introduce your students to the parts of a seed and each part’s function by reading books about plants or by projecting a diagram. We want students to be familiar with the vocabulary to use and what seed parts they will be looking for when they dissect their seeds.
Dissecting Seeds Experiment
To dissect bean seeds you will need:
- large lima beans
- a bowl
- a magnifying glass
- paper towels
- ruler
- a recording sheet
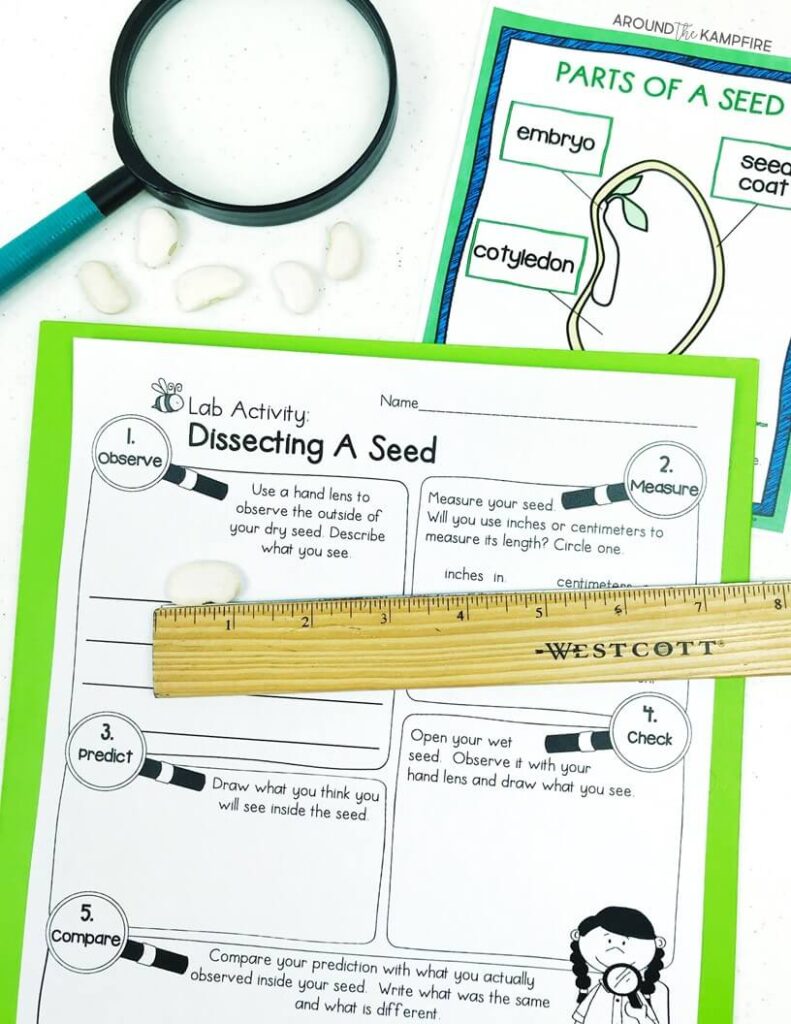
Soak the lima beans in a bowl of water for 15-20 minutes to soften them. Soak enough for each student to have 2-3 beans in case some break or won’t open easily. Set enough beans aside for each student to have a dry bean to use for comparison.
Students use a hand lens to observe and compare the wet bean to the dry bean then describe the differences. Next, students compare and measure the sizes of the two beans.
Using their thumbnails, students then carefully split the soaked bean open to reveal the inside and parts of the seed.
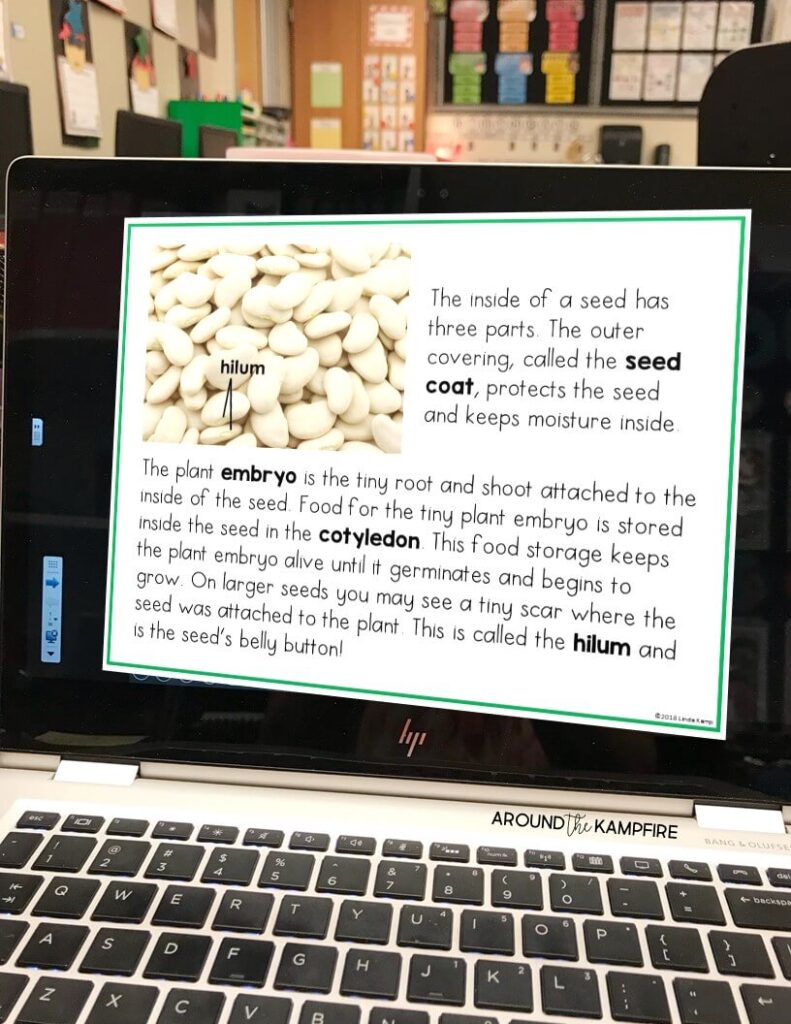
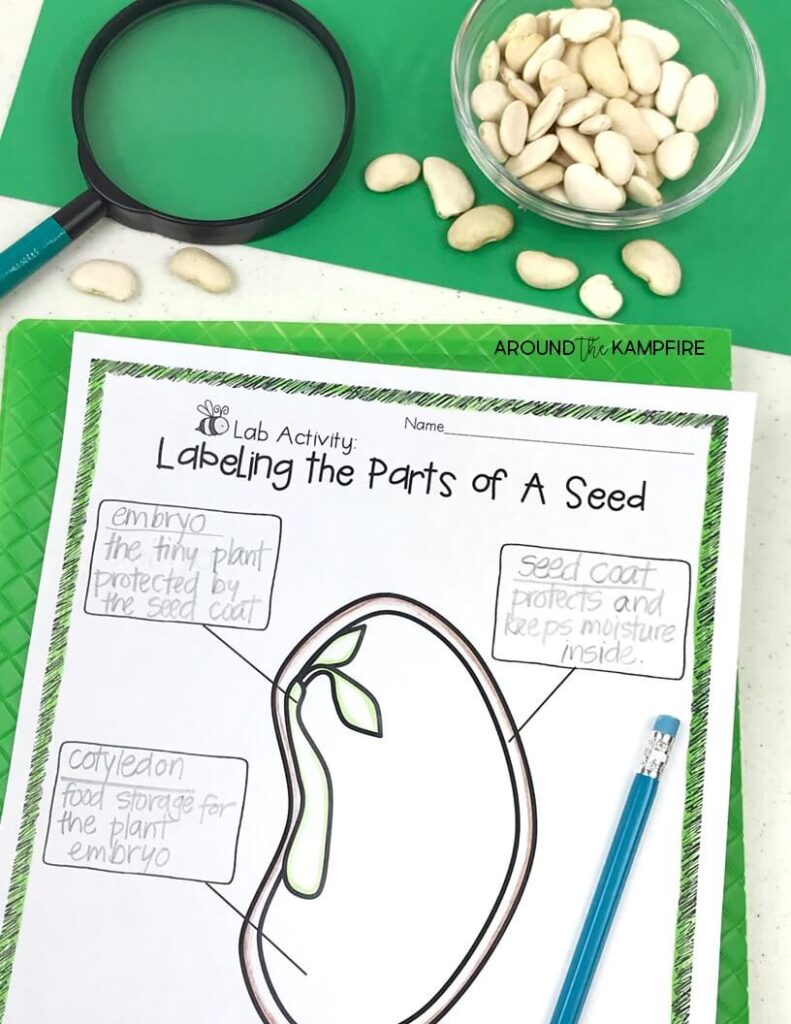
Using a hand lens or magnifying glass (large magnifying glasses are available at the dollar store), have locate and identify the seed coat, plant embryo, and cotyledon. Challenge them to find the hilum, or the tiny scar where the seed was attached to the parent plant. This is the seed’s belly button!
Labeling the Parts of a Seed
As students are dissecting their seeds, have them draw what they see and label the parts of the seed. The seed diagram I use is included in this resource.
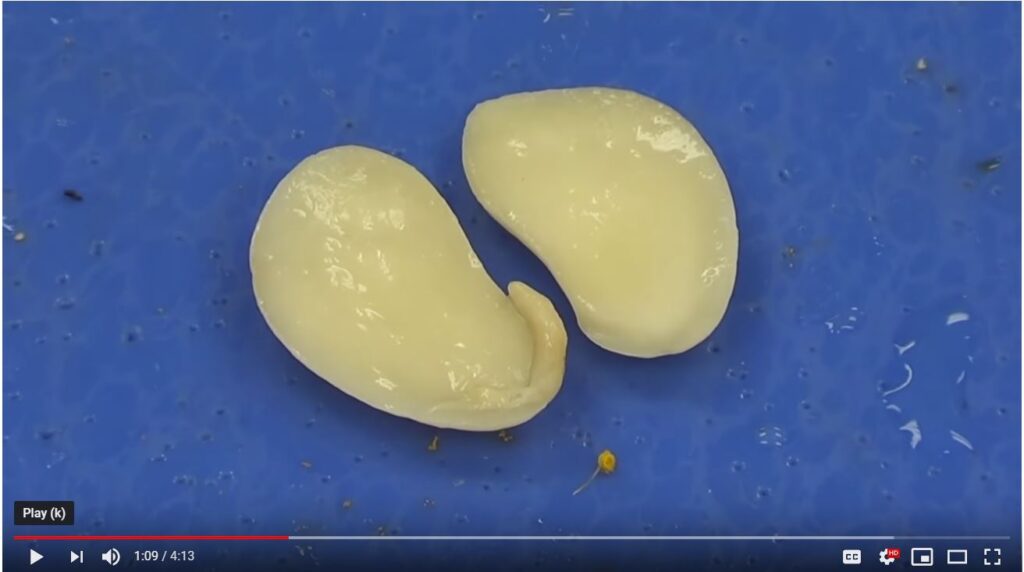
This seed dissection video on YouTube gives an up-close look at the parts of a seed.
Germinating Seeds
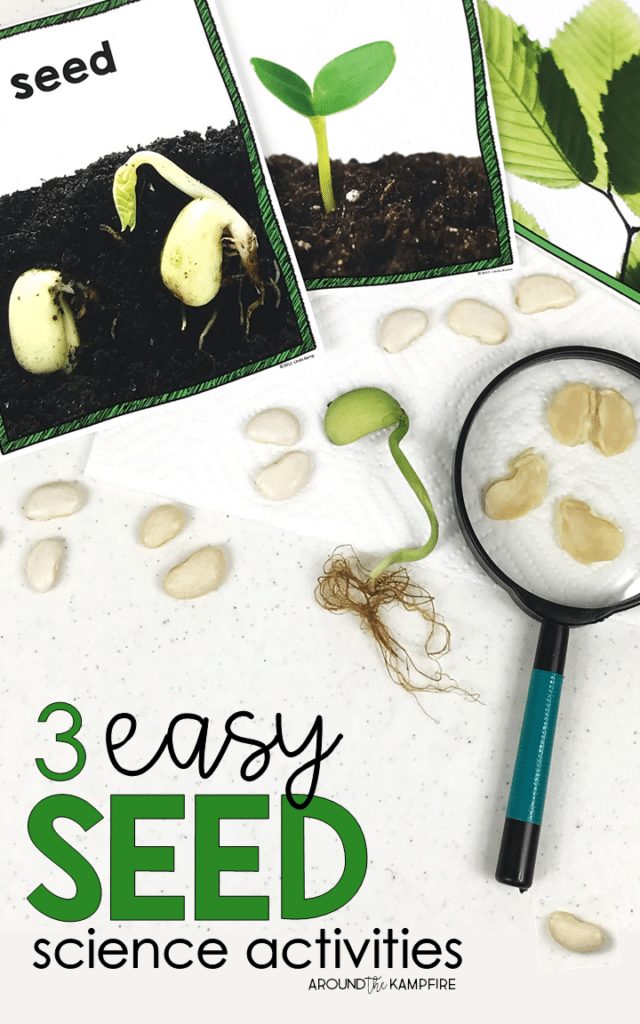
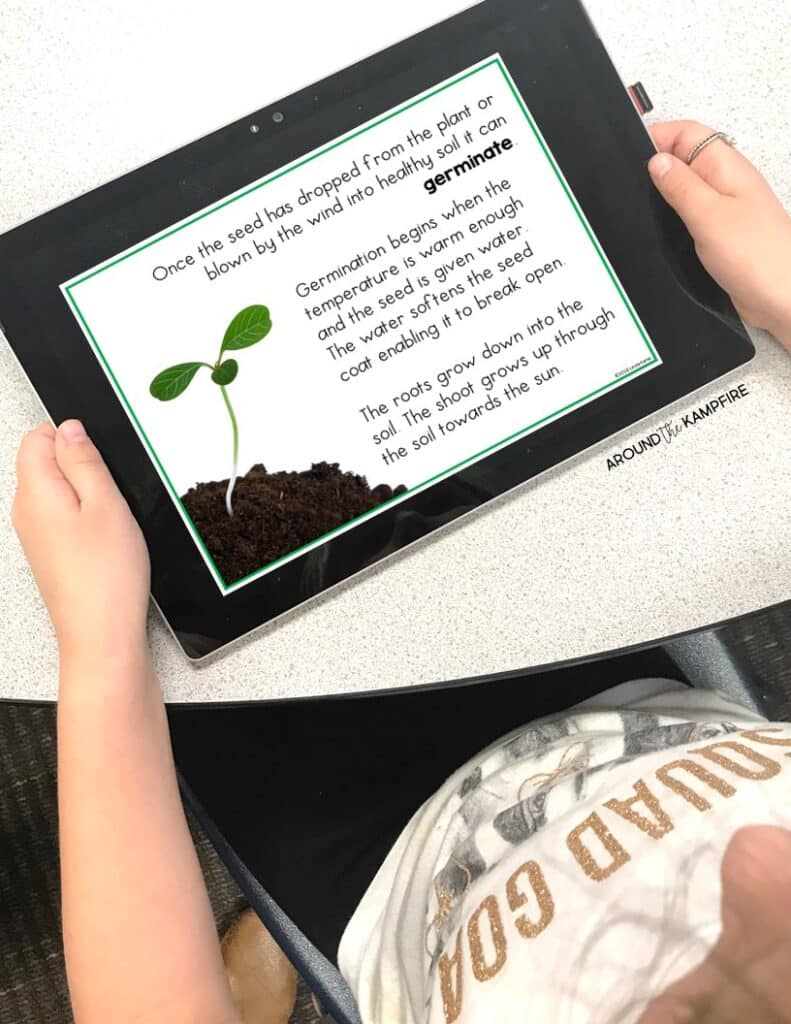
You can germinate any type of seed or bean but observing the stages of germination is easiest to see using large lima beans. Place dry beans between two damp paper towels inside a sandwich baggie or jar. Because the seeds can sometimes get moldy, we do two things. Add a squirt of hand sanitizer to the paper towels first, and leave the baggie open so air can circulate.
I’ve found the easiest way to manage the baggies is to clothespin them to a long piece of yarn stapled or tacked to a bulletin board or wall. This way students can easily remove their bag and take it to their desk to observe any changes. To keep the seeds damp, a spray bottle works best to mist the paper towels when they start to dry out.
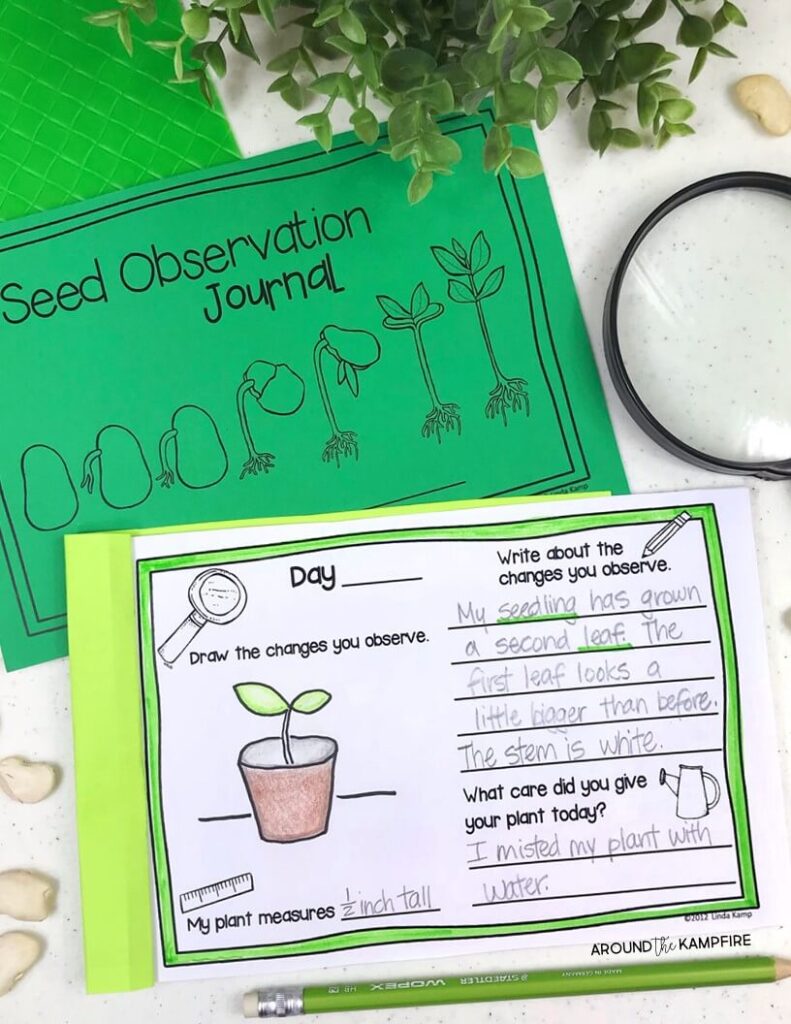
Use a seed observation journal for students to record the changes and explain what they observe. Once the seeds have germinated and begin to form roots, plant the seedlings in a cup of potting soil.
From dissecting to germinating, these easy seed science experiments are a fun, hands-on way for your students to learn about the life cycle of plants and how seeds grow.
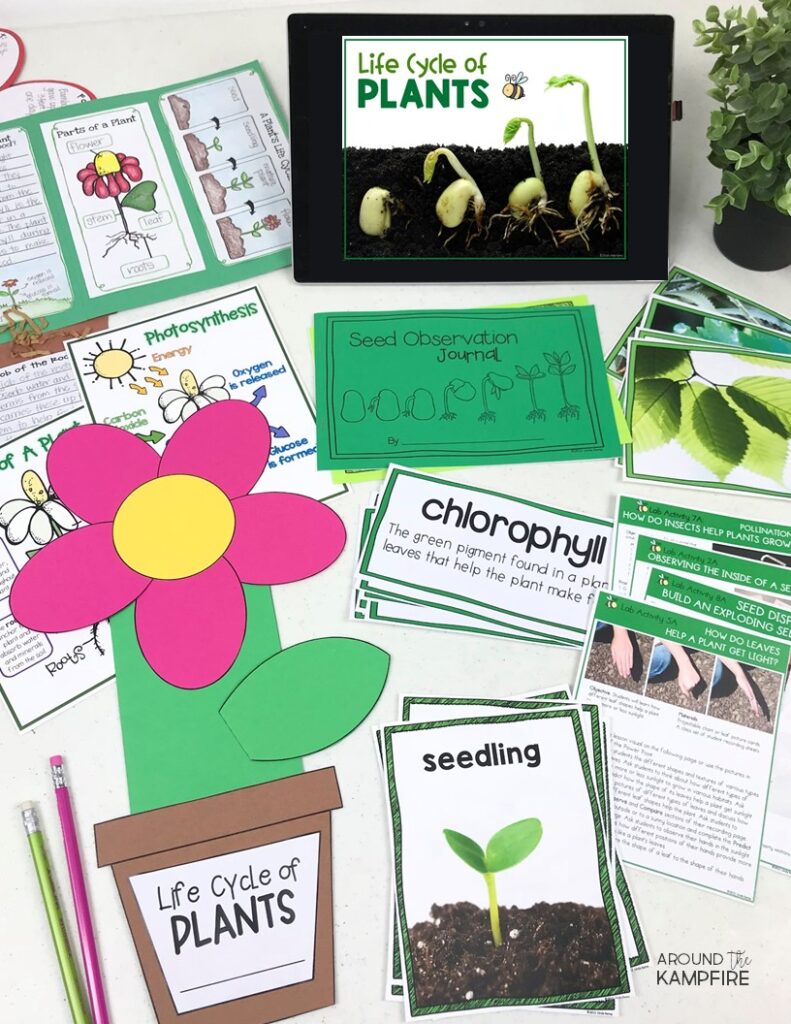
The teaching materials pictured in this post are part of a complete plant life cycle science unit for Grades 1-3 with detailed lesson plans, a 9-lesson teaching PowerPoint, science experiments, and culminating flower booklet.
Click here to see more of this complete science unit.
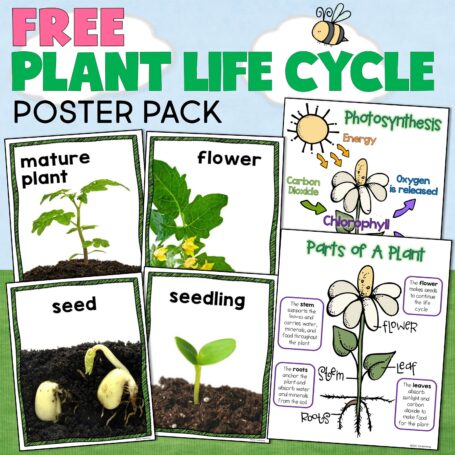
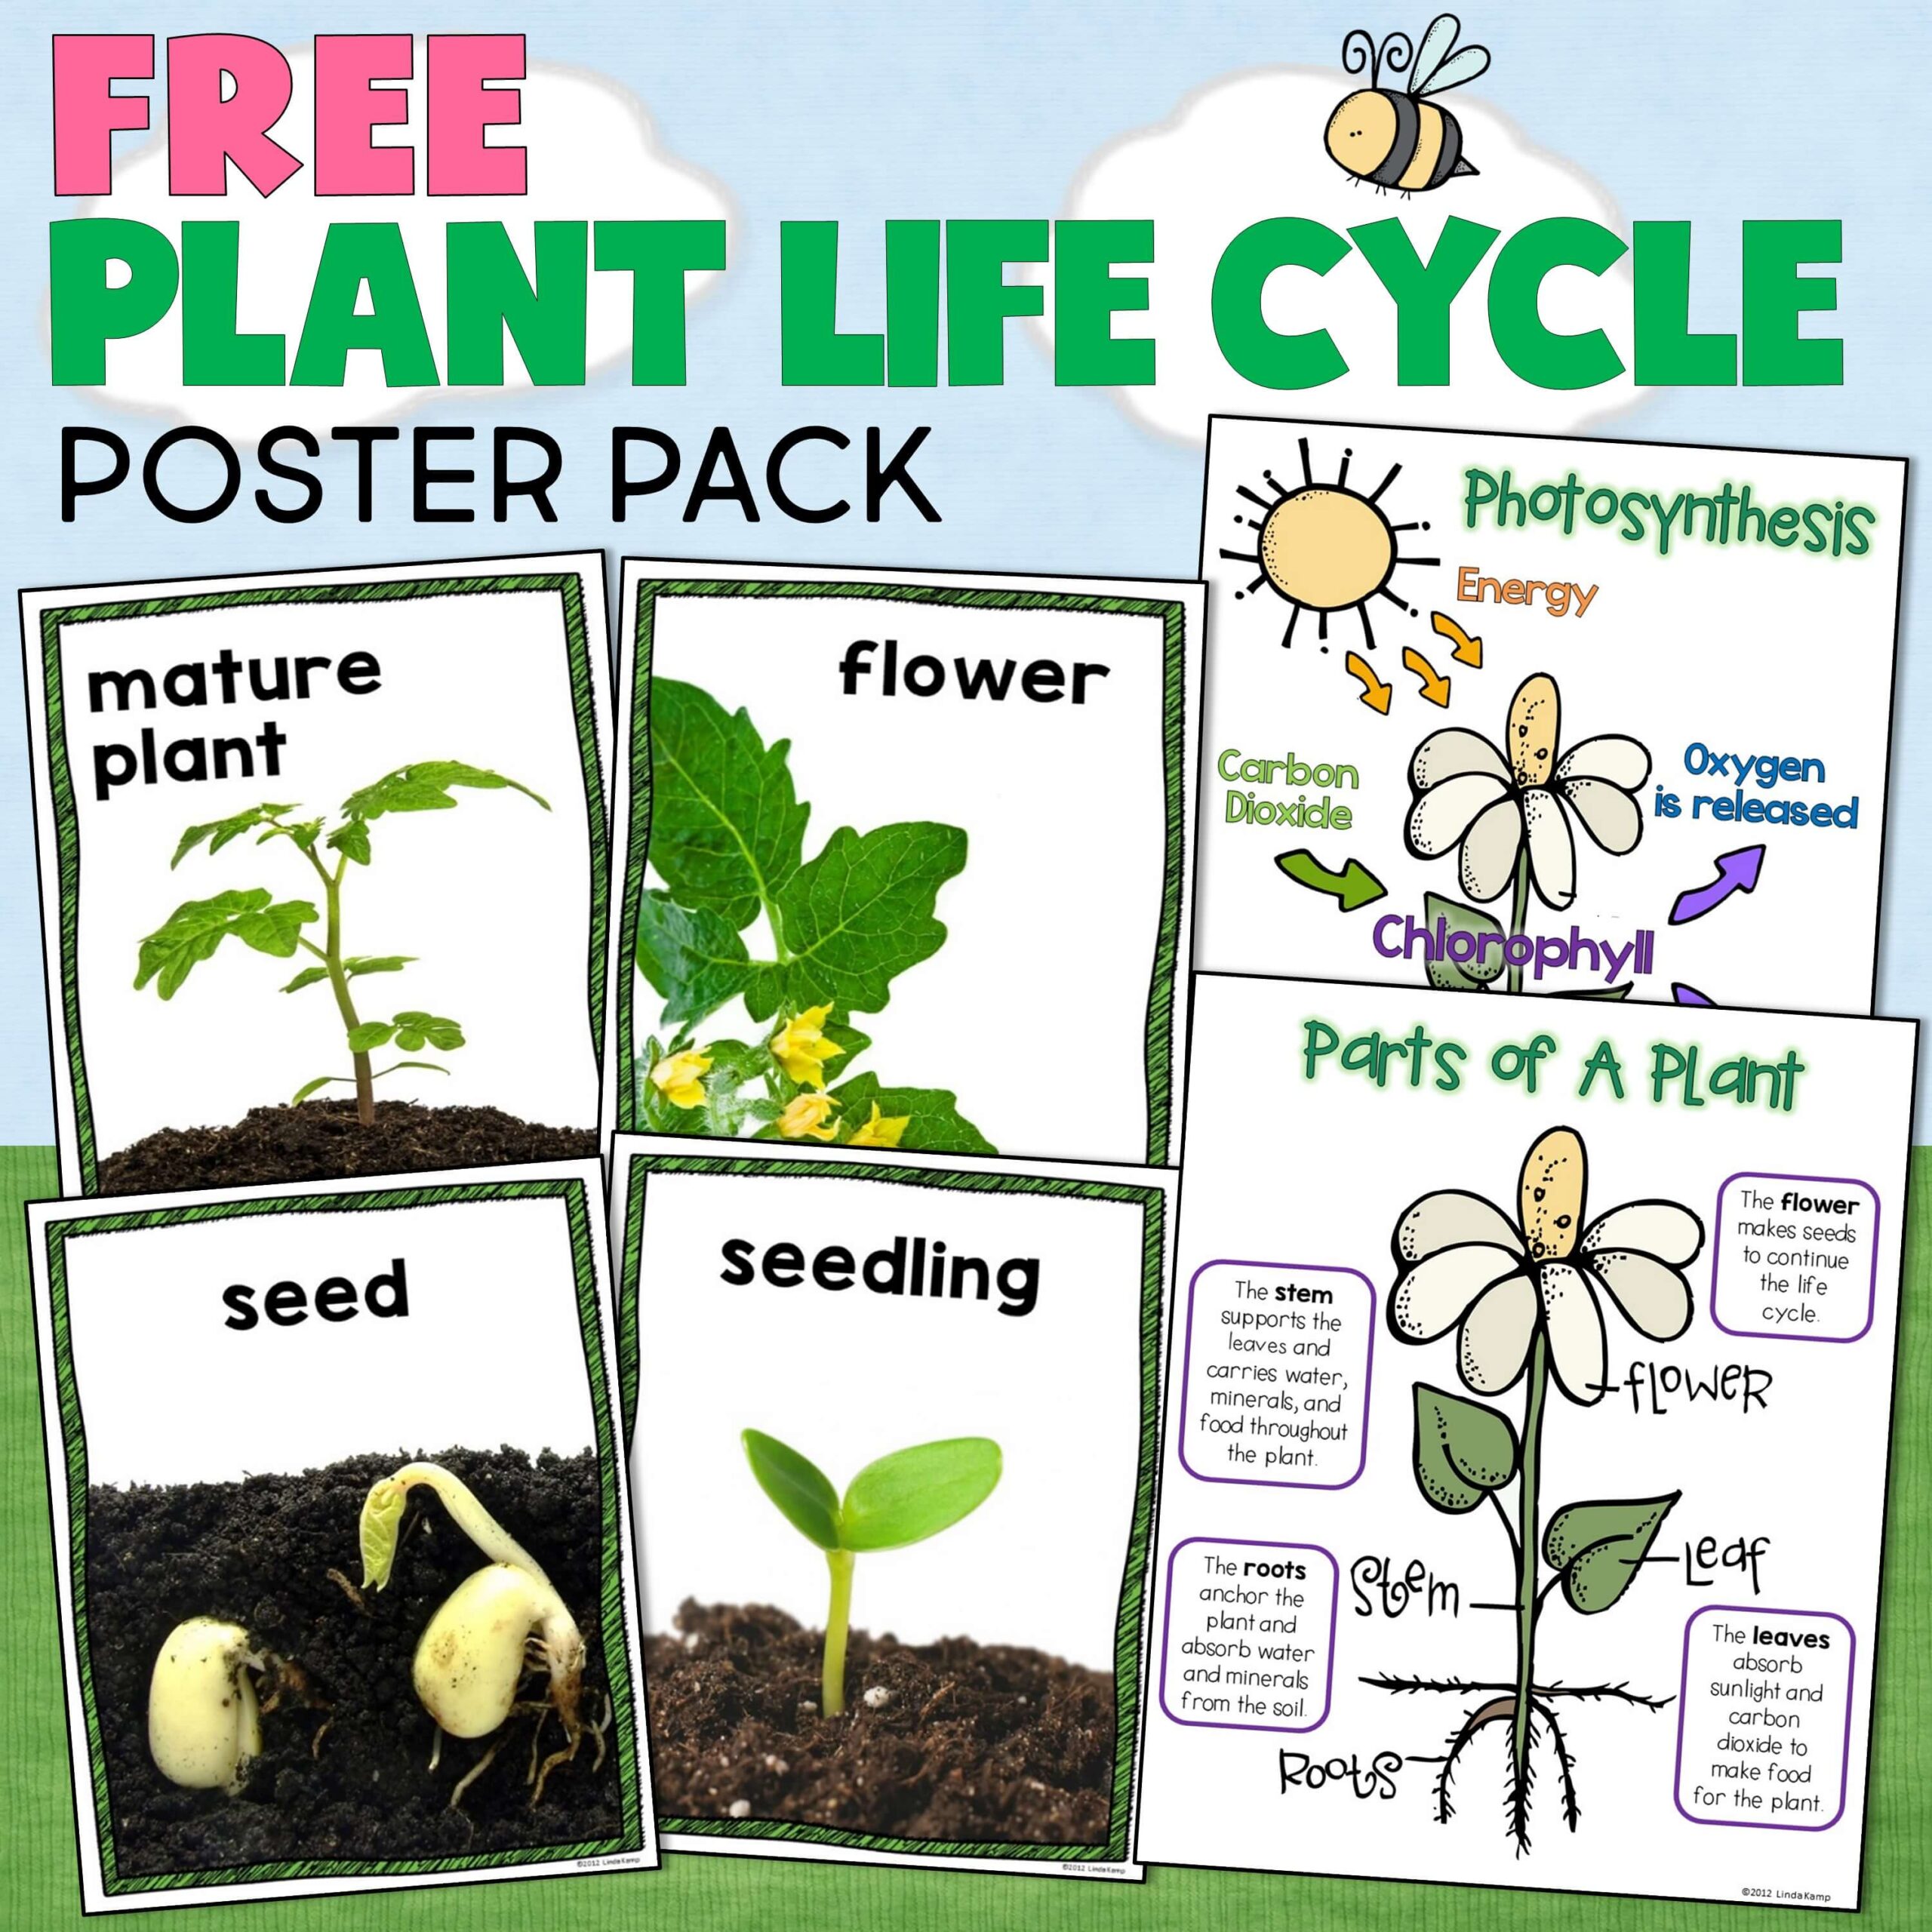
Would you like FREE plants posters for your classroom?
Drop in in your personal email address and I’ll send them to you! (Your personal email is best-Schools often block outside emails with attachments) Check all of your “other” folders if you don’t see the email.
Be sure to pin this post for later so you’ll have it when you plan!
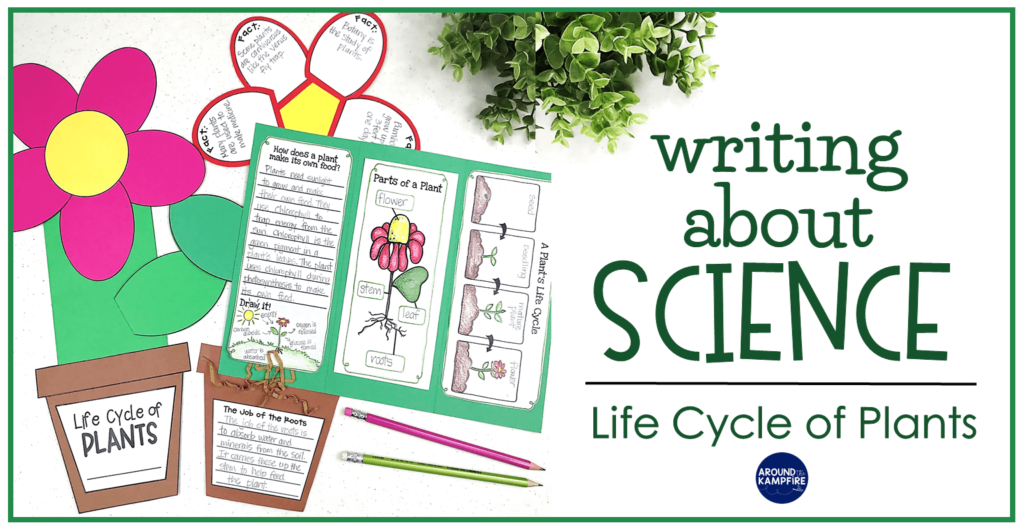
Check out these related posts for more science activities and creative ways to get your students writing about science!
Click on the pictures to read the posts.
Happy teaching!


Hey can i please get the free plant posters? thank you!!!
Thank you