As a new teacher, setting up your first classroom can be an exciting yet daunting task. Your classroom setup plays a crucial role in fostering a positive learning atmosphere and engaging your students.
Plus, you’ll be spending a lot of hours inside your room so it’s best to make sure it’s an enjoyable space for yourself as well! After all, it will be your home away from home!
From organizing supplies to creating an inviting space, there are several key considerations to keep in mind. After teaching for 23 years, I’ve learned something new each and every year that was helpful in making my classroom setup process easier.
In this blog post, I’ll provide you with essential tips that I picked up along the way to help make classroom setup as painless (and fun) as possible! (At the end of the year read this post about packing up your classroom to learn how to make setup next time a snap!)
10 Classroom Setup Tips for New Teachers
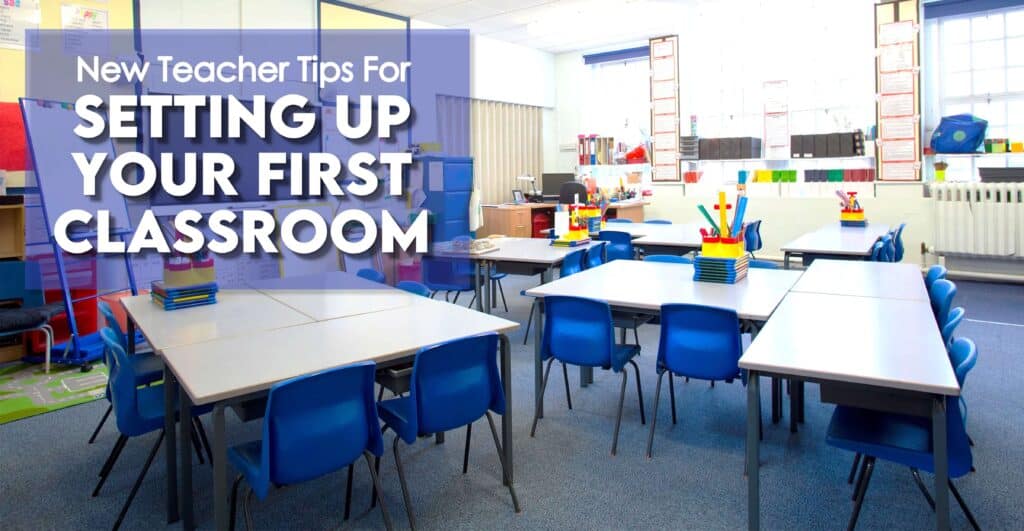
Tip 1: Plan your layout
I know you are probably the most excited about all the cute new decorations you bought or made, but first things first, you need to plan the layout of your classroom.
Before moving any furniture or hanging decorations, take some time to think about the layout of your classroom. Consider factors such as student traffic flow, accessibility, and grouping.
Aim for a layout that allows for easy movement and encourages interaction among students. Plan dedicated areas for different activities like reading corners, your small group table and centers, and a teacher’s desk (should you choose to have one).
Questions to ask yourself about the classroom layout:
- Is there enough room for students to line up in a straight line at the door?
- Will all students be able to see the board?
- Can I see all students when working at my small group table?
- Are there outlets where my technology will be?
- Where will my calm-down space be?
- Where will students put their backpacks and lunchboxes?
- Where will I hang student work?
- Will I have an objectives board? Word Wall?
I like to sketch out a quick layout after seeing my empty classroom (something like the above picture!)
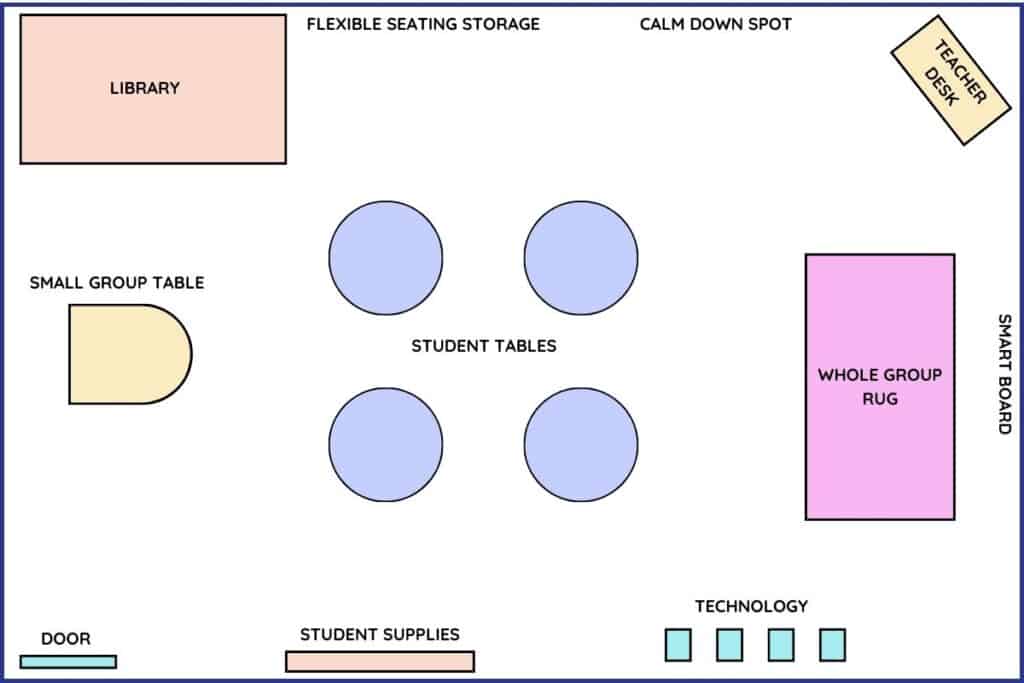
Kaplan’s Floor Planner Tool allows you to create a virtual layout of your classroom. It’s much more productive (and easier on your back!) to have a design in mind first so you aren’t moving heavy furniture multiple times until you find the right spot.
Tip 2: Be stategic about where you place your teacher desk
Decide how you will u se your teacher desk before you decide its placement. I really only use my desk before or after school when I’m using my laptop or planning. My reading table was more like “command central” than my teacher desk.
Some teachers prefer not to have a teacher desk at all and in some classrooms the teacher desk placement is limited to where the phone lines and other cords are located
Tip 3: Clean before moving your own supplies
Okay, now that you have planned your layout it’s time to get to the dirty work. And yes, unfortunately, this may be dirty work. Do a quick clean of the classroom before moving in all your own belongings. One place that always needs it will be your cupboards. Trust me, it’s easier to do without all the decorations and furniture and you will most definitely thank yourself for it later.
Tip 4: Do not go overboard
I know how excited you are to get into your very first classroom. I feel that same excitement every single year. There’s nothing wrong with wanting your classroom to be just how you envisioned it, but be patient, it may take some time.
But, please do not stress yourself out by trying to copy all those perfectly executed Pinterest classrooms. If that is your dream, it will come with time. But, there are so many other things to focus on in your first year.
For your first classroom, focus on the necessities. Don’t spend too much of your own money on decorations or flexible seating options. If you need help narrowing down what is a necessity vs. a want, just ask yourself “Do my students need this in order to be successful in the classroom?”
Tip 5: Ask for help
Most teachers put in an incredible amount of hours setting up their first classroom. With this being said, do not be afraid to ask for help to shorten the number of hours classroom setup will take. Ask someone to help move some furniture with you, or to help decorate the walls, hang bulletin boards or cut decorations.
Secondly, don’t hesitate to reach out to experienced teachers or colleagues for advice and support. They can offer valuable insights into classroom setup and share resources that have worked well for them. This also provides an opportunity for professional growth and fosters a sense of community within the school. It’s a win-win for everyone! (If you’re a 2nd grade teacher, this second grade Facebook group is a huge support and help!)
Tip 6: Make a plan for organization
A well-organized classroom will save you time and help you to maintain your sanity once the year starts. Set up designated storage areas for textbooks, pencils, art supplies, and other materials. Label bins, drawers, and shelves to ensure everything has its place. Establish clear systems for students to access and return supplies, promoting independence and responsibility.
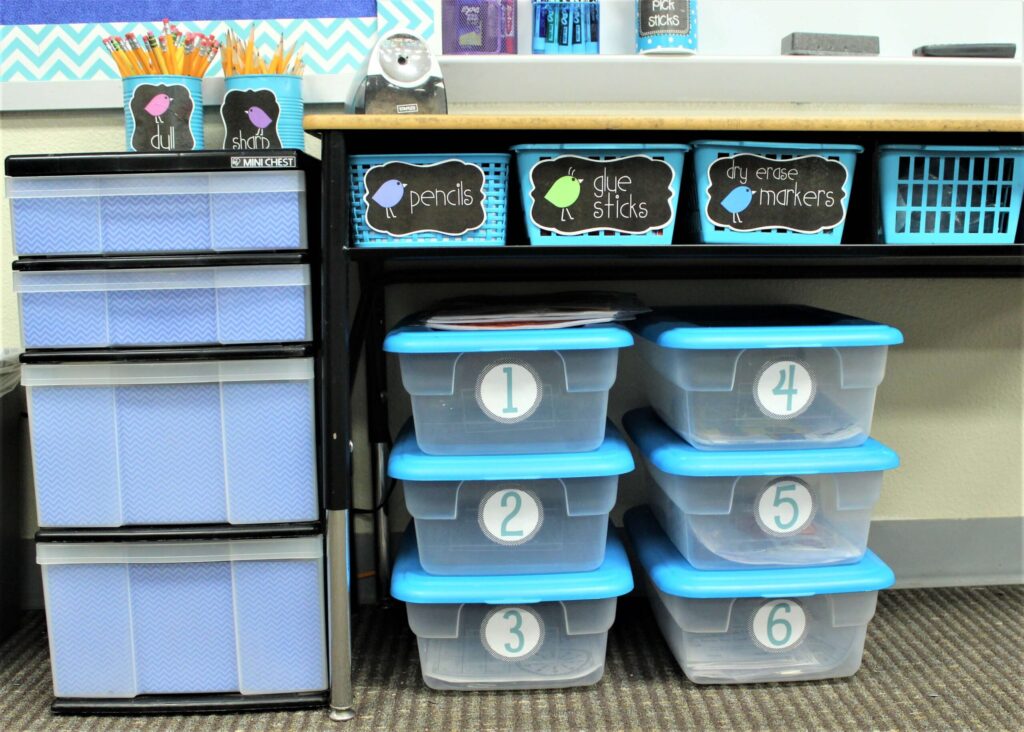
Organization questions to ask yourself:
- What will I use to store graded papers that need to be handed back?
- Where will I keep students’ paperwork/portfolios? (504’s, IEP, communication logs)
- How will I organize small group supplies?
- How will I organize the books in my library?
- Will students keep all their supplies in their desks or in another location?
- Where will I keep center materials for students to use?
Download FREE phonics center storage labels
I use shallow storage containers from the dollar store for storage. Download these free phonics center labels.
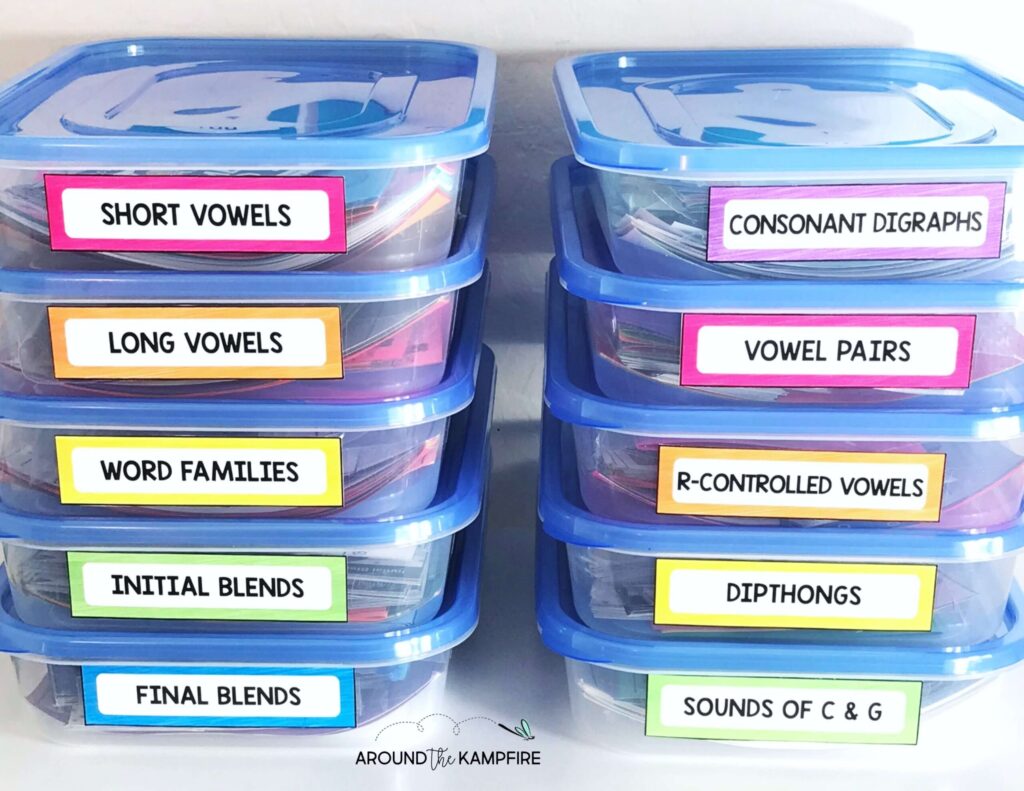
Store centers in dollar store bins
Tip 7: Personalize Student spaces
Make your students feel valued and recognized by personalizing their individual spaces. This small act can go a long way in the eyes of a child! Bonus points if you can have it finished before your meet-the-teacher night!
Assign each student a desk or cubby and encourage them to decorate it with their own personal touches. Display name tags or labels to help everyone learn each other’s names quickly. This sense of ownership can foster a sense of belonging and pride in their learning environment.
Tip 8: Consider safety and accessibility
This is something that can be easily overlooked when setting up your first classroom. It is crucial to ensure that your classroom meets safety requirements. Check for potential hazards and establish emergency procedures (check with your admin for emergency procedures before the school year starts).
Also, make sure the classroom is accessible for all students, including those with disabilities or special needs. You should have access to your students’ 504 plans and IEP’s before the school year starts so you can see if you need to make any final adjustments.
Tip 9: Create a welcoming environment
An inviting classroom environment can make a significant difference in your student’s enthusiasm for learning. Add personal touches such as colorful bulletin boards, motivational posters, and student work displays (make sure to account for this in your layout plan!). It’s okay to keep your classroom decor simple the first year.
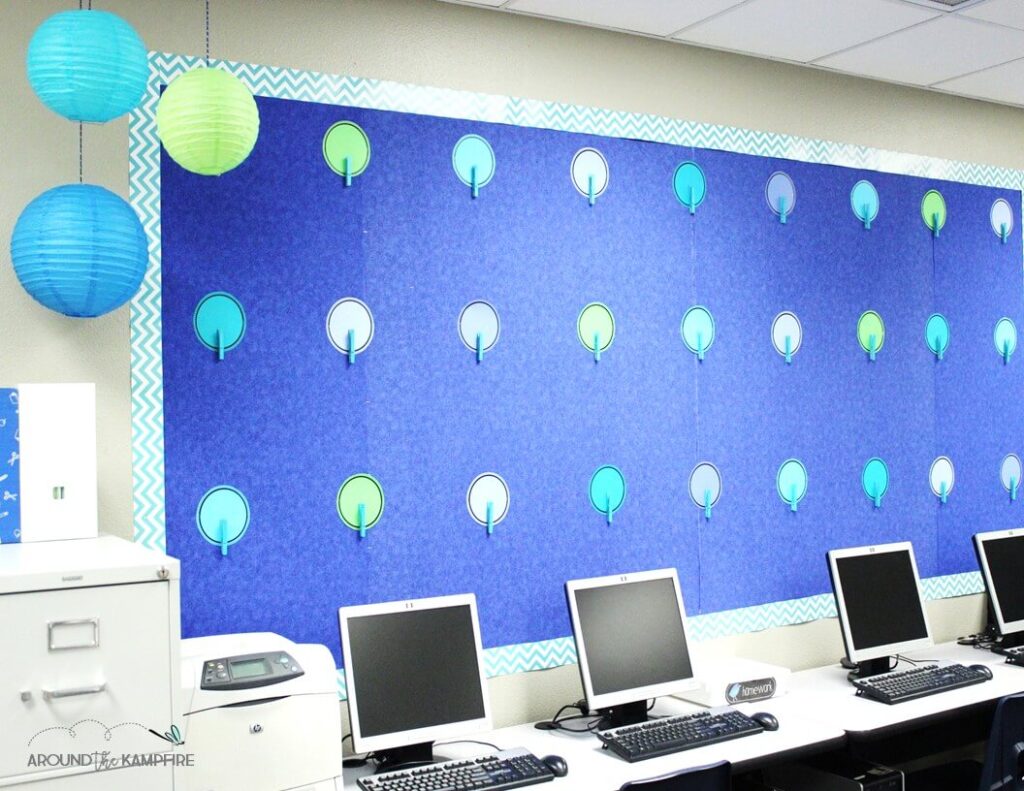
Use can use warm lighting, plants, and comfortable seating options to create a cozy and welcoming space (but, again these are not necessities right away if you are feeling overwhelmed).
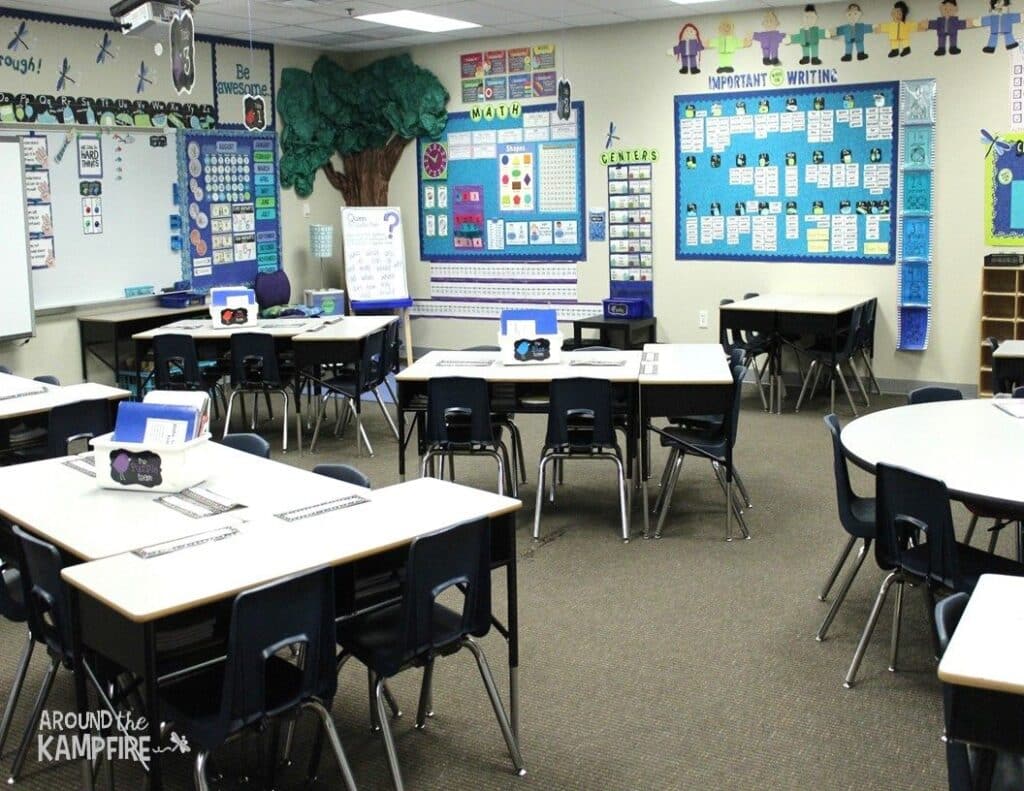
Tip 10: Utilize technology effectively
In today’s digital age, integrating technology into your classroom is necessary and can enhance learning experiences. Set up computers or tablets in a designated area for research or online activities. Create a charging station for devices, and ensure you have a secure system for managing passwords and permissions. Familiarize yourself with educational apps and online resources that can support your teaching.
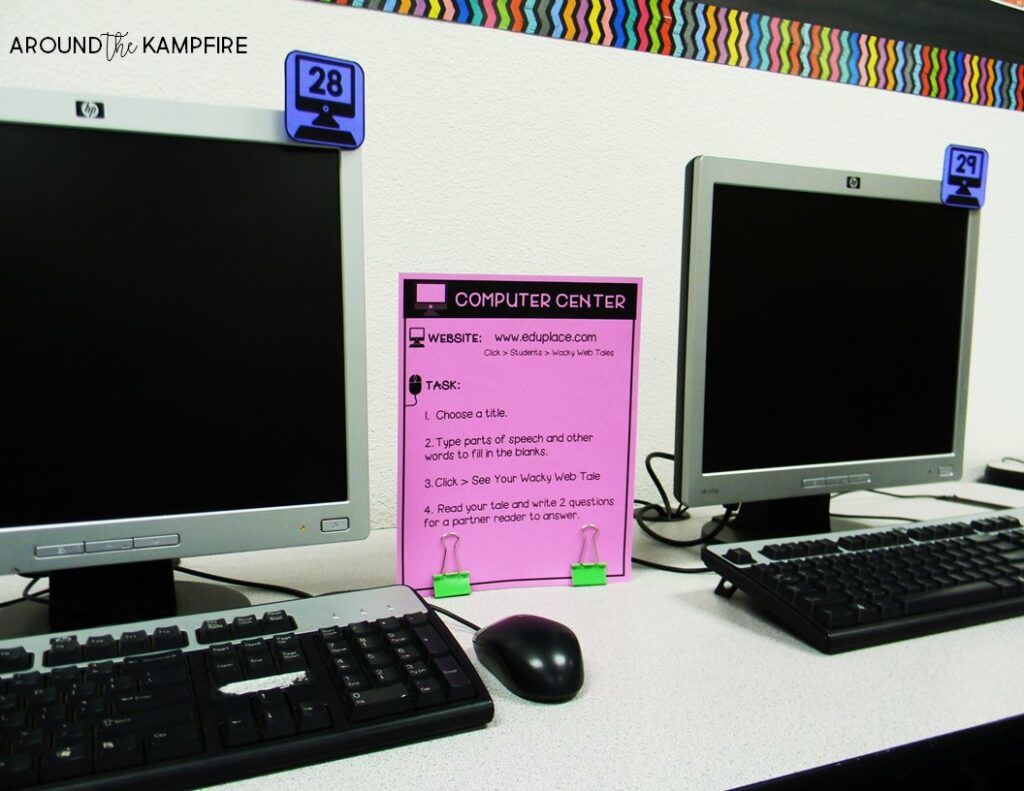
Tip 11: Stay flexible
Finally, remember that your classroom setup can (and should) evolve throughout the year as you learn more about your student’s needs and preferences. Be open to making adjustments and trying new approaches that enhance learning. You do not need to strive for perfection. As long as you care, your students will think you are the coolest!
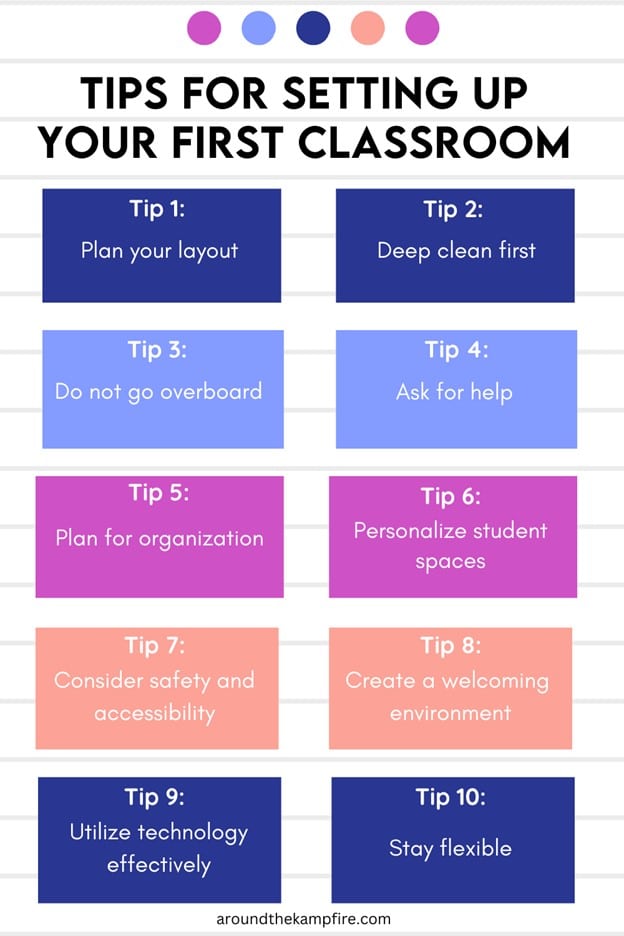
Classroom Setup Recap:
Setting up your first classroom as a new teacher is such an exciting opportunity! The fact that you are even reading these classroom setup tips means you are well on your way to setting up an environment that is beneficial to all your students.
Remember that as you gain experience, you can continue to refine and adapt your classroom setup to meet the unique needs of your students. Good luck and enjoy the journey!
If you found this post helpful, please share it with your teacher friends! Save it on Pinterest, too so you have it when you plan!




Leave a Comment