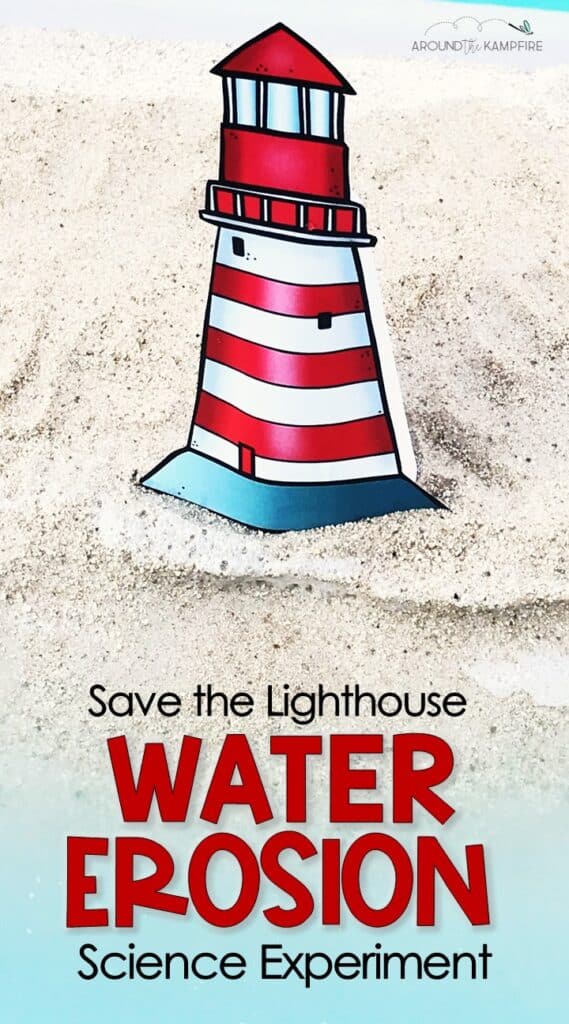
This water erosion experiment for kids is a fun science activity that is easy to do in any classroom. Ideal for teaching second grade students about slow earth changes, all of the materials you will need are from Walmart and the dollar store. The PowerPoint lessons and student lab sheet I use are part of this landforms & earth changes science unit.
By doing this experiment students gain:
- lab experience creating a simulation
- recording observations
- collecting data
- carrying out an investigation to answer a scientific question
What is Erosion?
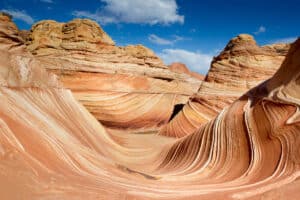
Erosion is the process of wearing away rocks and soil by water, wind, ice, and gravity. The erosion process is part of the rock cycle and forms some pretty interesting landforms like mountain peaks, valleys, and coastlines.
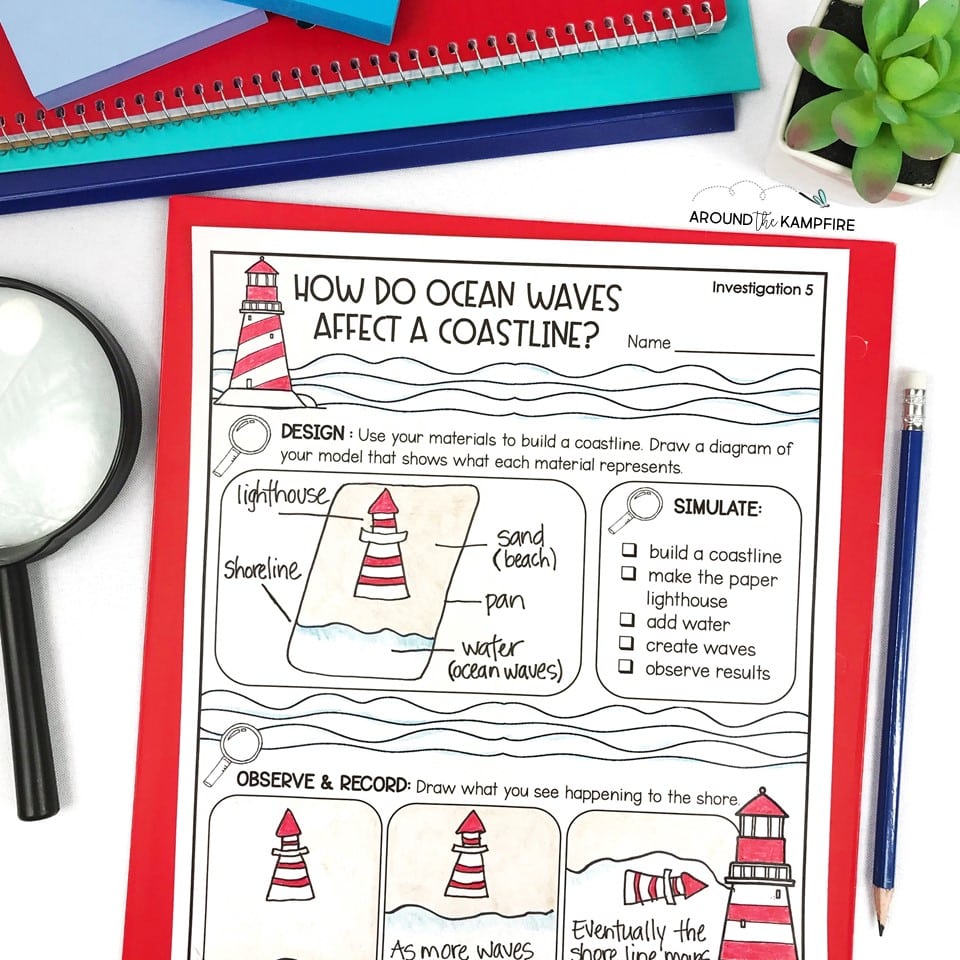
I use this erosion science experiment, that is really more of a simulation, for students to answer the question, “How do ocean waves affect a coastline?”.
Base the Lab on Natural Phenomena
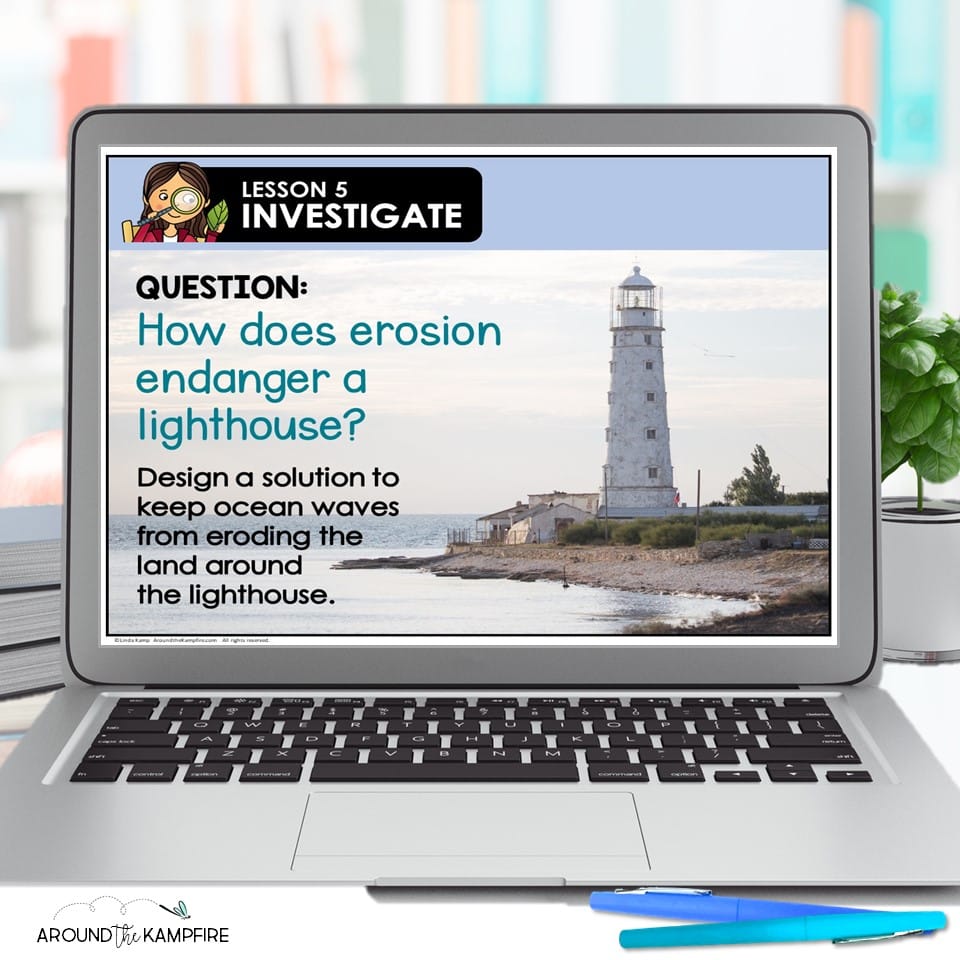
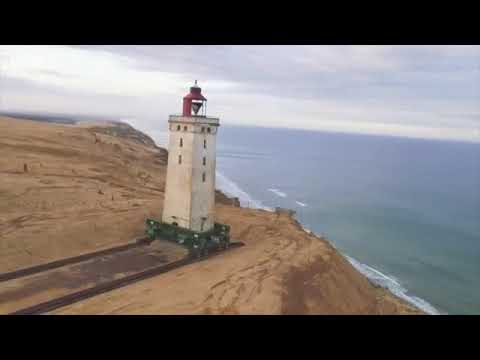
Whenever possible I like to center science lessons around natural events. Give students background for saving their lighthouses by showing this video of a 120 year old lighthouse endangered by erosion. The 1 minute video shows how the lighthouse was moved to a safer location.
Introduce the lab by posing the question: “How does erosion endanger a lighthouse?”
Water Erosion Science Experiment
Materials:
- sand
- water
- spoon
- paper lighthouse template
- plastic paint pan liner or shallow plastic bin
- student lab sheet
- blue food coloring (optional)
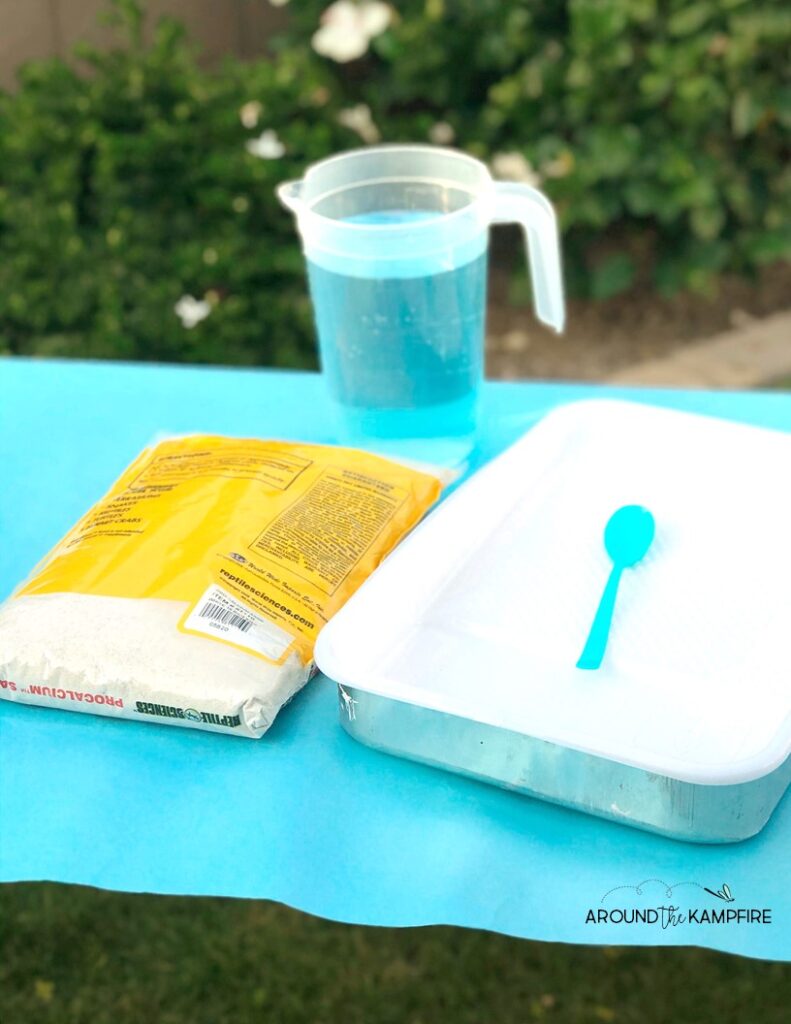
Place students in small groups or partners with the above materials needed to carry out their experiment. Guide students through the following procedure.
Procedure:
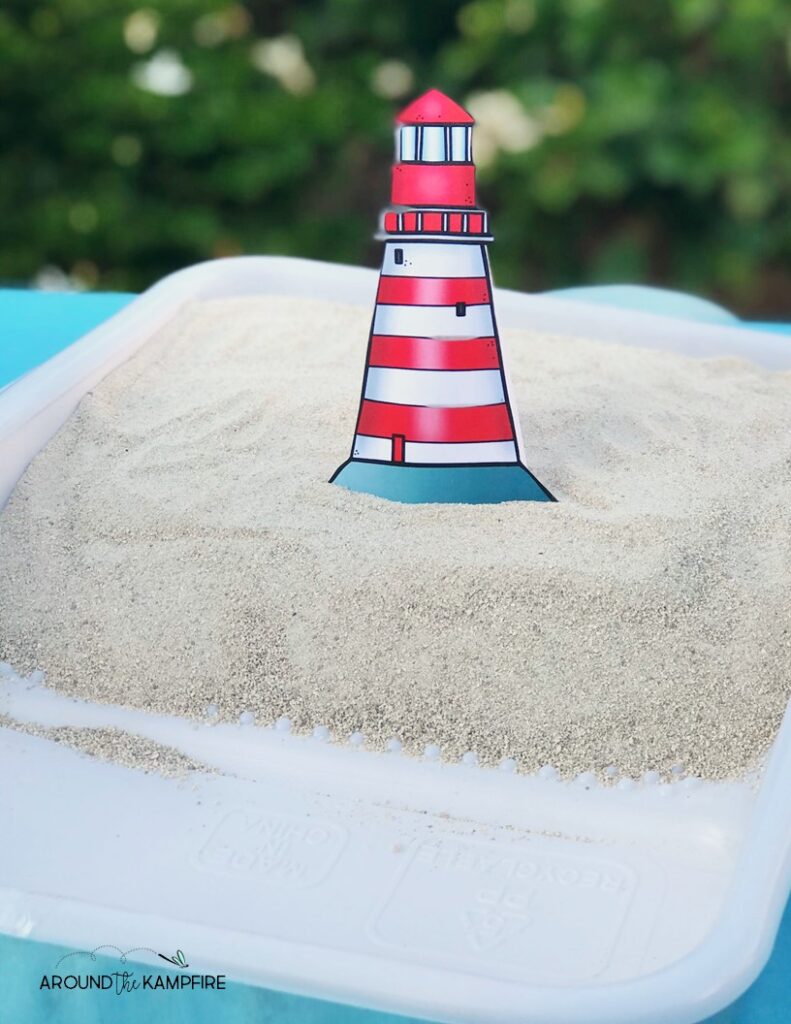
1. Fill the top two-thirds of a paint pan liner with sand. The sand we used is for hermit crabs from the pet department at Walmart, however regular sand is ideal.
2. Press the sand to form a “shoreline”. The sand should be about 2 or 3 inches deep.
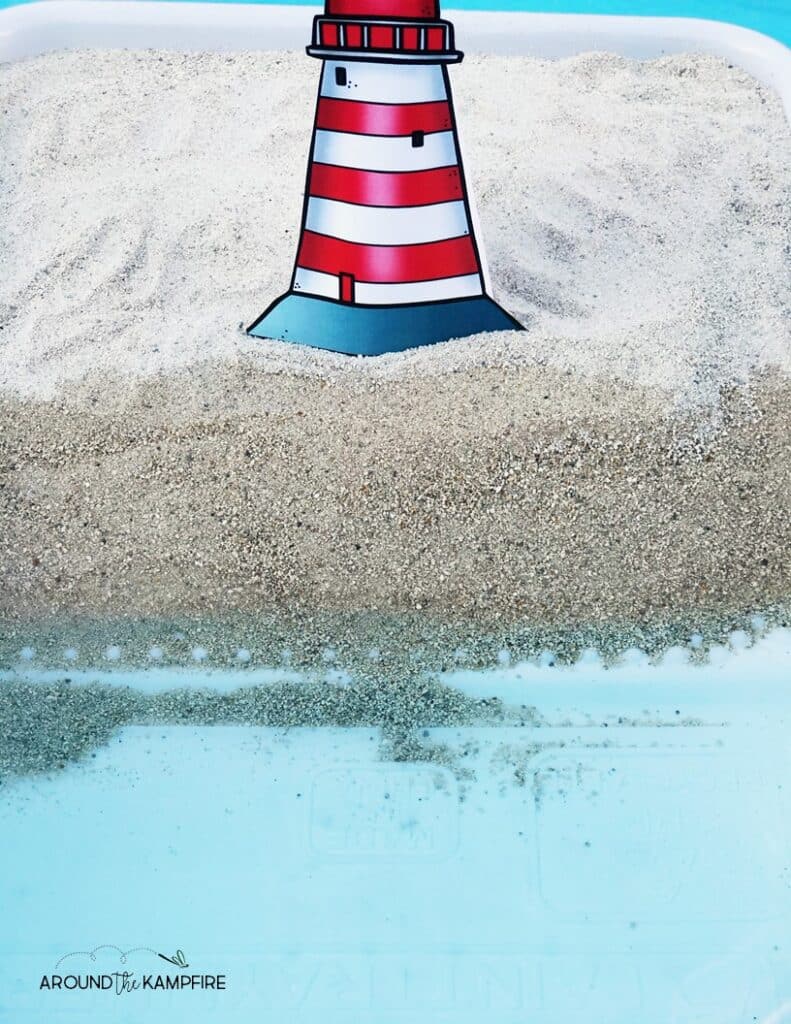
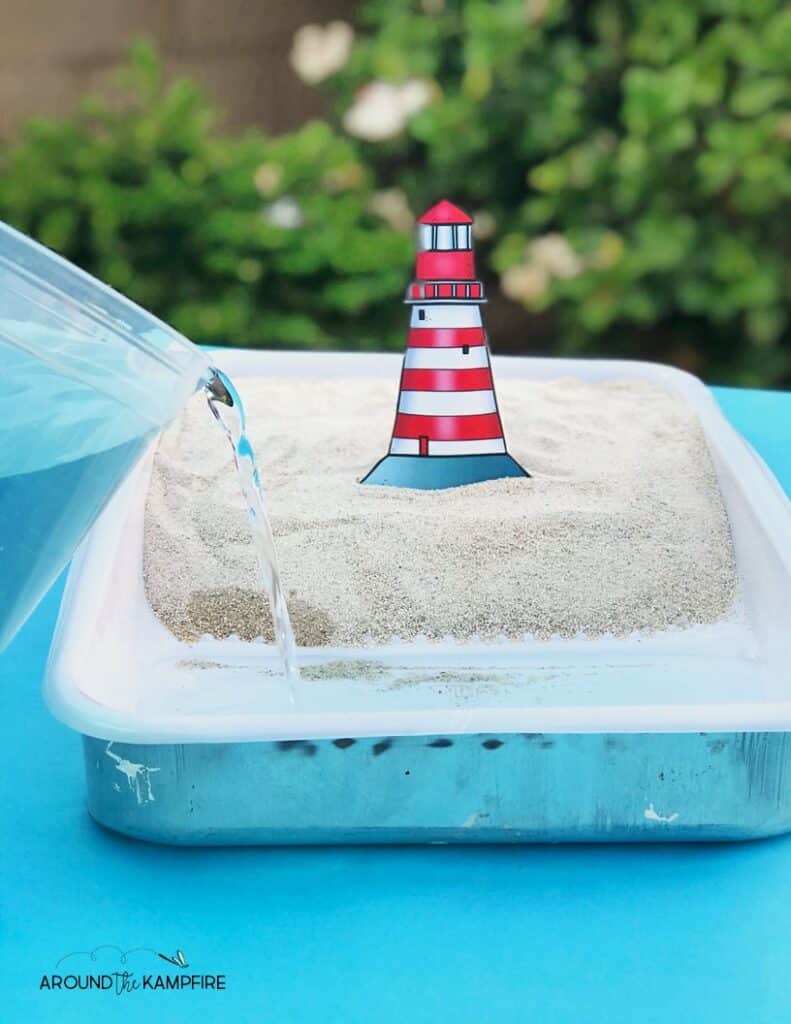
3. Gently pour water into the pan filling the bottom half.
Students draw a diagram of their model on the lab sheet telling what each material used represents. Observe the sand as the water is poured. Ask students, “What change do you see as water is poured into the pan?”. (The sand is absorbing the water).
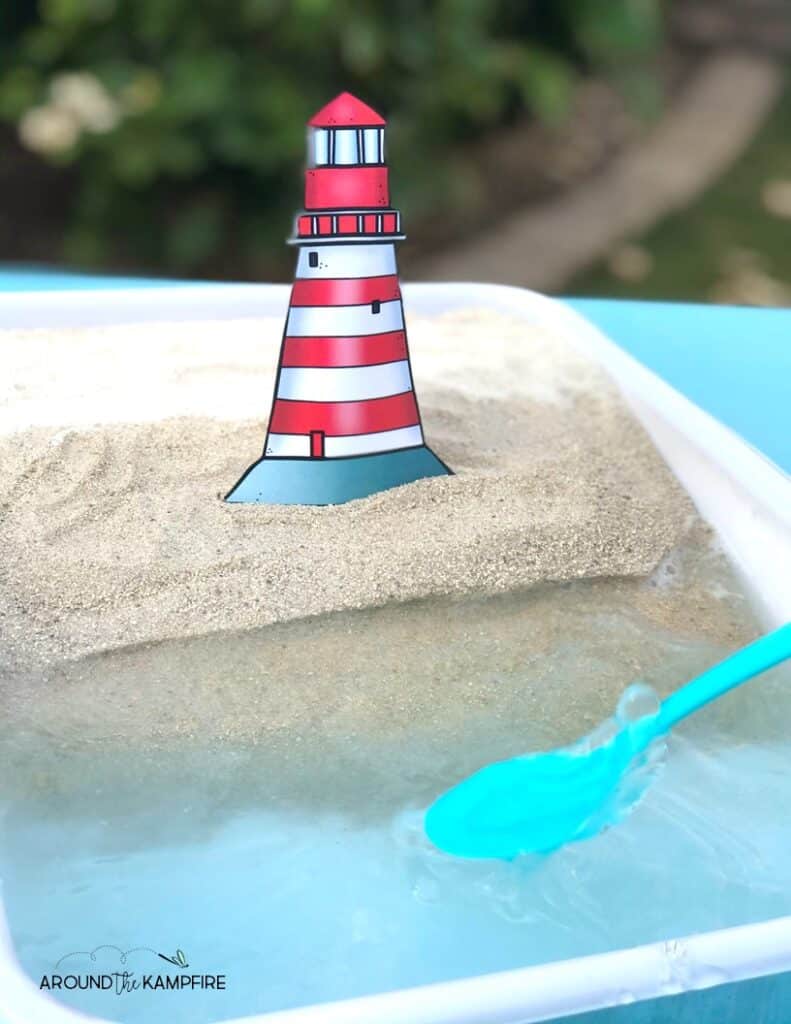
4. Using a plastic spoon, gently move the spoon up and down in the water to create small waves.
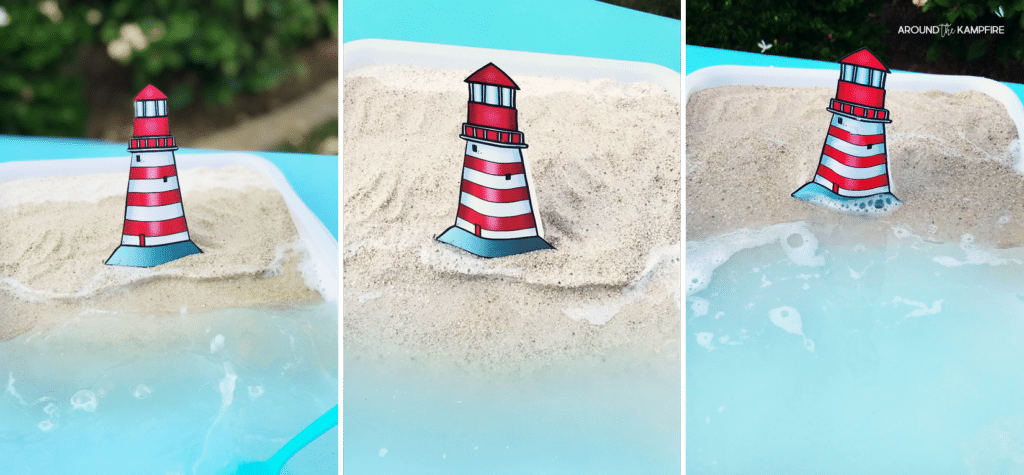
5. Have students pause after a few minutes to draw the changes on their lab sheet.
Ask students to note what happens when the waves wash up against the sand. (The “shoreline” changes because water washes back into the pan, carrying sand with it, and depositing it in a new location.)
6. Continue making waves until the shoreline is eroded up to the lighthouse.
7. Lastly, students discuss ways they can help prevent or slow down the erosion of their coastline. (A possible solution is to add rocks to the edge of the shoreline.)
More Erosion Experiments and Lesson Plans
This simple erosion experiment is a fun way for students to see the causes and effects of coastal erosion when learning about slow earth changes. It is part of a complete NGSS Landforms & Earth Changes unit for 2nd grade that is also available in a similar digital version.
Click here to see the yearlong 2nd grade science series.
Be sure to pin this lab for later so you have it when you plan!
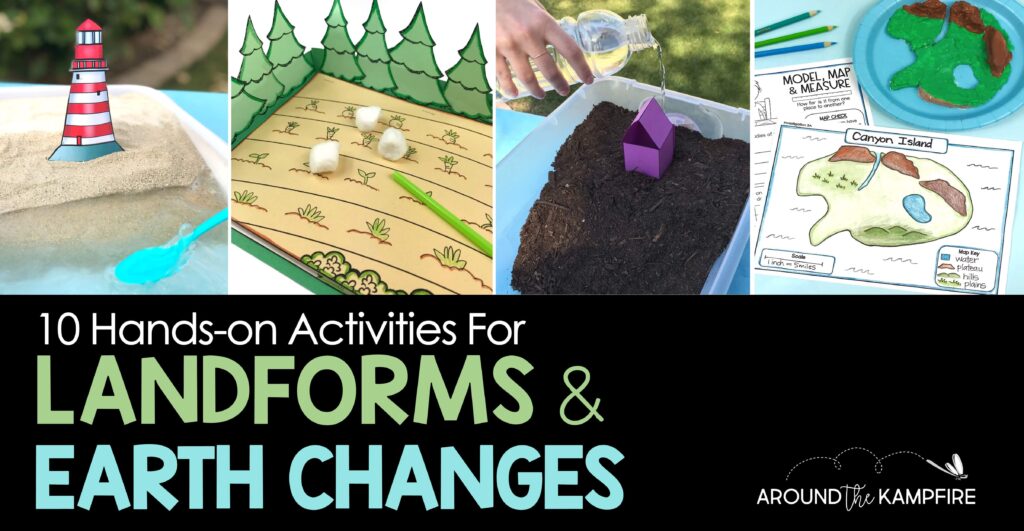
Visit this post for more landforms and earth changes science activities and experiments.
10 Hands-On Activities for Teaching Earth Changes & Landforms



Hi Linda! This lesson is amazing. Is it possible to just purchase the lighthouse lesson? It’s perfect for my homeschool curriculum but I don’t need the whole bundle. Thank you!
Hi Micaela! I’m so glad you like the lesson! Unfortunately I don’t have the labs available separately.