In this post we’ll cover decisions to make and things to consider as you start centers at the beginning of the school year. Centers and guided reading groups are one of my favorite times of the school day. I love how structured the time is and how smoothly centers can run with enough modeling, training and practice. With proper training, consistency, and practice students know how to rotate and exactly what to do when they get to each center. Your centers and small group instruction can run like clockwork, but there are several training steps that must take place first before that can happen.
How to start centers at the beginning of the year
Plan with the end in mind. Having your students work in centers increases their independence and helps to build social skills. The goal in my classroom is to have students complete three centers independently, and at some centers collaboratively, each day. This allows me to work with small groups while the rest of the class is working on meaningful activities and practicing the skills they are learning in class. There are lots of things to consider and decisions to make before successfully starting your centers at the beginning of the year.
How will you introduce centers at the beginning of the year?
Decide how and when you will begin teaching students how to do center rotations. When starting centers at the beginning of the year, you don’t want to just jump in! A successful center time requires a lot of modeling, practice, structure, and patience. The first few weeks will be slow. Consider starting with table or group centers where the students you work with in each small group sit together at a table and do the same center. This can work well while students are learning the routine, activities, and behavior expectations. Once they know this, you can introduce more centers and have smaller, strategic groups sit together and work. Students don’t necessarily have to be with the same students in their guided reading group.
Here’s how I do it: I begin introducing literacy centers the second week of school. I start the second week with “table centers” or “group centers” and one activity for each. I usually have four table groups in my classroom. During this time, I will have each group do a different activity. I keep the tasks very simple. Students rotate after 15 minutes and visit all four centers in one day. I keep the tasks simple and the activities include reviewing skills from the prior year. This model allows students to become familiar with their new classmates, learn what to do at the different centers, and gives them practice in how to rotate and know where to go.
How long will students spend at each center?
Timing is important. You need to have a set amount of time for each center as well as a dedicated time for cleanup.
Here’s how I do it: I will determine the total amount of time that I have for centers and divide it by four for this week. For example, if I have 60 minutes for centers, I will divide that by four and that gives me 15 minutes per center. However, students will need time to clean up between centers so I set a timer for 14 minutes. Each center will be 14 minutes long with about one minute of clean up before rotating. When the timer goes off, set it again for one minute. During this time students stop and clean up their center. I have them then stand up, push in their chair, and point to their next center. When the 1-minute timer goes off, they rotate.
What kind of center activities should I use?
When starting centers at the beginning of the year, have students do activities they can complete on their own. I sit at one of the center tables that requires more explanation. I may include word work centers, poetry, spelling, digital phonics games, etc. but I sit with the small group and model how I expect the center work to be completed. Teaching different centers in small groups like this allows you to make sure each student has a true understanding of the expectations. Also, I always allow myself time to monitor the other centers once my group has started working.
How will students access materials?
Decide if you want students to take a bin with materials to a table or their desk or if you will have spaces set up around the room as center stations. Another option is to use a set of rolling drawers or stacking trays to hold materials for students to take.
What will students do with finished and unfinished center work?
Decide how you want students to turn in completed work and what to do with unfinished work. Not all centers will have a written component to turn in.
Here’s how I do it: Each student has a purple folder labeled “Centers”. This is where any unfinished center work goes. If the timer goes off and a written activity is not complete, students will put their paper in their purple folder. They will then have different times throughout the day when they are able to catch up on this work. Click the link for Free Center Folder & Journal Labels.
I also have a purple basket for all completed center work. Once work is finished it goes in this basket. I check the basket periodically throughout the week to make sure that quality of work expectations are being met. I will also pick some to display in the classroom and acknowledge quality work. Students love having their hard work shown to their classmates.
Since some students will need more time to finish a center, I have a separate tub for all the bags from the previous week. When changing out centers on Friday, I place the Ziplock bags (Vocabulary, Phonics, Grammar, etc.) in this tub. I then model for students where to get a bag for a center they need to finish. I continue this all year so that students have a chance to finish any centers they need to.
How will students know where to go?
Where students go can depend on how much choice you want to give them. Will they have “must-do” and “may-do” centers? Will you give them choice menus, or have them rotate to different centers around the room?
There are lots of different options for setting your rotations. Many teachers use a pocket chart grid and move students’ name cards. Some use a slide they project each day. Others have groups that rotate together.
How will you monitor centers?
It’s crucial that students know you are observing what goes on throughout the class even if you are working with another group. Make time in the beginning to circulate around the room and observe how other students are working. This also allows you to answer any questions students have and give positive behavior reinforcement.
How will you hold students accountable?
A key factor in a successful center time is holding students accountable for the work they need to complete. Consider using a center checklist for students to check things off as they complete them. Decide when center work is due and how it is turned in. Making work completion part of your routine will help set everyone up for success.
What will clean up look like?
Always model for students exactly how you expect centers to be cleaned up during rotations as well as at the very end of center time. When the last center has been completed, teach students how to put all parts (cards, papers, pieces, markers, etc.) back into their bags or bins where they are kept during the day. After the last rotation and clean up, students return to their desks.
How will you assess your students?
It’s very important to assess all students during these first weeks of school. This is critical to be able to properly group students for both centers and guided reading groups.
Here’s how I do it: During the third week of school, I will continue table centers so that I can begin assessing students’ literacy levels. I use this time to pull students to administer one on one assessments. Testing on high frequency words, running record level, and phonics are my top priorities.
How will you group your students?
Typically students are grouped by reading level range, academic need, or a mix of both. To determine your small groups, most districts have a math and/or literacy assessment that is given at the beginning of the year.
Here’s how I do it: After all assessments have been administered, I strategically group students for centers and for guided reading groups. For centers, I try to keep my groups to only two or three students per group. This does require a lot of centers but more on that later. For center groups, I try to pair students based on their reading ability. That is not to say that I put everyone with the same ability level in the same group. I highly recommend creating center groups with a range of ability levels so that one, students can help one another and two, strugglers have a model.
For center groups, I combine ability levels. Consider putting a student who is on grade level with a struggling student. I don’t recommend putting two students that struggle academically together. I try to create a balance of boys and girls and avoid pair ups of students that talk a lot or distract one another. Stay flexible. You can always change your groups if they are not working.
What is your end goal for how you want centers to run?
There are several different ways centers can run in a classroom. Students could have a checklist for the week, they could do free choice, timed rotations, etc. A successful center routine will be one that works for you and that your students are fully trained in. It’s crucial that you choose a routine that works for you and your strengths as a teacher. Your routine should also allow you to pull small groups for guided reading. Plan with the end result in mind.
Set a goal for when students can rotate through centers independently with minimal direction from you.
Here’s how I do it: During the fourth week of school is when I am usually able to start my “regular” center routine. Students have all been assessed and grouped together. I have some of my different centers arranged around the room on small tables and some center baskets belong on a small shelf and will be taken to a regular student table group. My center chart shows where each group will go that day and in what order. The cards on this chart also match the cards that are on the individual center baskets so that students can easily match them up.
For my regular centers, I will have students complete only three per day now so that they can spend more quality time at each center. Hopefully their stamina has increased a bit by now. I will take my total time allotted for centers and guided reading and divide it by three. This will help ensure they have plenty of time to complete their task and also allows me to pull three small groups per day.
What expectations will you set?
My expectations are the same when transitioning to our regular center routine. I expect students to work during the given time, clean up during the one minute clean up time, and point to their next center location before actually moving. This last part is especially important now because students will be moving all over the room instead of staying at the four table groups. Students do not rotate or start their next center until that second timer has gone off. During this week I will spend a lot of time monitoring centers and student behavior. Be very specific in showing students where to move. Putting the time and energy in now will help ensure that your centers run smoothly. Students will learn the routine faster, and with practice from the start, will establish good habits to meet your expectations.
Remember, you can always change or refine your procedures if you need to. If even after students practice consistently, a procedure isn’t working, takes too much time, or causes confusion, change it.
Where will you place different centers in your room?
I have several small tables and chairs throughout my classroom for different centers. I have a couple of small square (they used to be called “Parsons tables” but now are just called end tables I think) from Walmart and IKEA . We use either classroom chairs or crates turned upside down for seats. These tables contain a different center basket with all the materials needed and the basket is labeled. I also have a shelf that houses some center baskets. These baskets are taken to the different table groups (1, 2, 3, 4) during center work time. Having small workspaces for students is nice because it spreads everyone out. This also allows students to work quietly and decreases distractions.
How will you organize and store centers?
You can organize centers in a number of ways, usually by unit or skill. Flat containers or shoe box size containers with lids work well for organizing and storing center games. Ziploc bags are great for storing individual games with pieces. I make a master copy on cardstock of any recording sheets and place them in the Ziploc bag with the game.
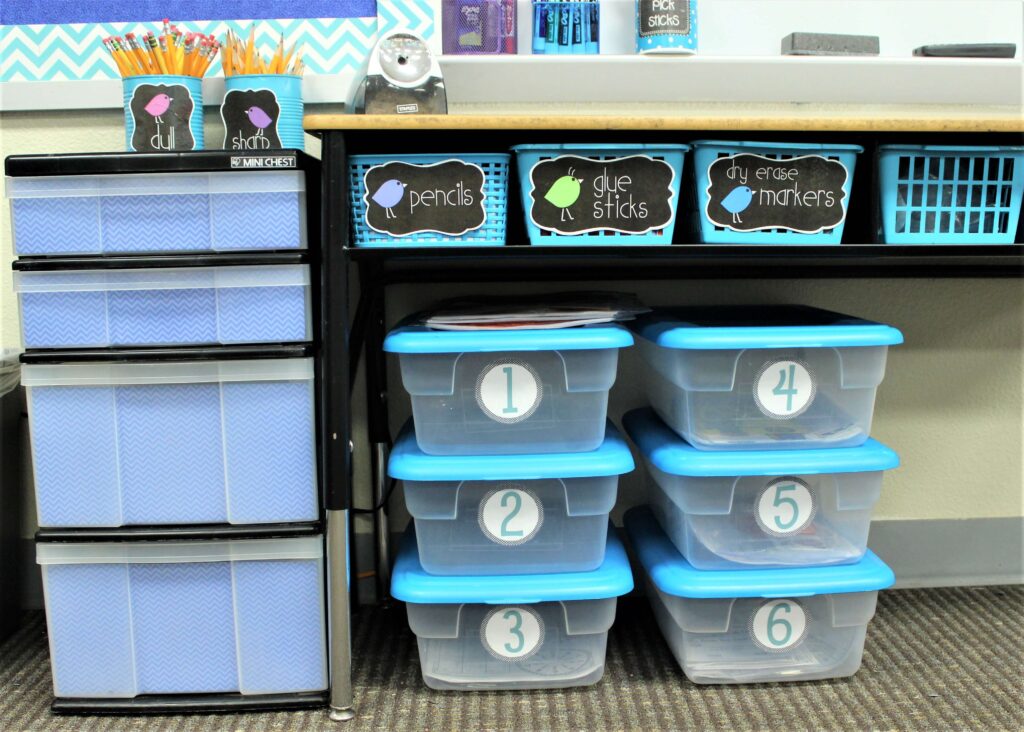
Another option for storage is to put the Ziploc bags upright in a filing cabinet. Cut file folders longways into strips to use as dividers, and label them by skill. Book bins are inexpensive at Walmart and also work well lined up on a shelf when not in use.
Here’s how I do it: I use a basket or shallow tub for each center. I also keep all of the materials for each center in a large Ziplock bag and that bag gets placed in the basket. The bag is labeled with the center name (Vocabulary, Phonics, etc.) and the corresponding curriculum unit (ex. Unit 1 Lesson 2 or back to school centers). I also place all supplies needed to complete the center in the basket. This might include glue sticks, colored pencils, scissors, etc. Teaching students how to clean up is important so that these pieces are put back properly every day and do not get lost.
When storing centers that are not being used, I keep all the materials for each unit together in a big tub. I have six big tubs labeled with the six different units we complete for Language Arts. Organizing all center materials will save you set up time each week and allows you to easily locate the center activities you need.
How will you introduce new centers?
Typically you will change centers weekly or bi-weekly. Allow time on Monday morning to introduce new centers to your students. Students should already have a general idea of how each center (Phonics, Writing, etc.) is completed (because you taught and practiced during the first month) but a quick refresher each time you change centers will benefit students.
What skills will students practice?
Students practice concepts and skills they are learning during their whole group lessons. As you start centers at the beginning of the school year, choose skills for students to review from the prior year so that they will need minimal help.
The beauty of incorporating centers into your math or ELA schedule is that students have daily opportunities to practice these skills at their level. Centers enable you to easily differentiate for your students. You can even embed science and social studies content through literacy or math based activities. This is ideal for teachers who don’t have much dedicated time in their schedule for science or social studies.
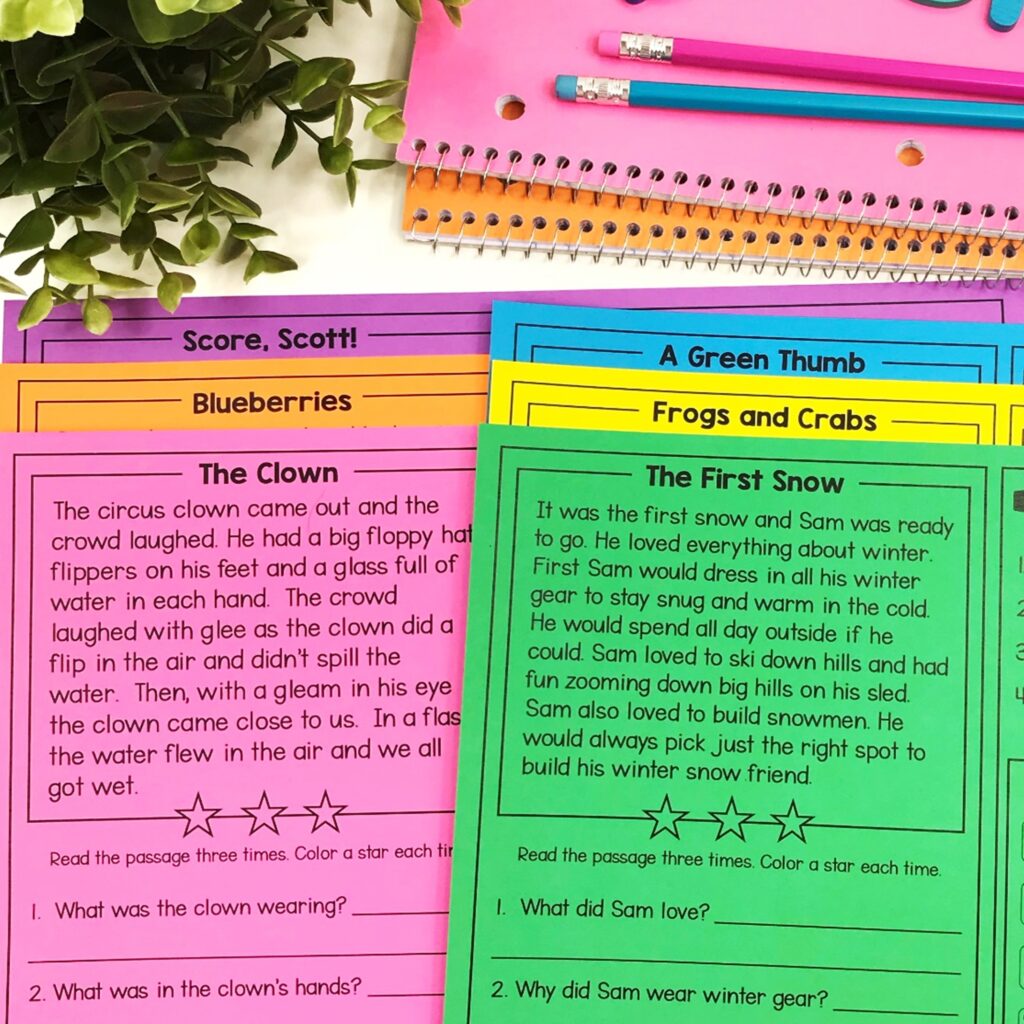
Phonics passages source
Where do you find meaningful center activities?
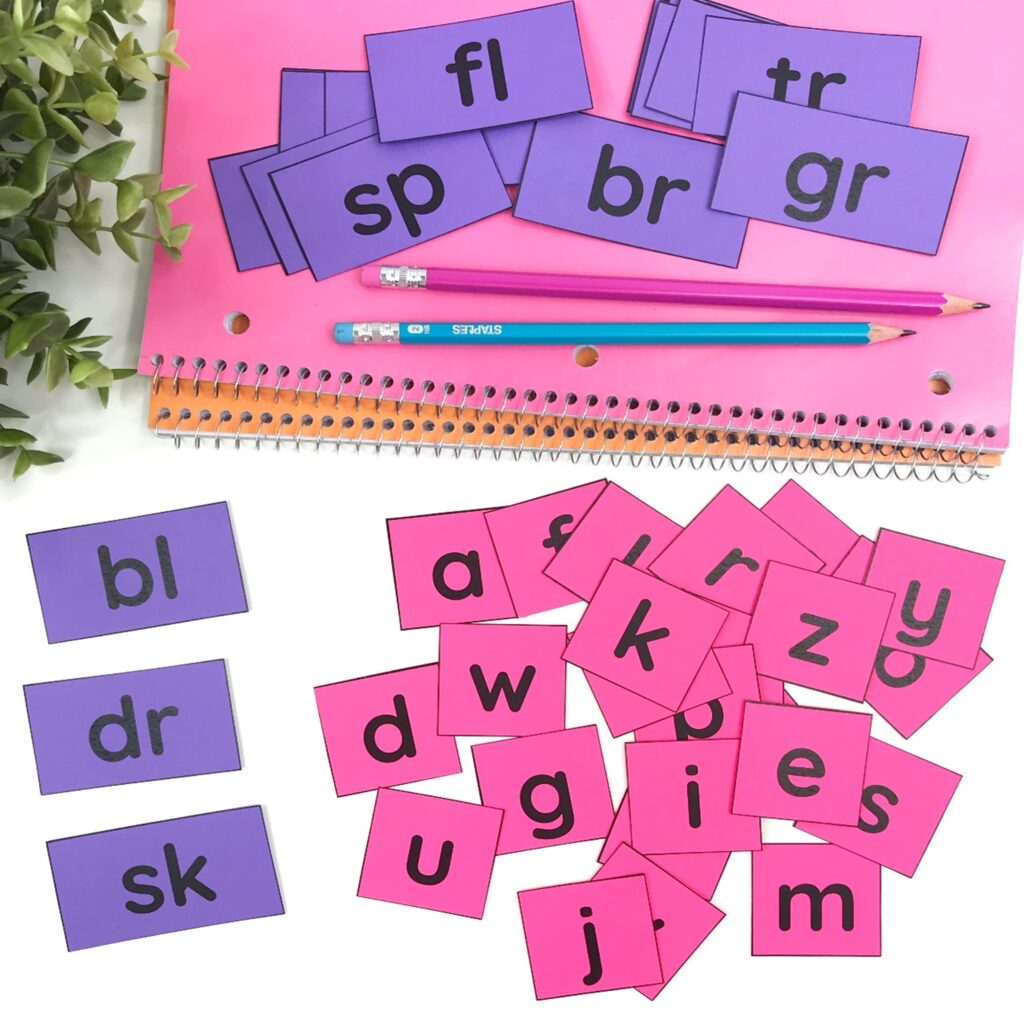
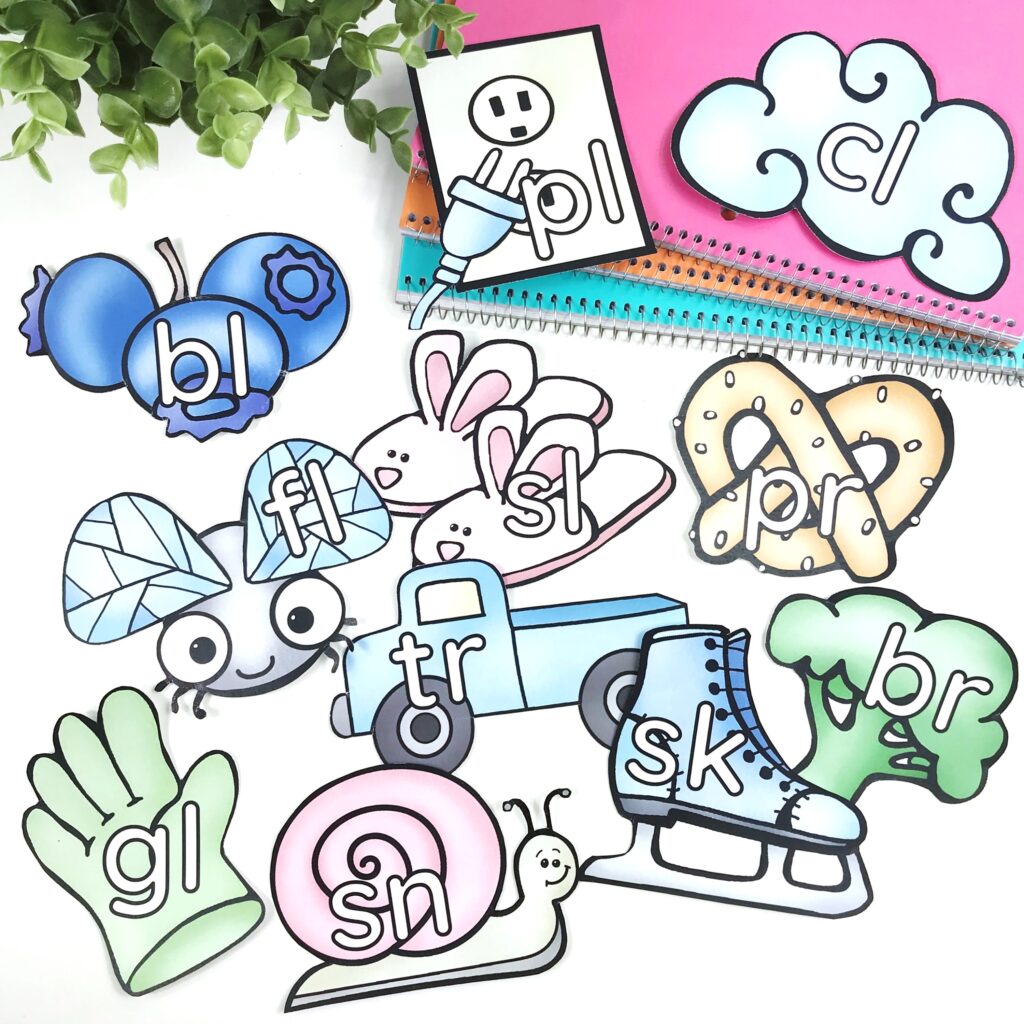
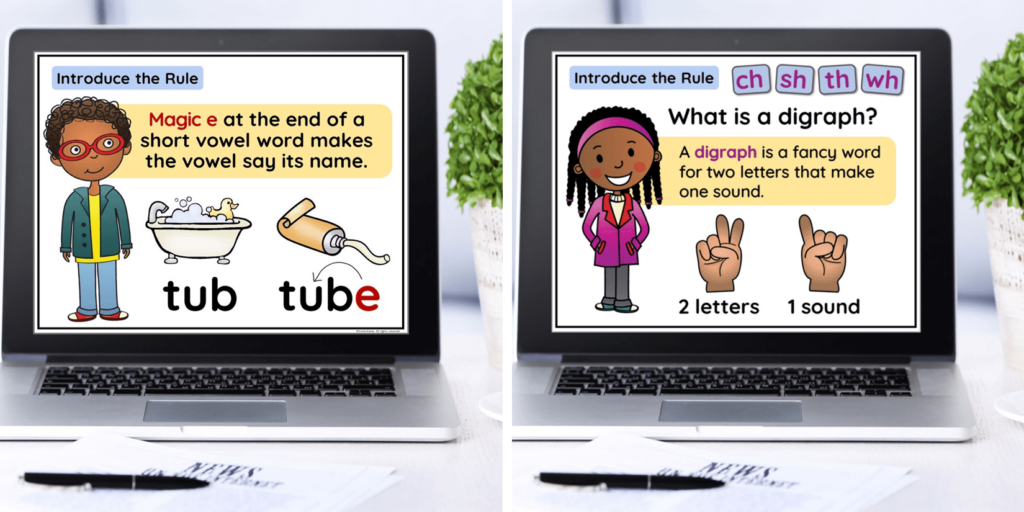
As you start centers at the beginning of the year it can be daunting find the resources you need. I’ve created an entire series of phonics units that include a weekly teaching routine and an interactive, instructional PowerPoint to introduce phonics rules, model word building, and practice reading fluency with decodable sentences and short phonics passages.
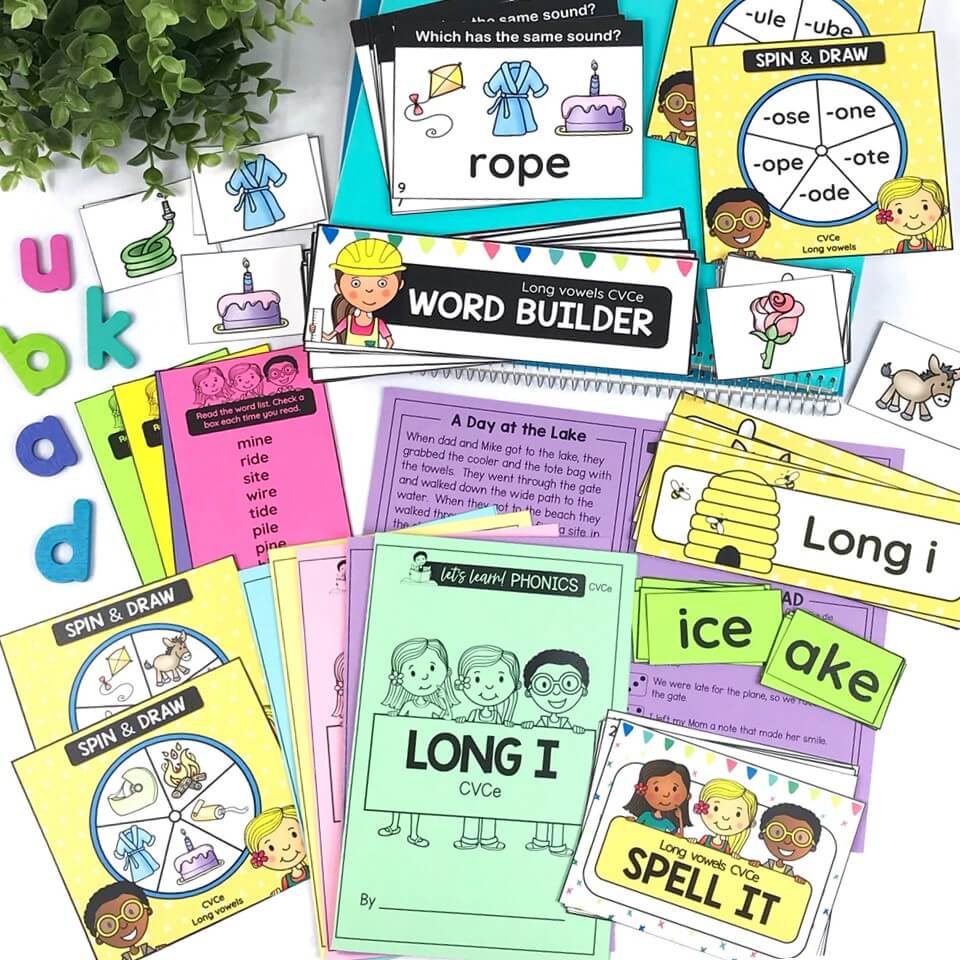
Each unit includes a weekly phonics routine with lesson plans, a multitude of phonics centers, phonics reading passages with comprehension questions, fluency practice, small group materials, word work and word building centers, phonics posters, practice pages for homework, assessments, and enough materials for interventions.
These units are carefully designed so you literally have everything you need for:
- Whole group phonics lessons
- Small group instruction
- Interventions
- Homework
Click HERE for all phonics units.
These complete units are ideal for back to school centers and yearlong consistent routines and activities.
Learning centers are an effective way to have students practice multiple skills in a given amount of time. There is a lot to consider as you start centers at the beginning of the year, but by incorporating them daily, students are able to practice essential skills at their own level, learn valuable social skills by working with peers, and get daily small group instruction.
Click the link for consistent and meaningful phonics centers with teaching Powerpoints.

Visit these posts for more tips, ideas, and back to school help!
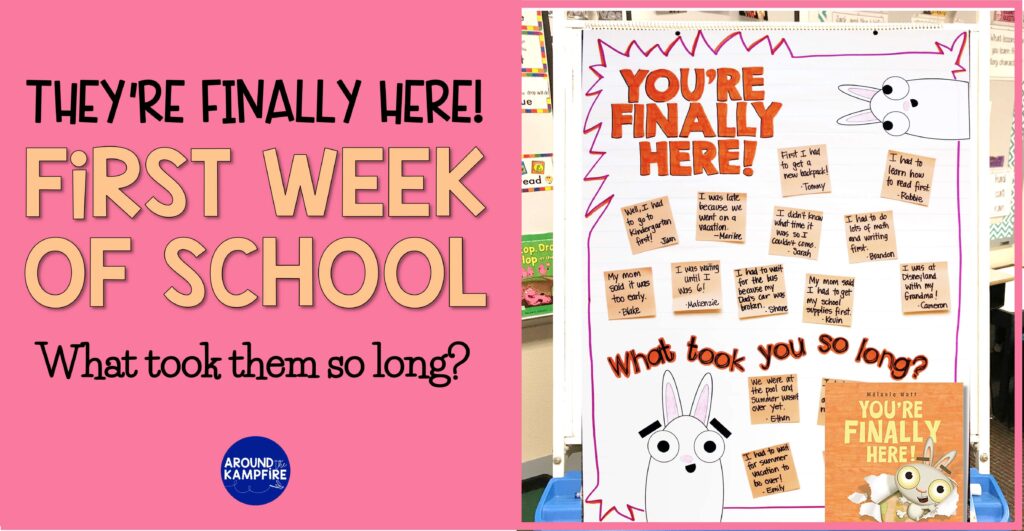
You’re Finally Here! Our First Week of School
10 Tips to Manage Meet the Teacher Night Like a Pro!
Tips for Teaching Phonics Virtually
Routines & Procedures to Teach the First Day
What to Include in Your Parent Presentation on Curriculum Night

Curriculum Night Tips for Teachers
Happy teaching!




Linda, thank you so much for posting this. I love that you told us exactly how you do all of these things. Gayle
You’re so welcome Gayle! I hope all the tips are helpful to you this year! -Linda
You’re so welcome, Gayle! I’m glad the info was helpful for you! Have a fantastic new school year!