Raising butterflies in the classroom is always a highlight and a fantastic finish to any life cycle unit. In this post I’ll show you how to easily raise butterflies in your classroom. I’ll share tips I’ve learned about managing your kids and their caterpillars, super-engaging lessons to teach and labs you can do while observing the butterfly life cycle.
Hold on, because you’re about to send your engagement factor soaring!
Tips for Raising Butterflies in the Classroom
Where to Buy Caterpillars
I’ve purchased class sets of Painted Lady caterpillars from both Insect Lore and Amazon over the years. Insect Lore carries everything you need on their website in a variety of different kits and numbers of caterpillars. You can also buy a kit with a voucher for the caterpillars and order them later online.
If this is the first time you’ve raised butterflies, I recommend getting the kit with the “butterfly pavilion”. The pavilion is a pop-up netting container. These can easily be washed in your classroom sink and folded up to store for use next year.
Preparing the Caterpillar Cups
Before your caterpillars arrive, be sure to get paper towels and large safety pins (available at the dollar store). More on why later.
Once your caterpillars arrive, you’ll need to fill the included cups with food. Included in the kit is a large cup of mashed mallow plant (that I swear smells just like oatmeal.) My best tip for preparing the cups is to place a spoonful of food inside and use a second cup to push it down to the bottom of the cup.
Press down firmly because you don’t want spaces or air holes between the food and the cup. We’ve had caterpillars manage to go down into those and get stuck.
Next, and this is important, cut sheets of paper towel into squares large enough to fit over the opening of the cup. About 1 and a 1/2 inch square fits nicely.
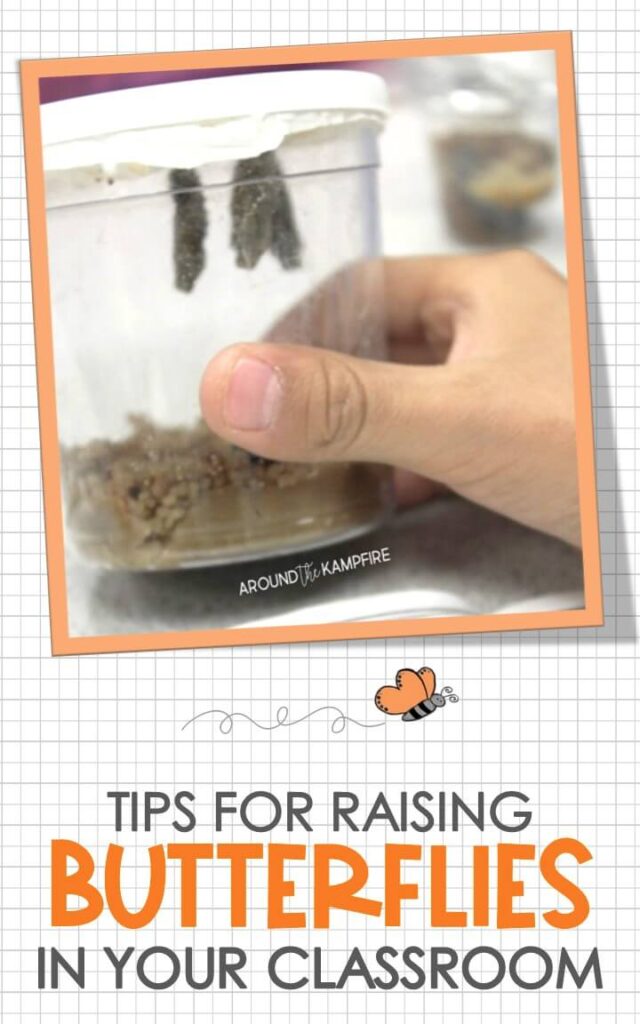
Using a paint brush, a pipe cleaner, or even a pencil, gently brush one caterpillar into each prepared cup. Place the paper towel square over the top of the cup and put the lid on. The caterpillars will later attach themselves to the paper towel and form their chrysalis. Without the paper towel they will attach to the lid of the cup.
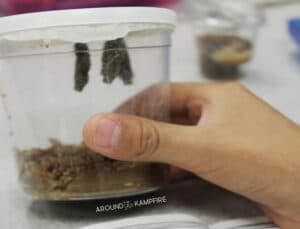
Once the caterpillar forms a chrysalis, transfer it into the habitat. Here’s where the paper towel comes in. It is much easier to carefully safety pin the paper towel to the sides of the pavilion than to push a safety pin through the plastic lid without disturbing the chrysalis.
Managing Your Kids and Their Caterpillars
Out of pure necessity, I’ve gotten this part down to a science! After “cupping” all the caterpillars, I write each child’s initials on the lids. Since my students sit in groups, I use a small basket to keep each group’s caterpillars together.
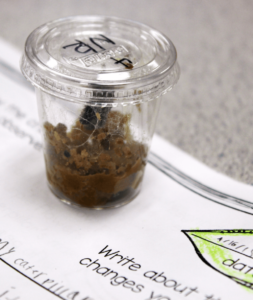
The baskets live on top of the filing cabinet, well out of reach, until we are ready to observe and do activities with them. For some classes, when my students could handle it, I’ve let them keep the caterpillar cups on their desks in the afternoons.
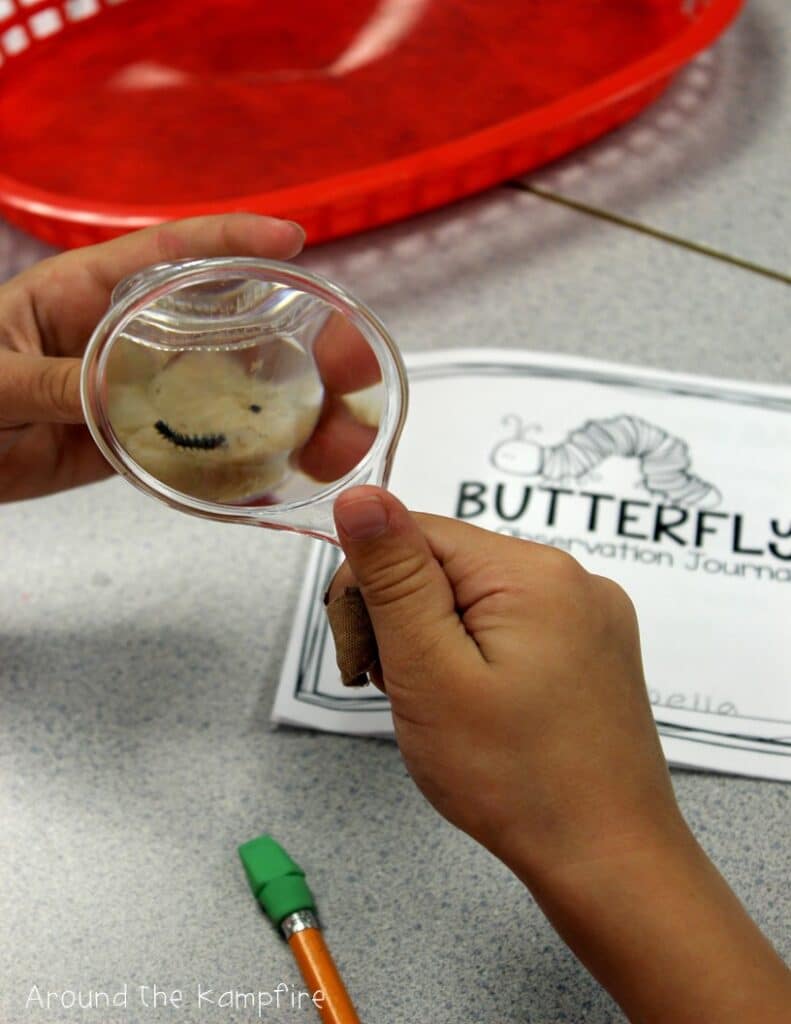
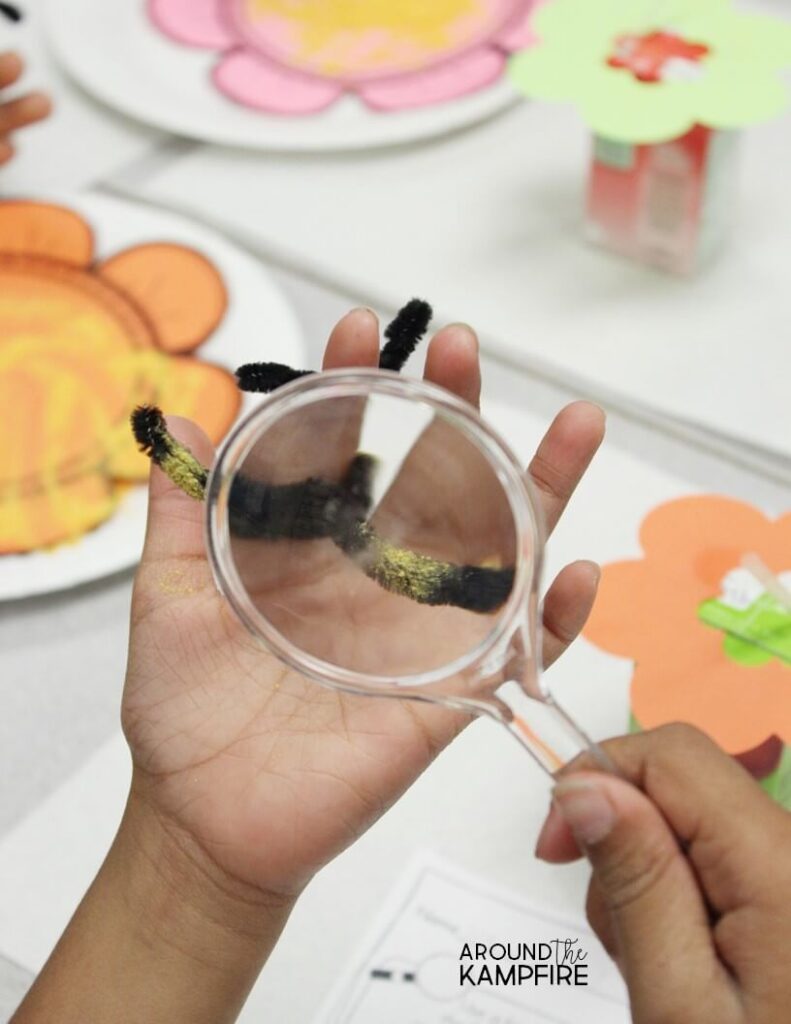
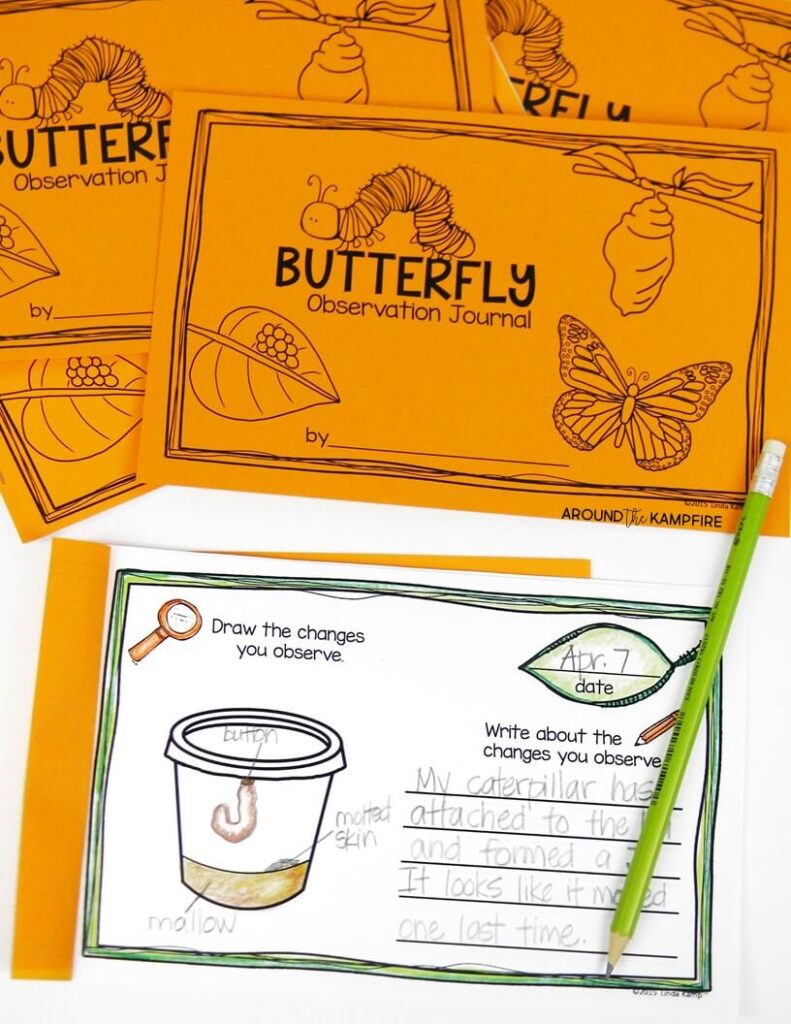
We check on the caterpillars each day and record any observable changes in butterfly observation journals. You can usually find small hand lenses at the dollar store.
I have students draw and label what they observe in their cups. Science drawings are an excellent way to determine students’ understanding and an opportunity for them to use their science vocabulary.
Teach Lessons on Metamorphosis, Pollination, and Adaptations
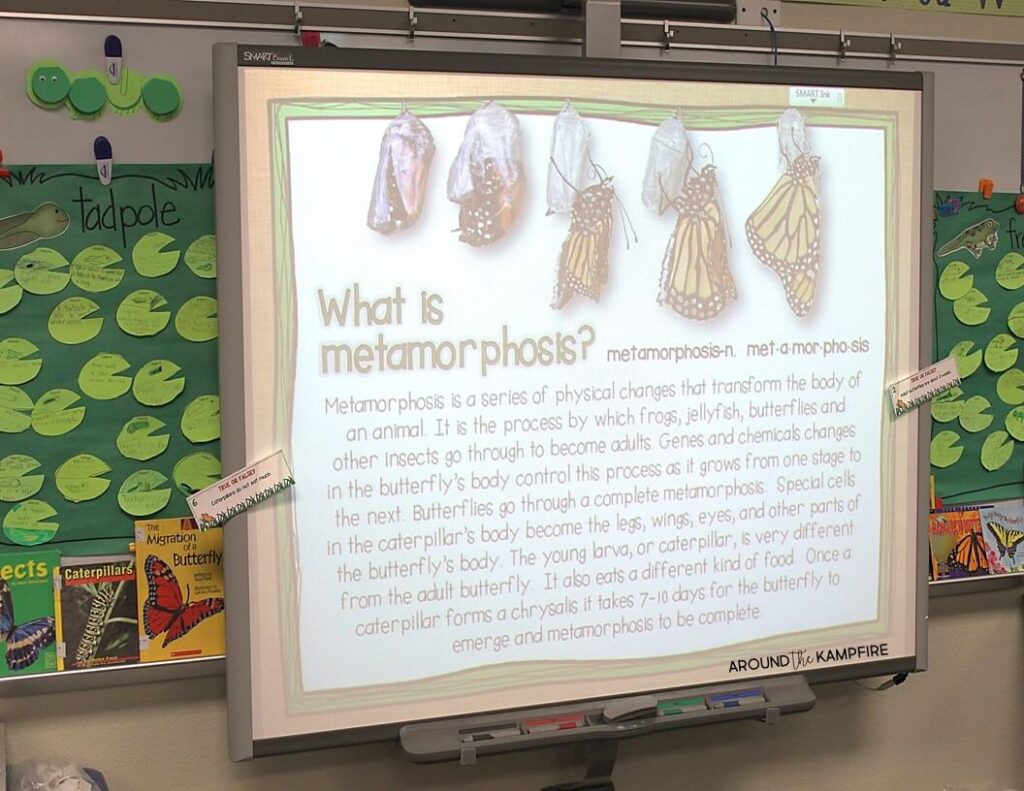
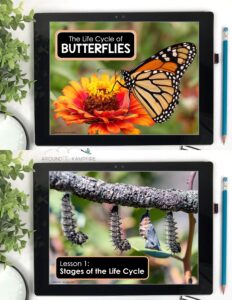
I made a 7-lesson teaching PowerPoint filled with vivid and up close photos to teach the stages of the life cycle, metamorphosis, adaptations, pollination, the compound eye and all aspects of the lives of a butterfly and caterpillar.
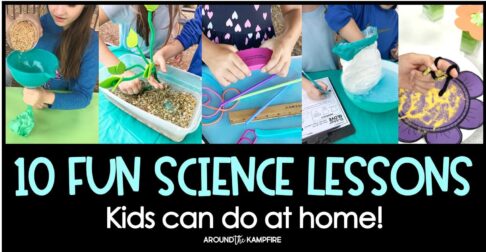
Butterfly Science Experiments
The first thing we learn is how to handle our caterpillars with care.

During our butterfly unit students learn about caterpillar and butterfly adaptations and the physical changes happening inside the chrysalis.
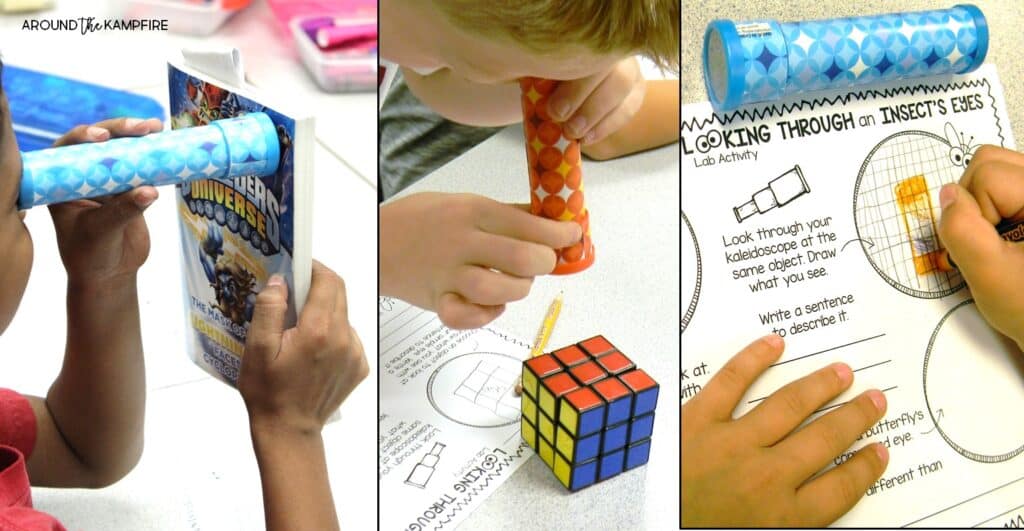
We explore the butterfly compound eye and use kaleidoscopes I found on Amazon to simulate what a butterfly sees.
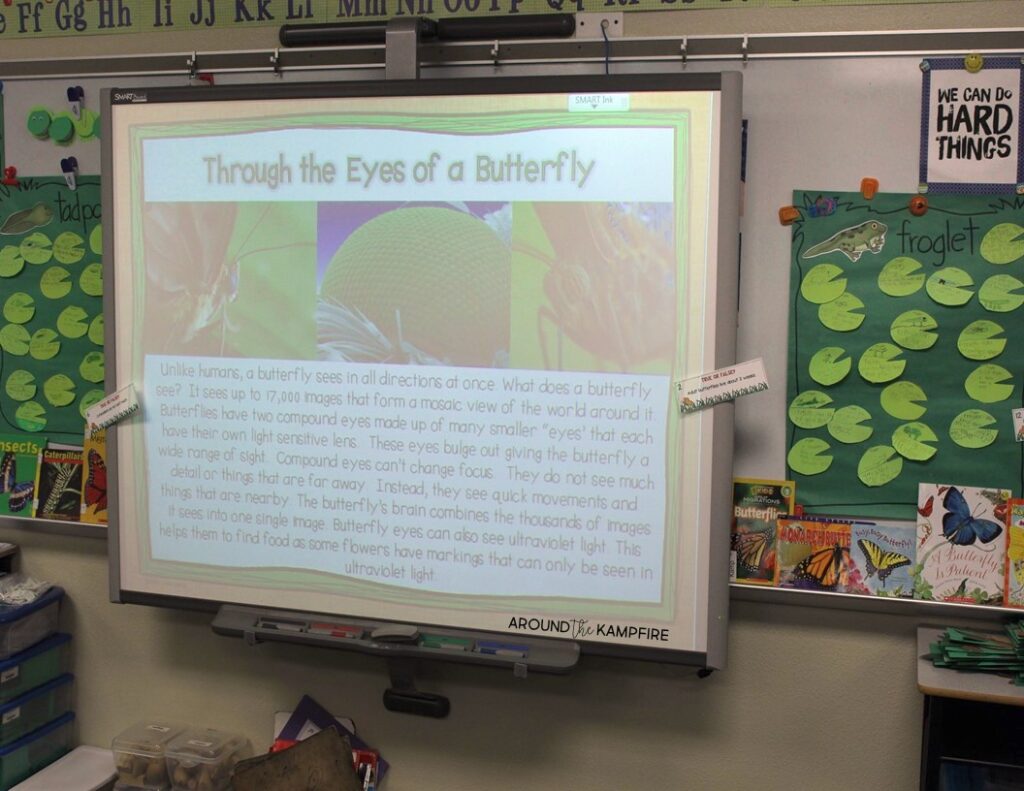
Butterflies see shapes, color, and movement through thousands of lenses in their eyes. Click here to see more of our compound eye lab.
We do a fun pollination lab using juice boxes and mac & cheese powder to simulate an insect transferring pollen.
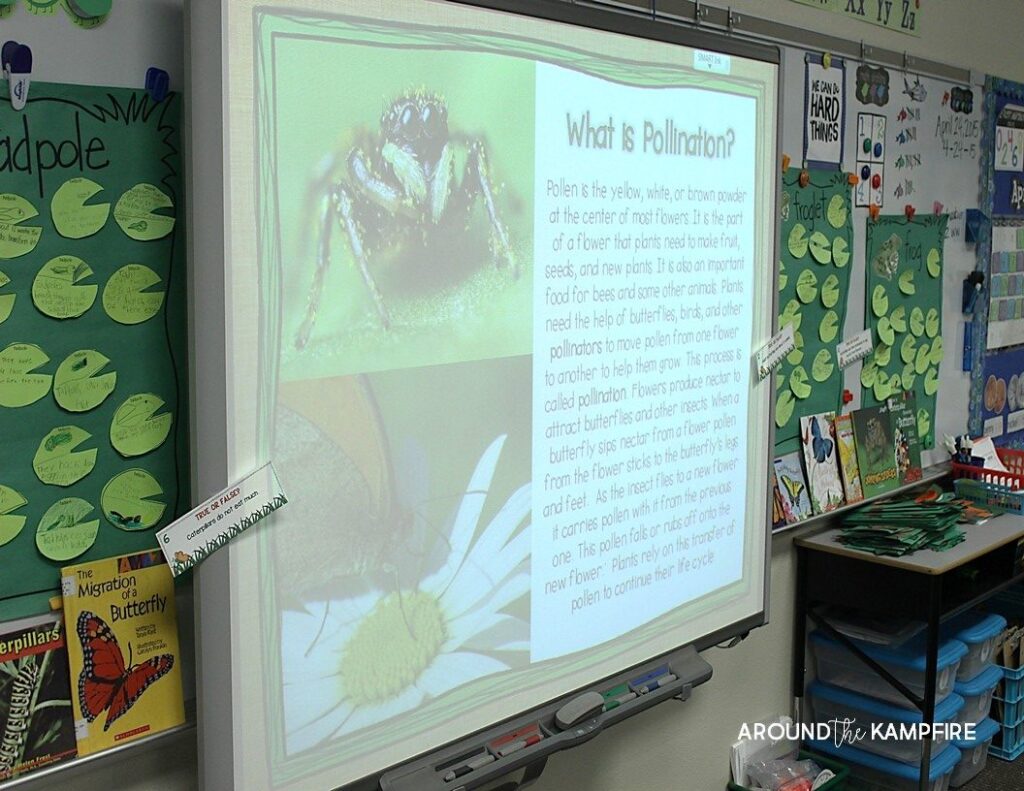
Click here to see the mac & cheese powder pollination lab. Click here to see a STEM version we did where students build simple models first.
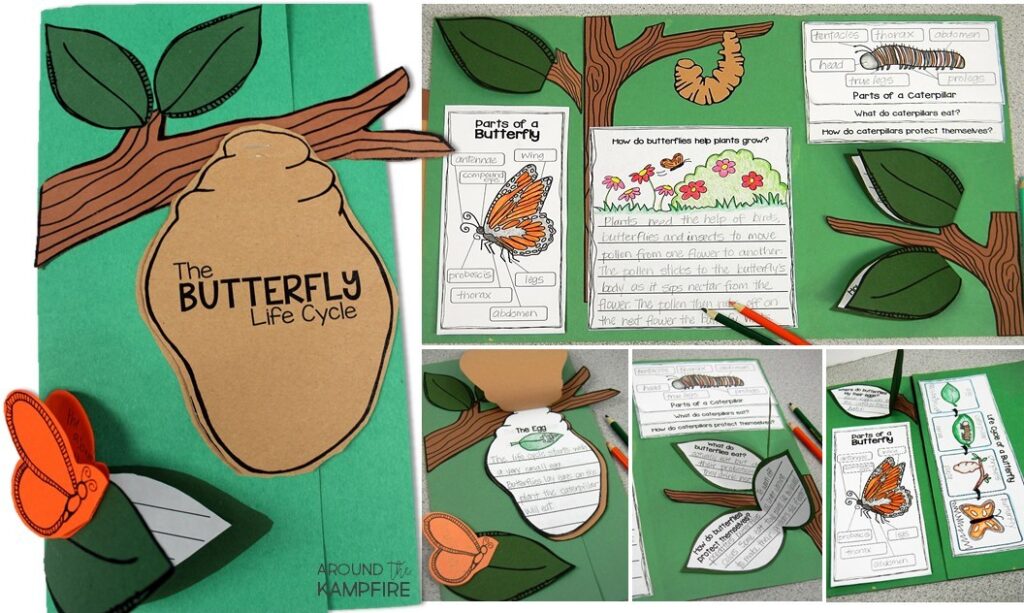
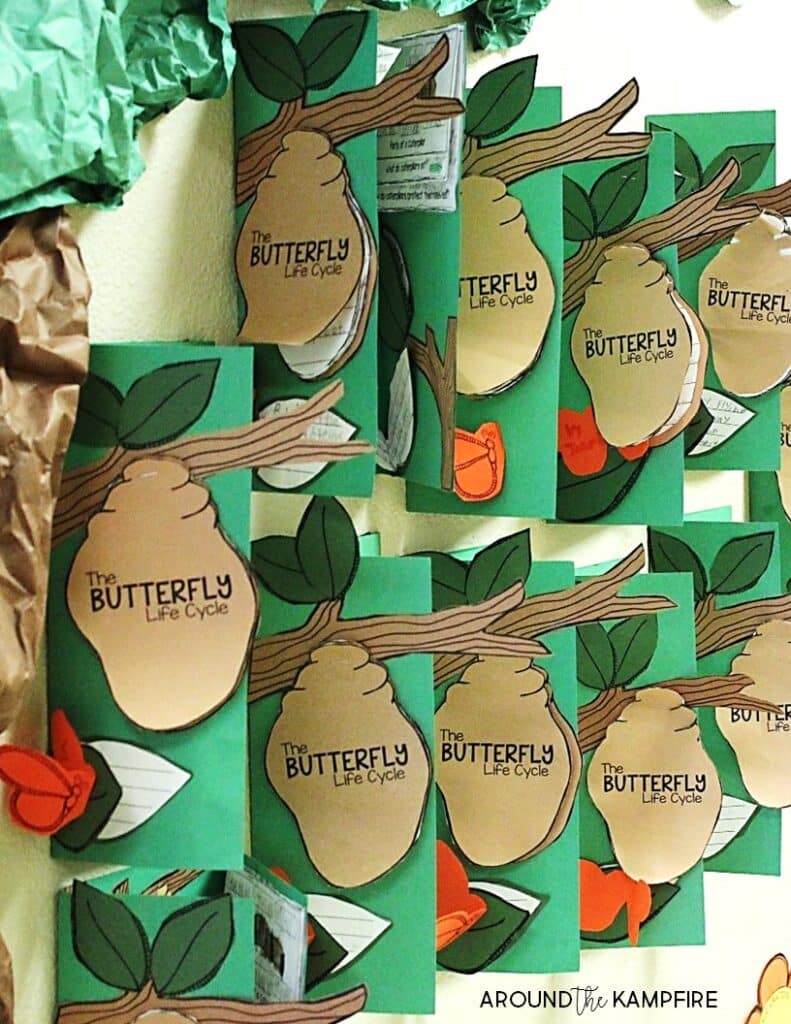
Along the way, students write about the stages of the life cycle and all of their mini-lessons inside foldable butterfly booklets.
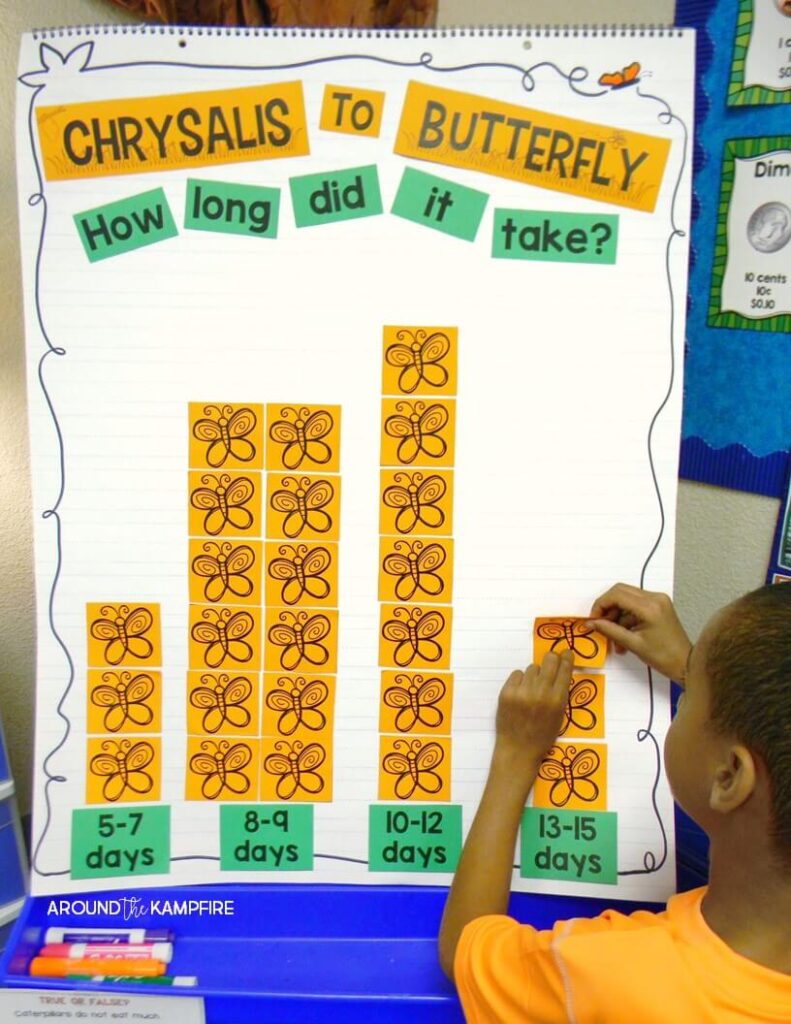
Graph the Butterfly Life Cycle
We collect data a few different ways during our butterfly study. One way is to graph the life cycle. Read more about how we graph all the different stages here.
How to Care for Your Butterflies
Once the butterflies begin emerging, place watermelon or orange slices and the lid from a jar at the bottom of the habitat. Cover just the bottom of the lid with water and add more as needed. You may wish to place a sponge or some cotton balls in the lid. Too much water can cause the butterflies to drown. The wings of the newly hatched butterflies are not yet strong enough to get out of the lid should they fall in.
After emerging the wings are soft and folded and it cannot fly. Over a 1-2 hour period the wings will be full-sized and completely hardened. During this time it is important not to bump the habitat or touch the newly emerged butterflies.
Don’t be alarmed if you see a red liquid that looks like blood, coming from the tail of the butterfly or on the sides of the pavilion. It is not blood. This is called Mecomium. It is a waste product left over from the butterfly’s metamorphosis.
Releasing the Butterflies
After observing our butterflies for a few days we release them. When outdoor temperatures reach 55 degrees, it is safe to release the butterflies outside. Take the habitat outdoors and carefully unzip the top. You may have to gently guide some of them out. Once released they can often be seen for several days in the area you released them. Butterfly and Nature Gifts website has a great FAQ page if you or your students have questions about any aspect of raising butterflies in your classroom.
Raising butterflies in the classroom is always a highlight and an experience your students won’t forget!
Pin this post for later so you have it when you plan!
Visit this post for more butterfly life cycle activities & free printables.

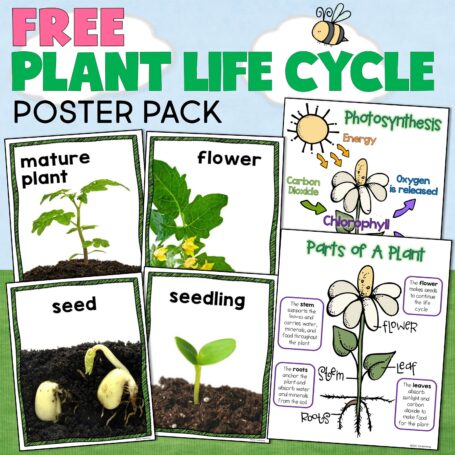
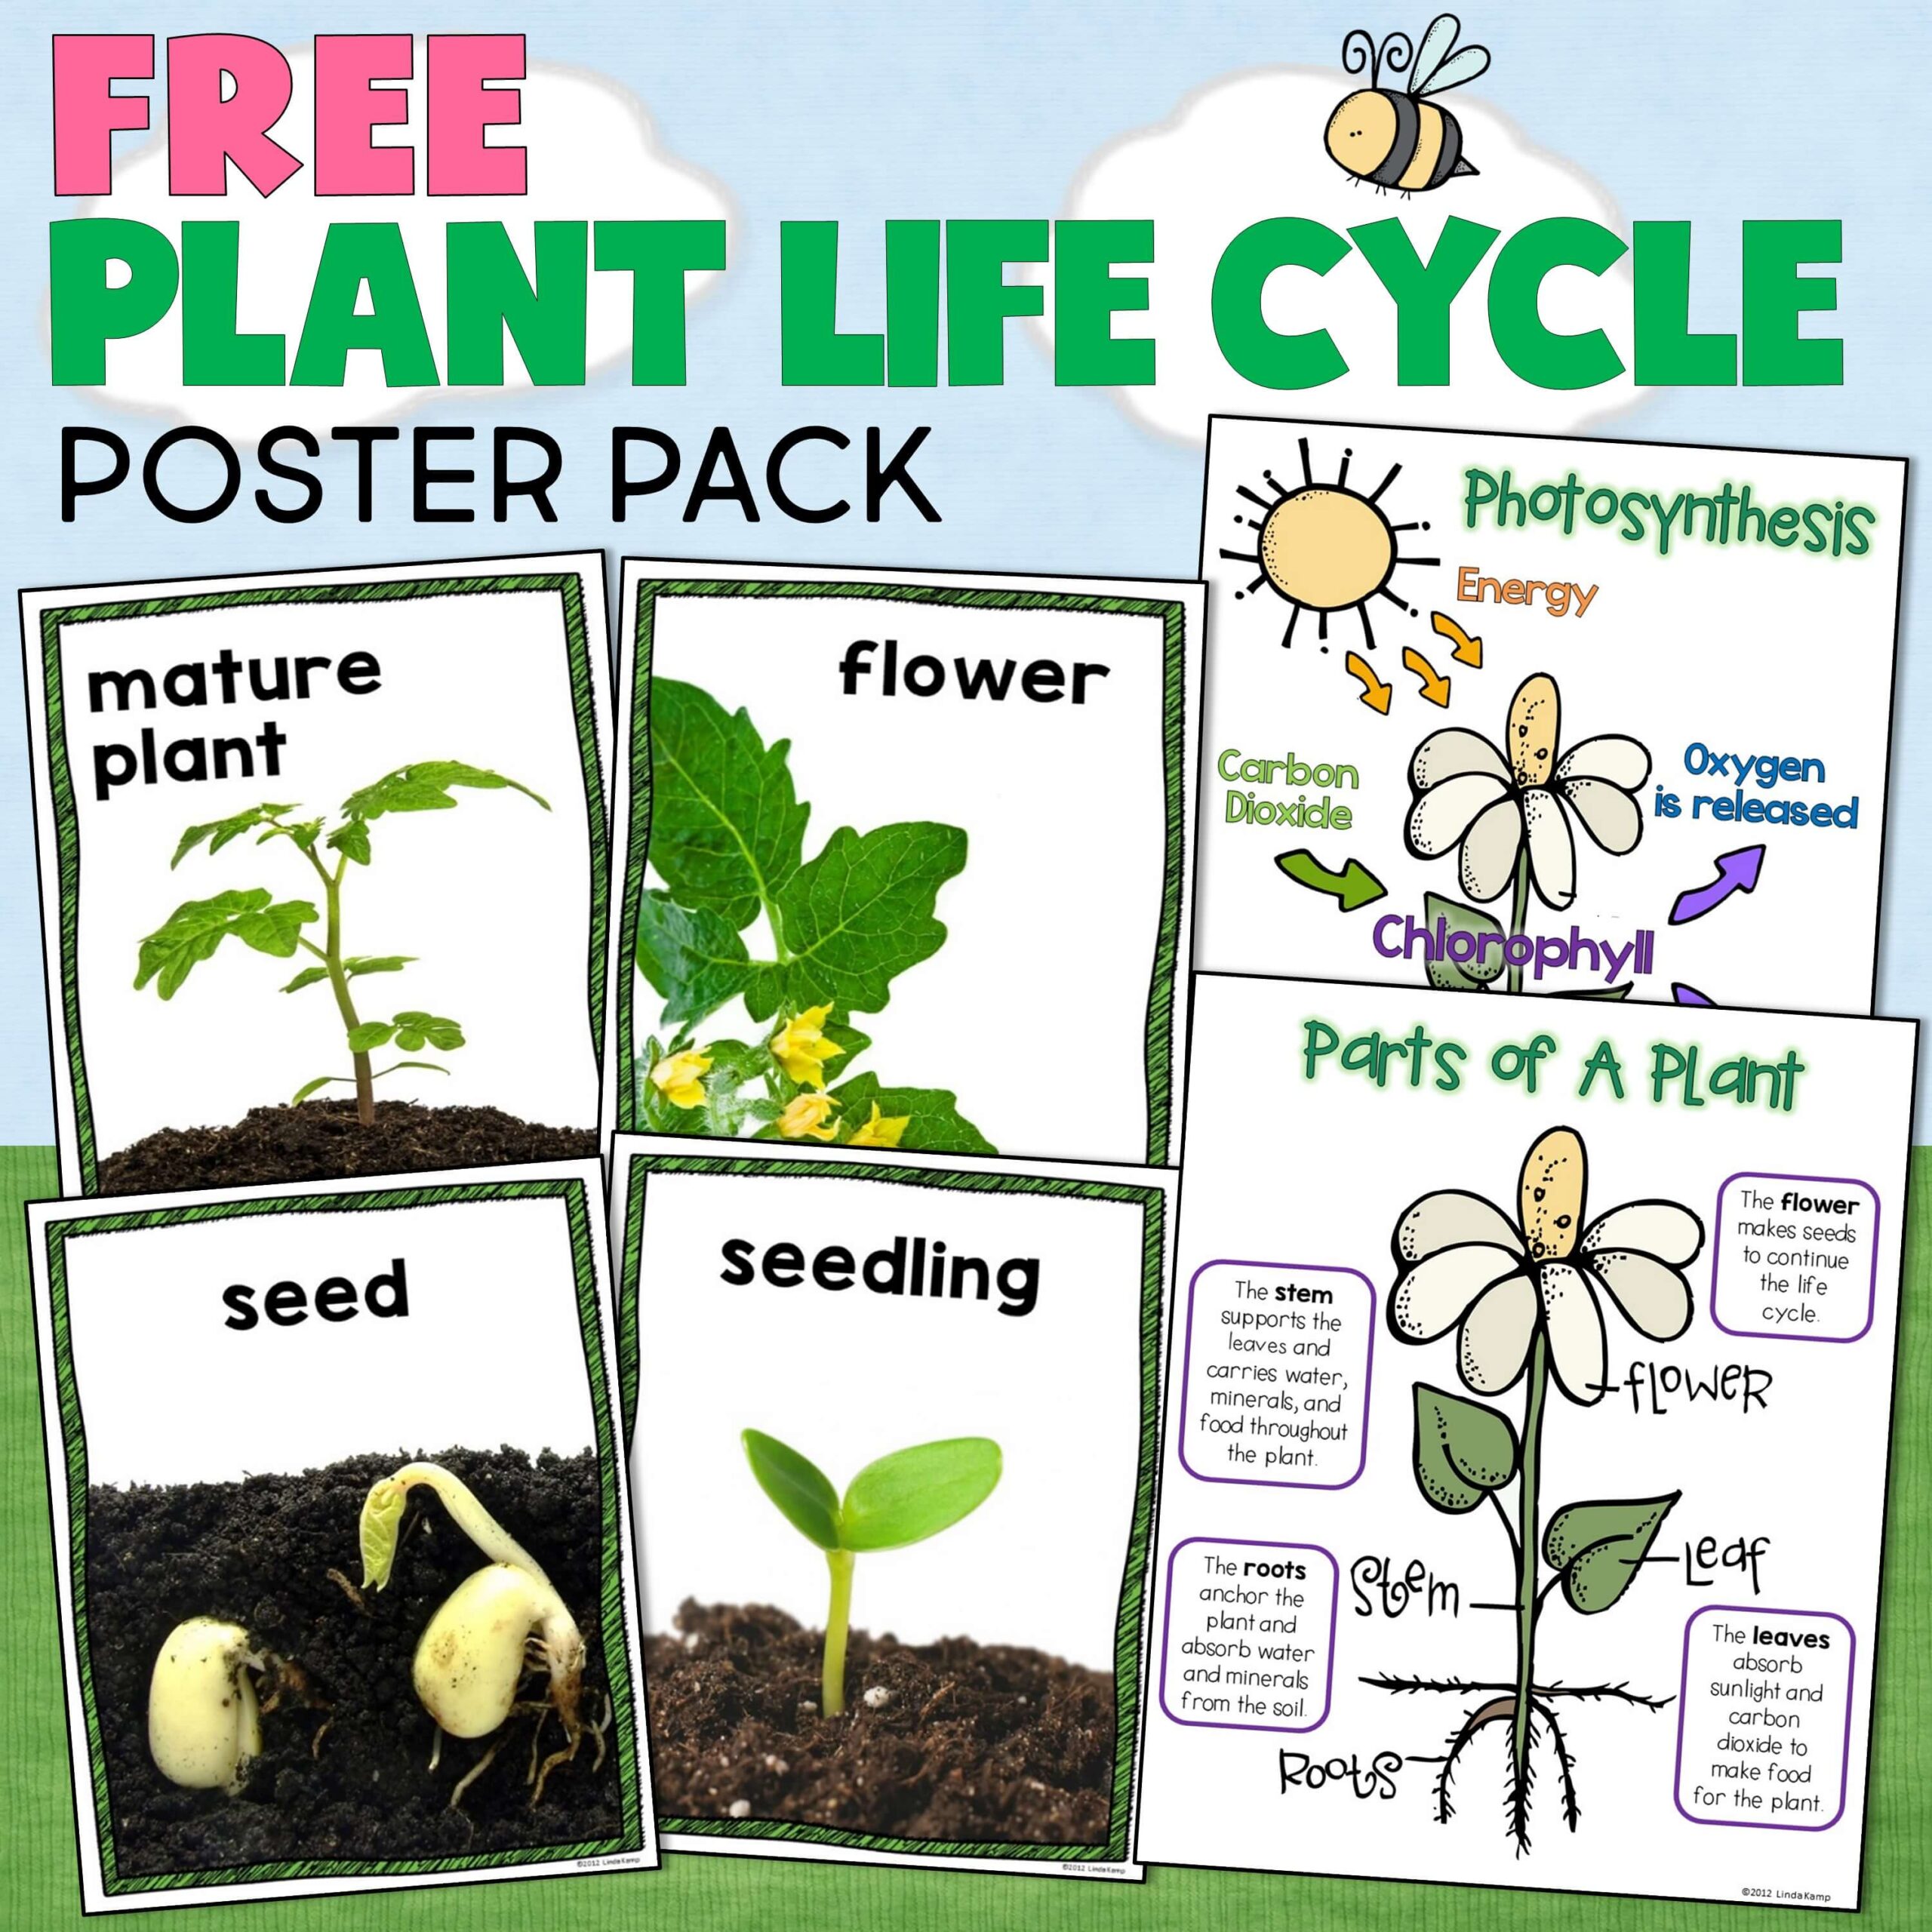
Hands-On Plant Life Cycle Activities
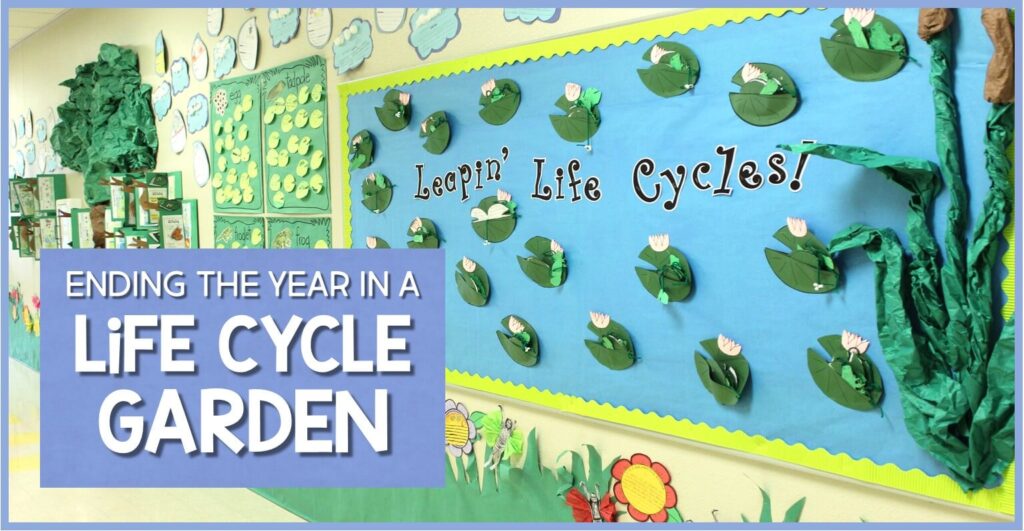
Ending the Year in a Life Cycle Garden
Plant & Animal Interdependence Activities

Happy teaching!



Were they in the cup the whole time? Or did you transfer them to some other container?
Hi Natasha!
Once the caterpillars form a chrysallis I transfer them to a netted container. The one I purchased is called a “butterfly pavillion”. I hope this helps to clarify and thank you for stoppimg by!
-Linda
How do you care for the butterflies over the weekend? I’m getting ready to order my caterpillars, but then I realized that butterflies may emerge over the weekend & I don’t want them to starve. But I also don’t know how to leave them food without coming in Monday to a trail of ants.
When is the best time of the year to do this unit?