
We know that learning centers are a crucial part of any elementary classroom schedule. But when you release students into centers time, how can you be sure that they are actually learning?
As with any independent work or group work, you need ways to encourage student accountability during centers. You need a classroom management strategy that works for you and for your students.
Try these 3 repeatable routine builders to keep students accountable and learning during centers in your classroom.
Benefits of Learning Centers
In elementary classrooms, centers have a big impact on students and on teachers.
They are excellent opportunities for the hands-on learning that is necessary for achieving mastery in many skills. These hands-on centers activities also foster student engagement.
Centers help students build independence by allowing kids to take responsibility for their own learning.
Beyond those benefits, releasing students into centers activities allows teachers to implement small group instruction. It’s a great time for focused differentiation.
The Challenge of Keeping Students Accountable During Centers
We know learning centers are a must for elementary classrooms. But when you’re working with your small group, you don’t have much opportunity to monitor what students are actually doing during centers time.
So, how do you know students are actually completing the work when you’re busy working with a small group?
Student accountability during centers doesn’t have to mean constantly monitoring students or creating a lot of extra work for the teacher.
In my classroom, I have found that there are 3 strategies are successful ways to keep students accountable during centers time:
1. Center folders
2. Center exit tickets
3. Center checklists
Simple Center Management Strategies
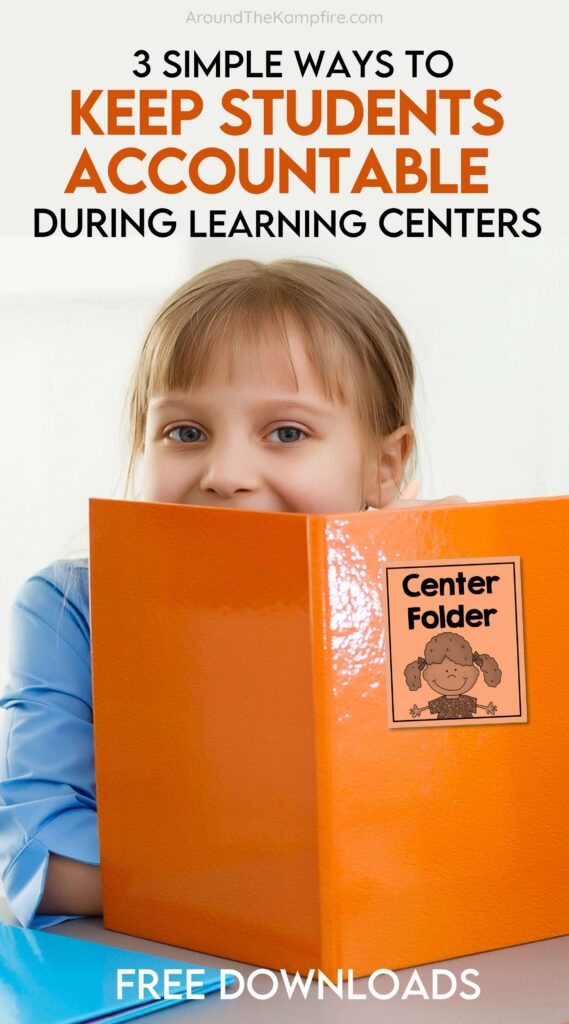
1. Use Center Folders to Organize Student Work
Why center folders help
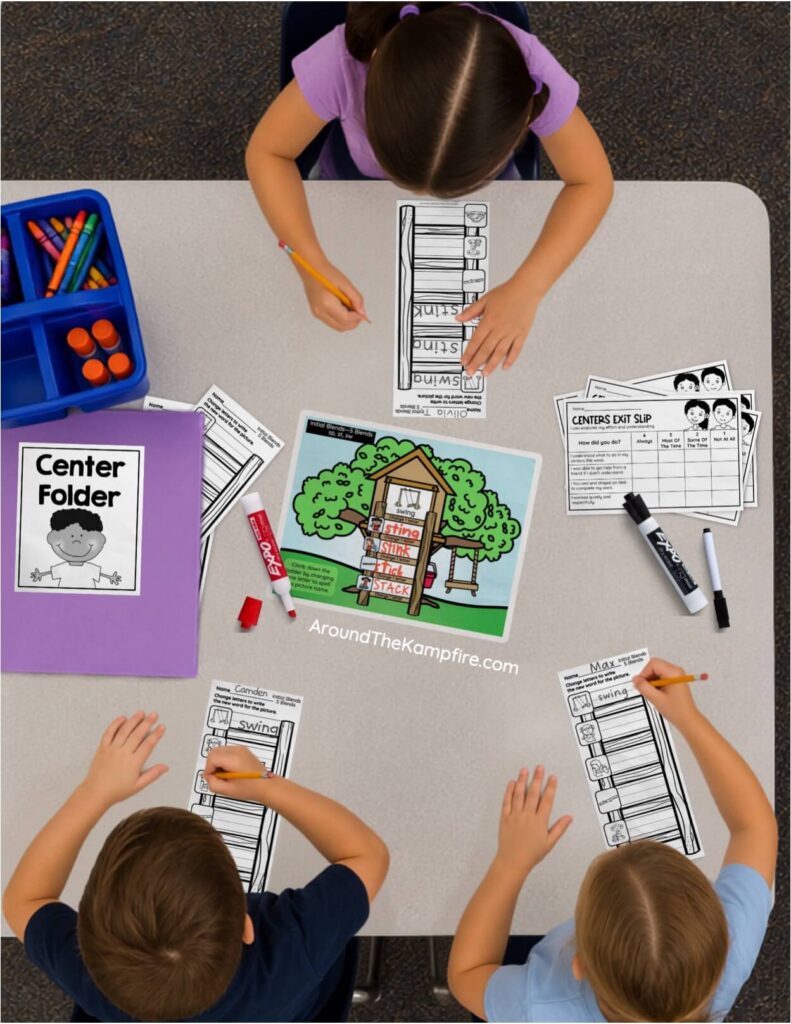
Organization can be a huge issue for centers. To solve the problems of both organization and student accountability during centers, try using center folders.
Before I started using folders for center work, the amount of papers in all kinds of locations in my classroom was overwhelming (for both me and the kids!).
Center folders give students a designated place for their work during centers time. This prevents finished and unfinished work from getting lost, mixed up, or left at the centers and around the room.
With center folders, students always know what to do with their work, building their independence and responsibility in the classroom.
How to set them up
Setting up center folders is super simple. Just provide each student with a folder and label it for organization. Another option is to put designated, labeled folders at each center. This is a great option if students are visiting a center multiple times throughout the day or week.
When you label the folders, consider splitting the two sides into “Finished Work” and “Work in Progress” to keep track of where students are in terms of completing their assignments at centers. Explicitly teach students exactly where to put their work when the center ends. This is how you start to build an effective classroom routine.
Remember that simple is better for students at the elementary level, especially if you’re planning to make this a permanent routine. Simplicity will help your students manage the system independently (great for building independence and maintaining strong classroom management).
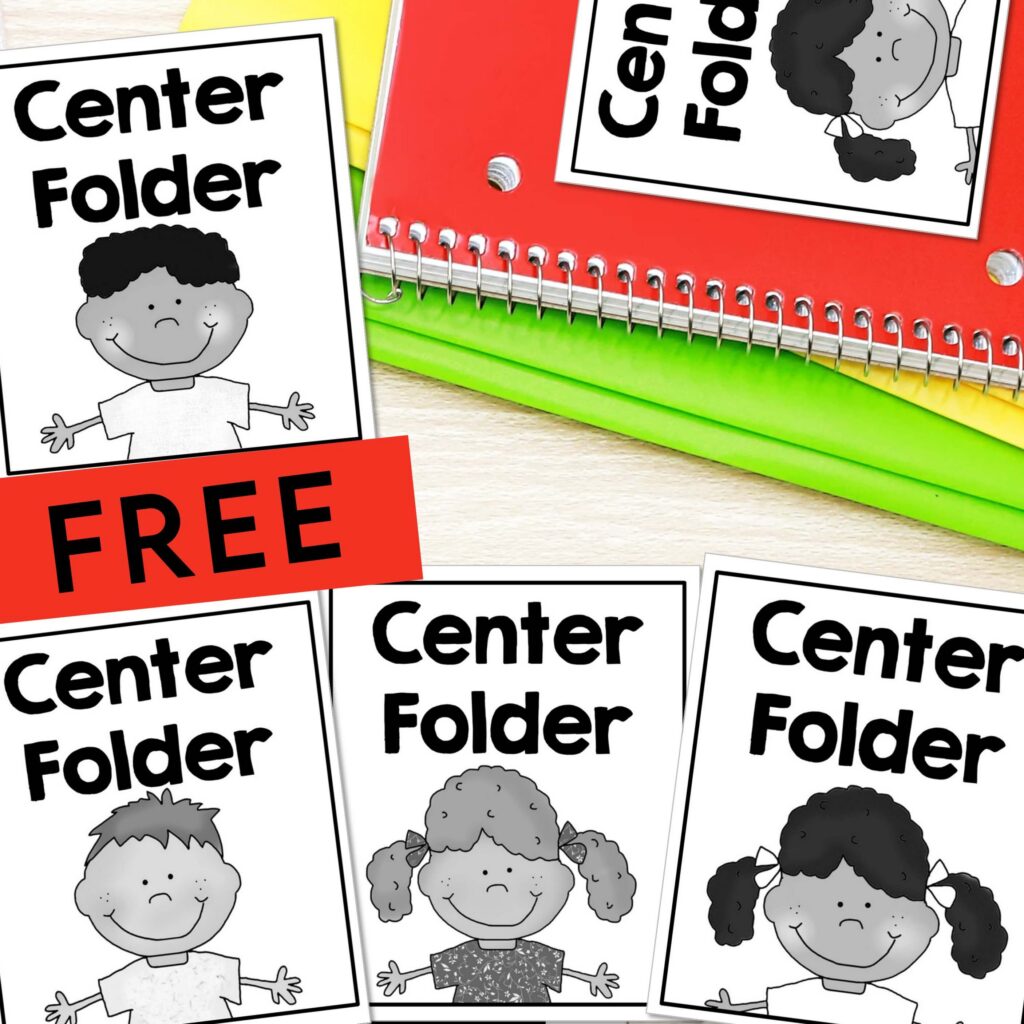
Download FREE printable center folder labels
Accountability benefit
With this strategy, students have a physical record of what they worked on and their progress during centers, which inherently keeps them accountable.
When everything is located in one spot, you can easily and quickly check the folders to evaluate progress for individual students or the class as a whole.
If you notice one student is consistently not finishing their center work, you can check in and consider implementing additional strategies on an individual level.
If you see that all of your students are struggling to complete their work, maybe reconsider reteaching the skills addressed, explaining the center again, allowing for more time, or shortening the task.
In either situation, you have a starting point for next steps to further ensure student accountability during centers and beyond.
Overall, folders are very helpful for keeping track of work. But sometimes, you need an even quicker and more efficient way to gauge student understanding and get a quick snapshot of what students actually learned or accomplished.
Enter: exit tickets.
2. Use a Center Exit Ticket
What is a center exit ticket?
Exit tickets are great wrap-up tools that allow students to give a quick response to demonstrate understanding or reflect on their learning.
They should be brief and age-appropriate for your classroom. The task could be anything from having students draw or write something they learned to showing their understanding by answering a content-based question to having students evaluate their own learning.
How to use exit tickets during centers
There are several ways you can incorporate exit tickets into your center routine.
I use them as a self-reflection tool for students to do at the end of the week. Students answer a few simple questions to evaluate their effort and understanding then turn in the exit ticket with their completed center work. To save paper, copy the center checklist (more on that in the next section!) on one side and the exit ticket on the other side .
You could also use exit tickets at each center along with the center activity. This could also help you evaluate the effectiveness of the center.
Accountability benefit
With exit tickets, students know they are going to need to demonstrate their learning before finishing the center or at the end of the week. Since they know they will have to do this, they will likely be preparing for that by staying on task.
Exit tickets give teachers an efficient way to quickly check in to see who completed centers and what they learned. It’s the best way to quickly learn who may need additional help.
As a formative assessment, it can also help teachers adjust and inform future small-group instruction.
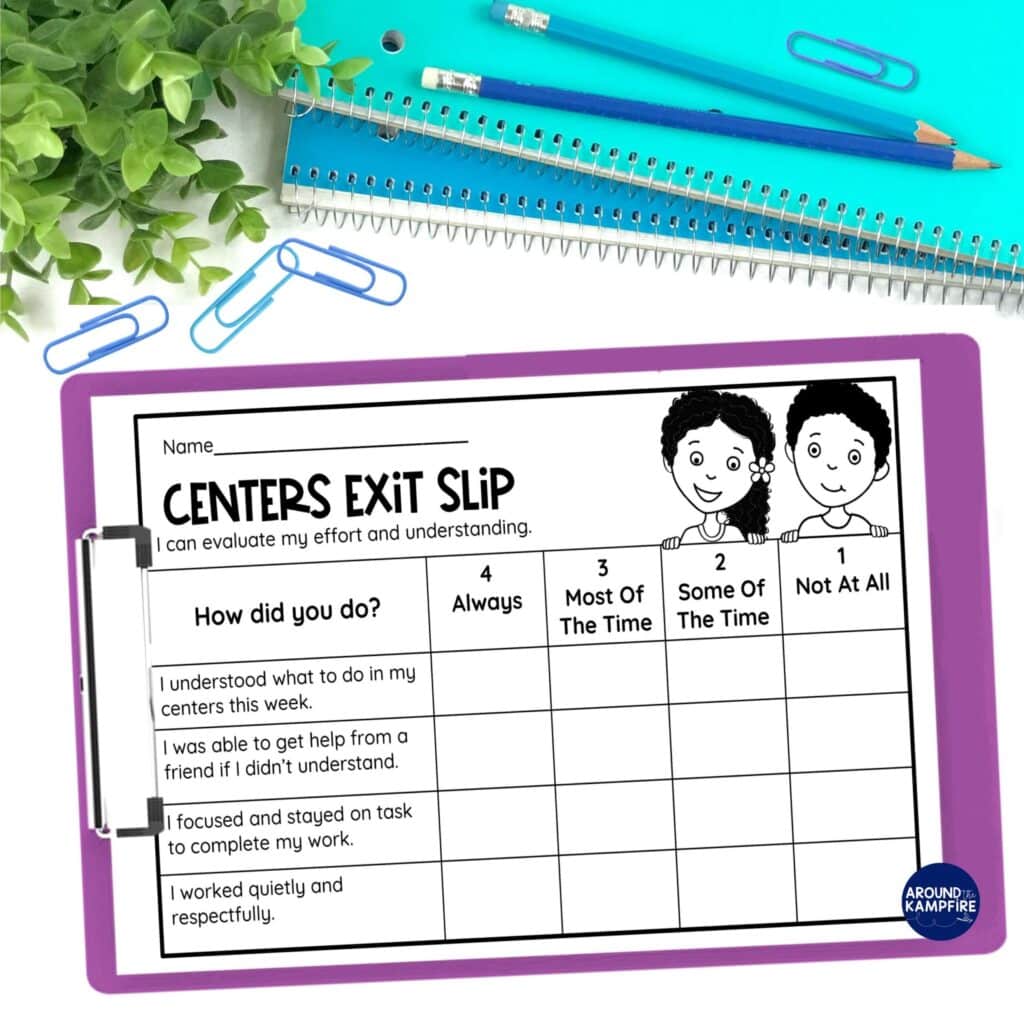
Download a FREE center exit slip
Exit tickets show what students accomplished, but a checklist can help students stay on track throughout the entire center.
3. Use Center Checklists
Give students a weekly checklist of the centers they should visit and the center activities they should complete. Students then check off, or color a smiley face next to each task or center as they complete it and staple the checklist to their center work for the week before turning it in.
Why checklists work well for young students
Checklists make expectations visible, which is key for elementary students. It’s like a constant silent reminder instead of you having to verbally remind students what’s expected. Perfect for classroom management!
Beyond that, checking off tasks gives anyone, including students (and me!), a sense of progress and accomplishment. It’s a mini reward for your hard work.
What to include on a center checklist
List each task students need to complete, for example:
- Read the directions.
- Complete the activity.
- Check my work.
- Complete my exit ticket.
- Put my work in my folder.
- Clean up the center.
Make the checklist student-friendly
Appeal to your own students, their age group, and their interests. Keep the language simple, and add pictures or icons, especially for beginning readers.
The number of steps in the checklist needs to be manageable and not too overwhelming for students.
Be sure to model how to use the checklist before having students do it independently. You may need to set aside some time to explicitly teach and practice how these strategies should look during centers. A little time spent setting up a centers routine at the start of the year will pay off for your classroom management all year long.
Accountability benefit
Using checklists is yet another option for students to monitor their own progress during centers time and with independent work.
Instead of teachers repeatedly giving the same directions, students have the answer to “What do I do next?” right in front of them.
The responsibility starts to shift from teacher to student, which is ultimately a huge goal for centers and for your classroom management.
Putting the Three Strategies Together
A Simple Routine for Student Accountability During Centers
These strategies work especially well as a system, rather than as three completely separate ideas.
For example:
1. Check the checklist → 2. Complete the center → 3. Finish the exit ticket → 4. Put work in the folder → 5. Check off the final task.
This creates a predictable routine students can eventually manage independently. Each step has a purpose and associated task to boost student accountability during centers.
- Checklist: What do I need to do?
- Center activity: What am I learning/practicing?
- Exit ticket: Can I show/reflect on what I learned?
- Folder: Where does my work go?
Need easy prep center activities?
Grab these FREE center activities that include games, task cards, reading passages and more! Just pop in your email address below and I’ll send them straight to your inbox!
More Center Activity Resources
Find more resources for literacy center activities below!
Reading activities & more reading activities
Make Student Accountability During Centers Manageable
Accountability doesn’t require hovering over students during centers. The goal is to create simple, predictable routines that help students take ownership of their work.
Start with one strategy and teach it well before adding the others. Once students understand the routines, centers can run more independently and the teacher can focus on small-group instruction.
When you build this student accountability during centers, both you and your students can achieve more and make the most of the time you have!






Leave a Comment